How to install an acrylic liner in a bathroom
Sooner or later, the enamel on the bathtub turns gray, becomes stained and rusty, and chips appear. Replacement often entails almost complete renovation, which is a lot of money. There are several ways to update your bathtub and one of them is an acrylic bathtub insert. It just needs to be "put" on a special foam and the bath will be like new again.
The content of the article
Types of acrylic bath inserts
There are two technologies for the production of acrylic bath liners. The first technology is molding sanitary acrylic from a heated sheet in a special mold. These liners are called cast. The second technology is composite (combined) earbuds. The base is made of ABS plastic, after which the inner surface is covered with a thin layer of acrylic.
Acrylic bathtub insert is a quick way to renew the coating
Cast inserts
The cast acrylic bath insert has a very smooth surface that is easy to maintain. The pores of acrylic are small, dirt penetrates them poorly, and what remains on the surface is easily washed off. If everything is done according to technology, such an insert can last up to 10 years or more.
The disadvantages of cast liners are that during molding the maximum (bottom and corners) of the walls are very thin, quickly wipe, sometimes break.
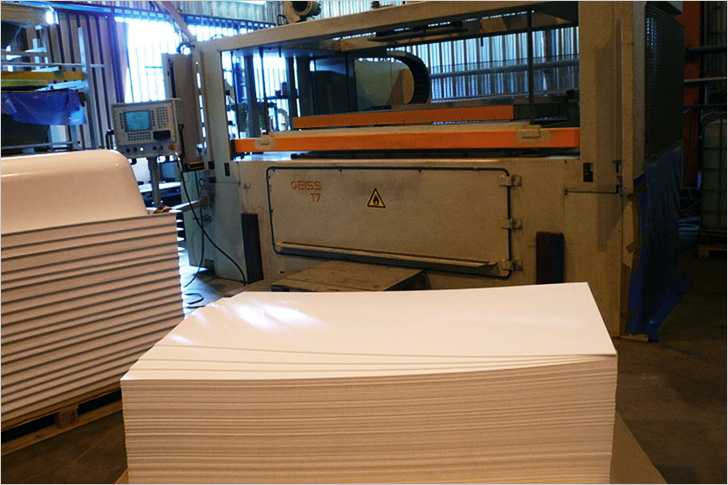
Cast acrylic bath insert molded from a sheet of sanitary acrylic
The disadvantage is the high price, since the sanitary acrylic itself costs a lot, and even the equipment on which it is made is expensive. So it turns out that the cast liner costs about 30% of the cost of a new bath.
Low quality acrylic (not plumbing) can be used to reduce the cost. It has wider pores and its color is non-white, and with some kind of shade - grayish or pinkish. Such inserts are very difficult to wash and can only be washed with special compounds with a soft texture. In general, the use of such a low quality product is very problematic.
Composite
Composite liners are made of two materials - a base made of ABS plastic, on top of which a thin layer of acrylic is applied. Outwardly, they differ little from fully acrylic, but cost much less. But they also serve less, since a thin layer of acrylic in the most loaded places is quickly erased. The service life of such an insert is 5–6 years even with good quality.
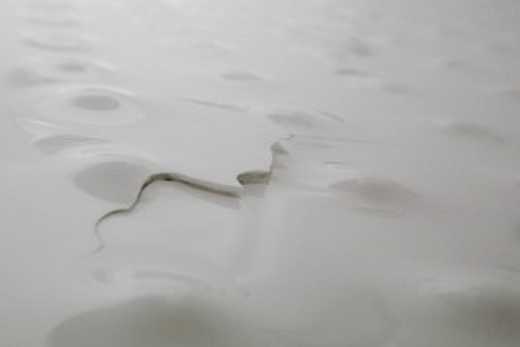
Peeling acrylic from the base
They are also worse in operation - acrylic can be scratched, but it is difficult to patch up. While the cast acrylic liner can be refurbished by grinding, the composite liner cannot. A complex technology is used to restore the surface, which does not always give a good result. Another problem is the peeling of acrylic from the base. Such a defect occurs when the manufacturing technology is violated. Therefore, installing such an acrylic insert in a bathtub will extend its service life by a maximum of several years.
Insert selection
So, when choosing a cast insert for a bathtub, pay attention:
- Acrylic color. A good insert will be white with no shades. The surface is perfectly flat and smooth, slightly silky to the touch.
- Wall thickness. The easiest way to evaluate it is on the sides. We choose according to the principle the thicker the better. If allowed, you can try to bend the walls near the bottom. With a slight pressure, the acrylic should bend a few millimeters, but not much, and even more so, should not jam.

This shouldn't be
- We examine carefully the surface inside and outside. Everything should be smooth and smooth. Irregularities are permissible on the edges, but their condition should not be catastrophic. Any sagging and other defects are a sign of poor quality.
Installation highlights
First of all, it must be said that acrylic liners can only be found for standard bathtubs. In order for everything to work for a long time, the coincidence of the shape must be perfect, therefore they are molded according to the pattern. In fact, they make the same bath, but from a polymer. Therefore, this technology is also called "bath in bath".
If you decide to improve the appearance of the bath using this technology, you will need to measure it accurately. The proposed sizes 150x70 or 170x70 are not talking about anything, you need to know the depth.
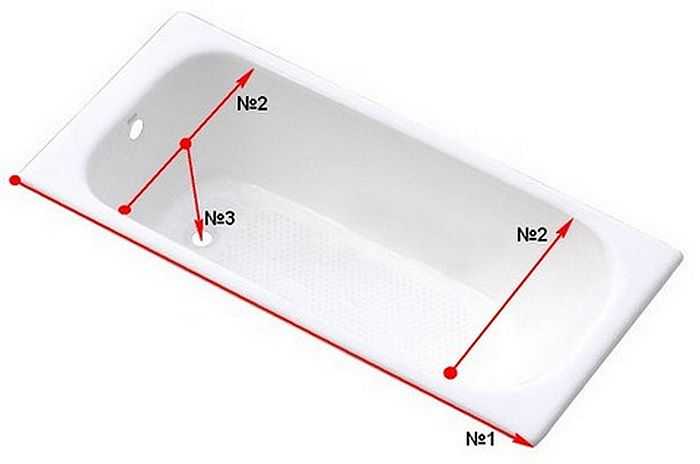
How to measure a bathtub for purchasing an acrylic liner
In addition, the bathtub should be standard and have thick walls, which gives a small change in size under load. An ideal case for a cast iron bath. With their thick walls and high mass, they are the best support for insertion.
You can also put an acrylic liner in a steel bath, but only if it bends very slightly. The thing is that when the size changes, acrylic also bends. If the bends are too large, the liner will crack over time. Therefore, if your old bathtub sags, give up the idea of putting an acrylic liner, it might be betterrenovate covering with bulk acrylic. Another option is to make a rigid pedestal under the bathtub (made of bricks, for example), which will not allow it to bend.
Bath preparation
Before starting work, the bath must be thoroughly cleaned. If it has a trimmed side, the trim must be removed. When finishing - a side made of tiles, it can not be removed if the edge is at least 1 cm free.After that, you must carefully remove traces of silicone, cement, glue - in general, clean the sides to clean enamel. Next, remove the connected drains.
Next, wash the bath itself. Moreover, it must not only be washed from dirt, but also thoroughly degreased to improve adhesion during installation. Then rub it thoroughly with a sponge and baking soda. It is necessary to rub every centimeter thoroughly, including the sides. Then everything is washed off, and the bath is dried.
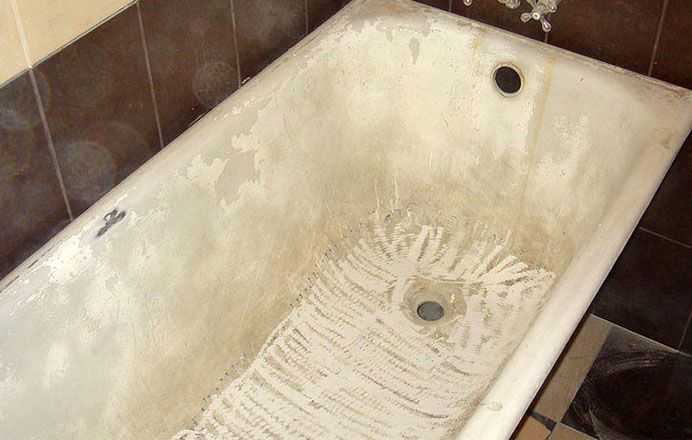
Prepared bath - enamel removed
The second way to prepare the bath for the insert is to remove the enamel. This can be done manually with sandpaper attached to a block, or with a grinder attachment (a petal sanding wheel works best). After the enamel is removed, you need to wash everything, then also degrease and dry.
Which method is safer? Second. But this preparation takes a lot of time and effort. The first method, if done correctly, works just as well.
Liner preparation
When preparing the insert into the bathroom, you need to cut its sides to the required size and make holes in the right places. To do this, we put the insert in the bath, mark all the necessary places and take it out.
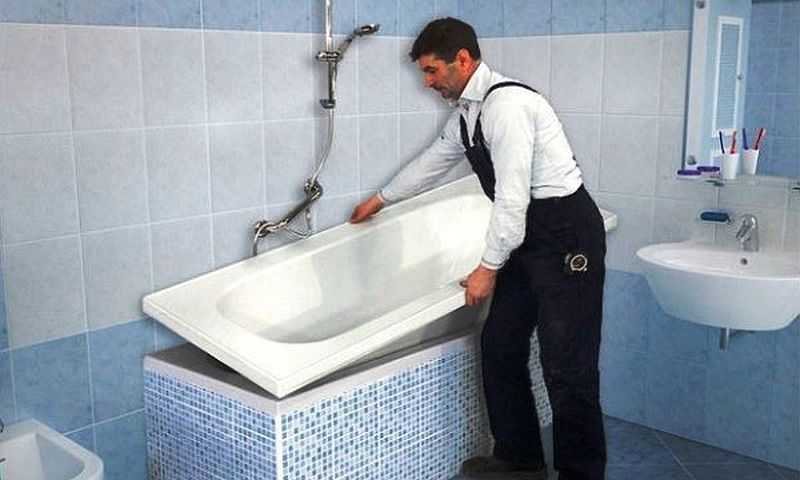
Although the liner is lightweight, it is bulky. It is very convenient to install and remove it. Handles on suction cups (for carrying glasses) will help well, or a wide luggage strap, passed under the bottom, can help.
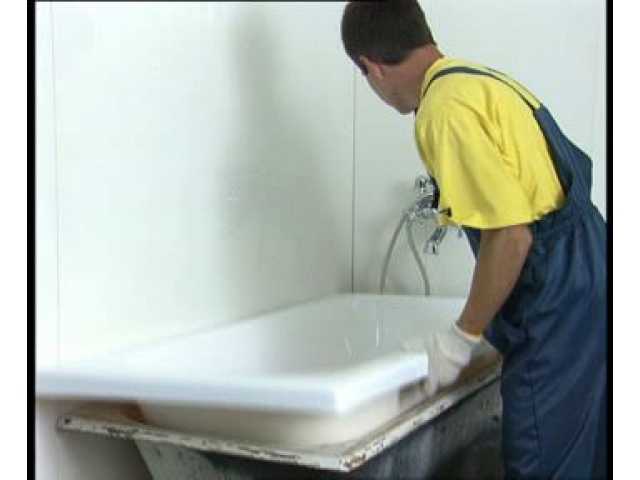
We put the insert, mark the lines along which the sides need to be cut and mark the technological holes
Having pulled out the insert, we cut it along the outlined lines. This can be done with a jigsaw or a hacksaw. It is advisable to find a special canvas - for plastic, but you can try the usual one for metal. The main condition is that the edge must be even, without burrs. Sandpaper the edge if necessary, but do not scratch the adjacent bathroom surfaces.
You can use a grinder to trim the edges only if you master it masterfully and can cut exactly along the marked line. To cut holes, you need a screwdriver or drill, and an appropriate size crown. With their help we make holes for drainage and overflow. To secure the edges, stock up on clamps.
Insert insert
An acrylic insert is installed in the bathtub on a two-component polyurethane foam. You cannot use a regular construction one, it will not give the desired effect.Technological holes for drainage and overflow are coated with a layer of silicone sealant. In this place, tightness is very important, since many problems arise precisely due to the fact that water penetrates between the insert and the bath body. Therefore, we do not regret the sealant, we put it in a thick shaft. Better to apply it with two rings for a safety net.
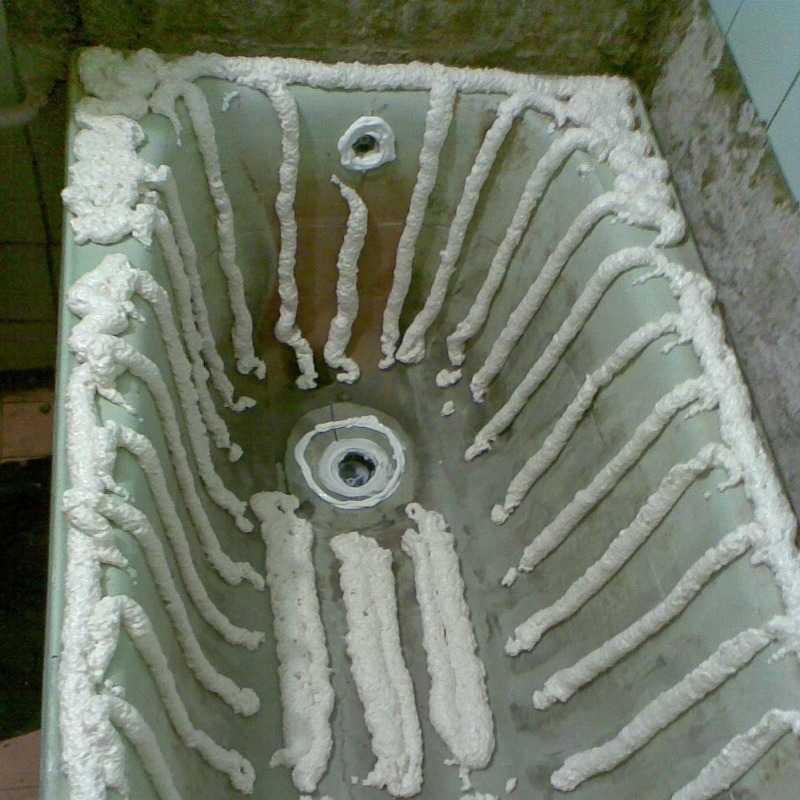
An example of applying foam under an acrylic bath insert
After that, with two-component foam we create a grid over the entire surface of the bath. The distance between the foam strips is about 10 cm, less at the bottom. The application scheme is arbitrary, but the substance should be distributed evenly. You can take a photo as a basis. The foam should be applied quickly, the polymerization start time is 15 minutes, before this time the liner must be installed in place.
Further, the acrylic insert in the bath is installed in place, crimps well. The bottom requires more effort - it must be crimped carefully. Also, press the liner well around the holes and along the sides. Fix the edges with clamps.
The next stage is the installation of the drain. The overflow can be left for later, but the drain will need to be installed. In the case of a siphon, estimate in advance if there is enough thread to install it in a bathroom with an insert.
After the drain is installed, the bath is filled with water practically up to the overflow hole and left so until the end of polymerization. The exact time depends on the foam and can be found on the packaging. Water is poured so that the expanding foam does not bend the liner.
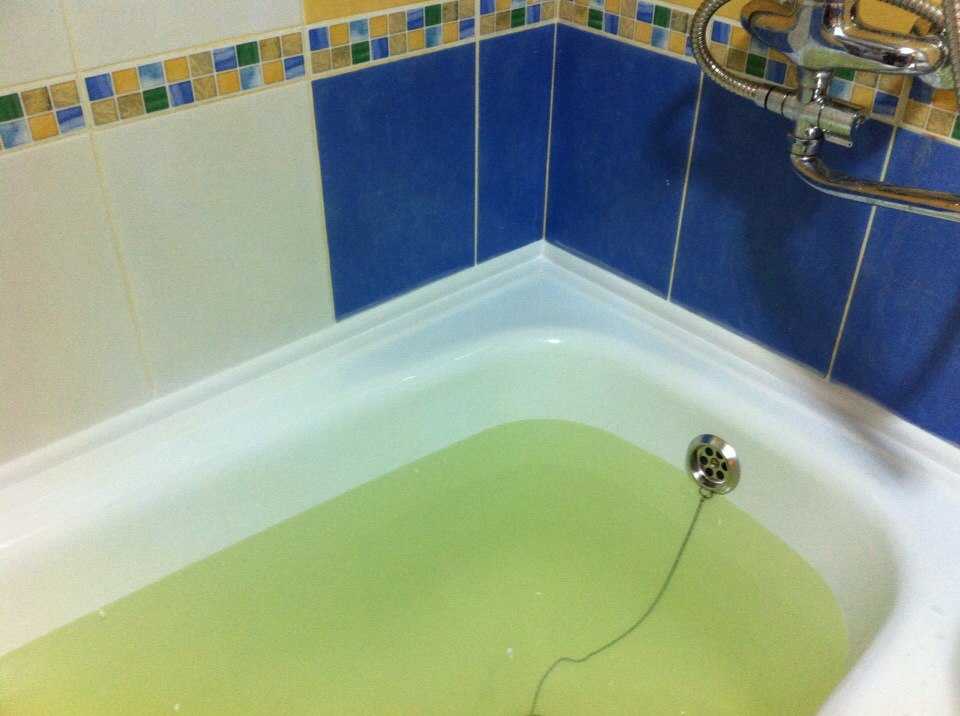
Water prevents foam from bending acrylic
While the foam is polymerizing, the joint between the insert and the tub is sealed around the perimeter. To do this, take a silicone white or transparent sealant (not acrylic). So that subsequently the silicone does not darken or fungus or mold does not start in it, look for formulations with antibacterial components. You can also use an aquarium sealant. It is definitely not affected by fungi, checked. After that, you can restorebathroom border.
Actually everything, the installation of the insert into the bath is finished, after the foam polymerization it is ready for use.
Removing the bath insert
Violations in installation technology lead to unpleasant phenomena:
- If there is not enough foam, the insert may burst under load.
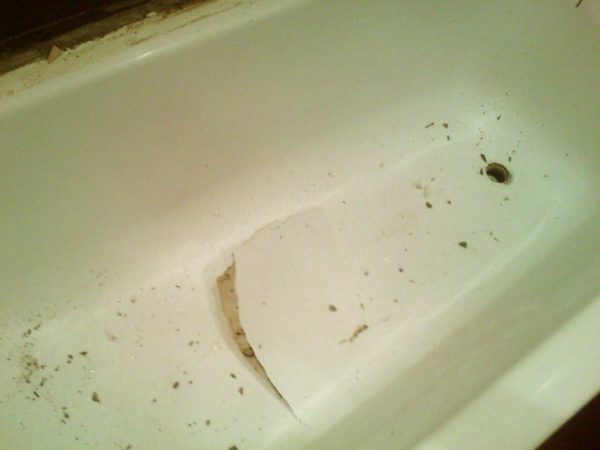
Broken acrylic liner
- If the drain hole is not properly sealed, water will flow between the walls, bloom, rot and begin to "smell".

In these cases, it becomes necessary to remove the insert. This is done using a grinder with a small cutting wheel. They cut it in some places and, prying on acrylic, remove the insert.