Fiberglass spider web - scope, principles of work
Preparing surfaces for painting is a complex business that requires high qualifications. But even this does not always save from the appearance of small cracks - the house sits down, the plaster dries unevenly. As a result, we have small gaps that spoil the appearance. Painting fiberglass is a material that makes it easier to prepare surfaces for painting, and also serves as a protection against small cracks.
Painting fiberglass - what is it and why
When the building shrinks or the plaster / putty dries up, small cracks form on the walls and ceiling. They spoil the appearance of painted surfaces very much. To prevent their formation when plastering, use a paint net. It reinforces the finishing materials preventing the formation of large cracks. Microcracks are fought with glass fiber painting. It is a thin non-woven fabric made from many glass fibers of varying thickness. The fibers are interconnected chaotically, which prevents the appearance of cracks. There may be microcracks, but they are not visible. This determines the field of application of the glass-fiber painting - to improve the quality of the finishing of walls and ceilings.
To keep the painted surfaces even and smooth, use a "gossamer"
The thickness of this material is small - it is translucent. Due to its appearance, it was named "spider web". Sold in rolls 1 meter wide, has a different density - from 20 g / m22 up to 55 g / m2... The density is selected depending on the area of application. For interior work, 30-40 g / m2 is more often used2.
Fiberglass is glued with glass fiber glue on more or less even walls. It successfully masks small cracks (up to 0.5 mm wide) and irregularities, creating an even surface. Therefore, this technology is becoming more widespread - it simplifies the preparation of walls for painting (putty), and the result is no worse. The same material can be glued to drywall. It successfully masks the joints and prevents the formation of cracks in these places. The main thing when gluing the seams of the fiberglass should be located away from the joints of the gypsum board.
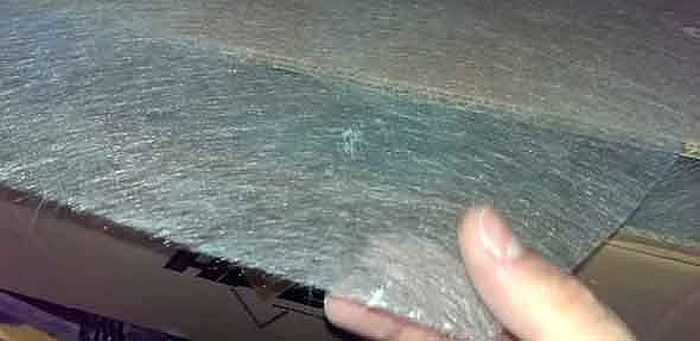
It looks like a fiberglass spider web
Painting fiberglass is inconvenient to work - fiberglass pricks, its smallest particles can get into the lungs. Therefore, it is necessary to work in protective clothing and, preferably, in a respirator. After it is glued on and hidden with several layers of finishing materials, there is no question of any migration of fiberglass. In this state, it is absolutely harmless.
Application methods
Glue the painting fiberglass on a smooth gypsum plaster or on a layer of starting putty. According to the technology, after gluing, leveling is required with a thin layer of finishing putty (on the scraper), after - a primer, and then painting. With such a sequence of works, paint consumption is minimal; for a good result, 2 layers of paint are enough. Despite the additional cost of filler, if you are using expensive paint, it is best to stick with this technique. This method is also used if the paint is glossy or semi-glossy.
There is another approach. The spider web is glued, after drying it is painted. No puttying. In the end, a good result is obtained - a slightly structured surface with a slight "furry". But the paint leaves a lot, and layers for a normal result have to be applied at least 4. The first pass the paint is absorbed very quickly, the consumption is 3-4 times more than the norm. At the same time, the appearance of the wall is unsatisfactory: in some places there is little paint, in places - where they have passed the roller several times over one place - there is a lot of it.
The second layer of paint takes almost half as much, the view is slightly better. Consumption is reduced further, but not at the same pace.After 4 layers, the wall is already normal, but the total amount of the coloring composition is impressive.
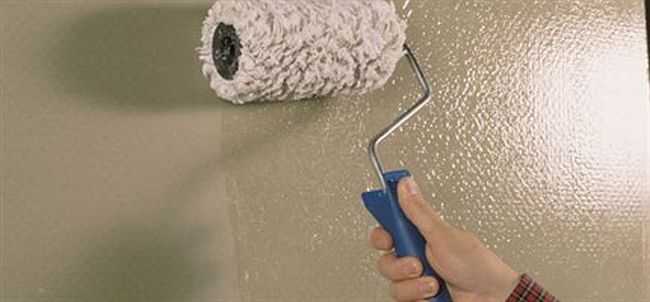
After gluing, it is advisable to cover the glass canvas with a primer
To reduce paint consumption, after gluing, coat the glass fiber painting with a primer. It is possible in two layers. It will take a lot of primer, but much less paint. And even the first layer will fall well. For a good result, you will need 2-3 layers, but with a normal consumption. So this method is also not bad, but it can be used with matte or semi-matte paint.
Bonding technology
Painting fiberglass is glued to glass wallpaper glue. Good glue is important, but it doesn't have to be expensive. The gluing technology is very similar to wallpapering:
- With a roller or brush, the adhesive is applied to the wall or ceiling. The glue layer is thick, but you need to distribute it evenly.
- A cobweb is rolled out on the oiled wall, it is well impregnated with glue, it lays down easily. The canvas must be straightened evenly, without folds and "accordions".
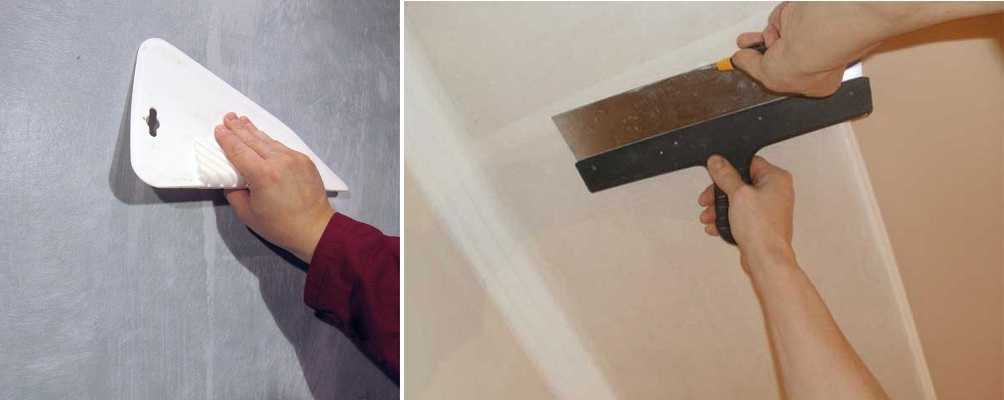
- We expel air bubbles with a plastic spatula or a large stainless steel construction spatula. It's easier to do this by moving it from the middle to the edges.
- Again we take a roller or a brush and apply glue on top of the fiberglass.
- Rub the glue with a spatula, filling the pores. If there is not enough glue, we add, the excess remains on the spatula.
- The second sheet is overlapped with the first. The canvas extends by about 2 cm. The sequence is the same: we apply glue to the wall, roll the canvas, drive out the bubbles. Then we take a ruler or a large spatula, a stationery knife with a sharp blade. We apply a ruler / spatula to the junction of two canvases, cut through both canvases.

The main thing is to make the joint of two canvases invisible.
You should not press hard - you can scratch the putty and a groove will remain, which will be visible. The task is to cut through both canvases, but not to cut the putty. It's easier to do this with a sharp knife. We remove the excess strips, coat the wall under the joint with glue (brush), connect and press with a spatula.
- Apply glue from above to the second sheet and fill the pores with a spatula.
- We glue the next strip.
As you can see, nothing complicated. Only all operations must be carried out carefully, achieving the best result that you are capable of.
There are several nuances in terms of working conditions. The room should be free of drafts, the temperature should not be lower than + 15 ° C, the humidity should be within normal limits. Doors and windows are kept closed until the glue dries. If the sun is hot, it is better to curtain the windows. That's all, actually.
-
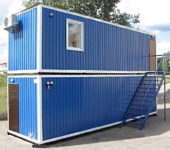 Modular houses from block containers: types, manufacturing features and layout options
-
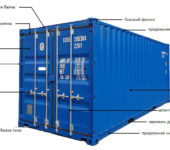 Houses from shipping containers: construction options, layout
-
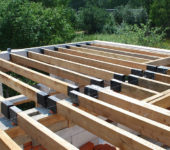 Types of wooden beams for floors, length calculation, installation
-
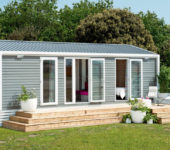 Mobile homes for year-round use
-
 Polymer / composite decking (WPC decking): types, sizes, installation


