Self-adhesive vinyl (PVC) film for wrapping furniture
It often happens that old furniture is bored, but there is still no money for new furniture. Self-adhesive furniture film can help. With its help, you can easily change the appearance of cabinet furniture. It can also be used to decorate doors, glasses, refrigerators and other household items and furnishings.
The content of the article
Material characteristics, advantages and disadvantages
To change the design of old furniture, it is often advised to cover the surface with PVC film with an adhesive applied to the back. These films are also called "self-adhesive", since after removing the protective layer, it is simply applied to the base and, due to the applied glue, is glued. A more "cultural" name is a self-adhesive film for furniture. It is under this name that it can be found in stores, on the market.
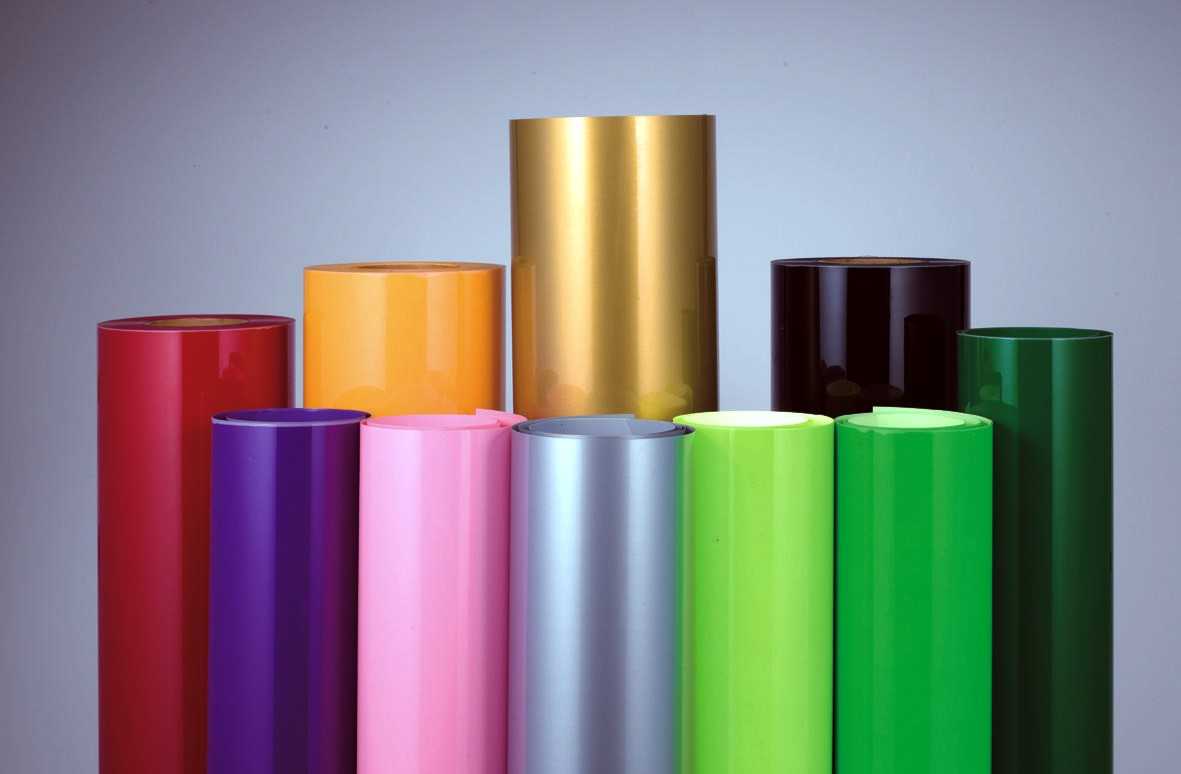
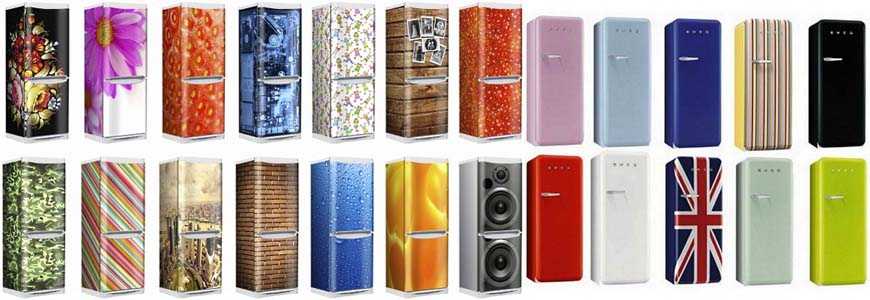
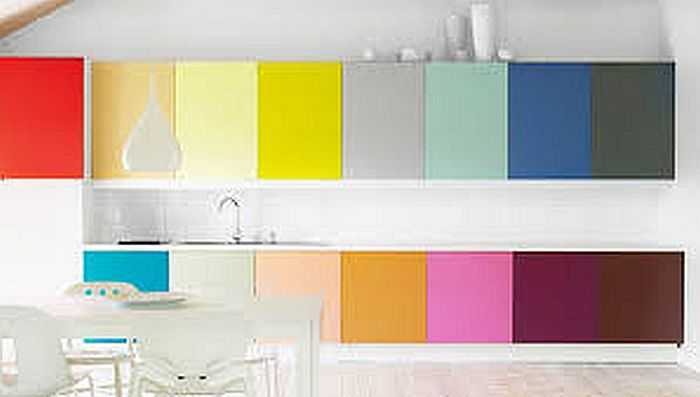
Large assortment of flowers
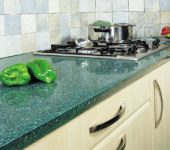
Why is this film popular? Because it has a low price and has a lot of color / paint options. The film is waterproof and can be used in areas with high humidity. If you know certain rules, it is not difficult to work with it, it is easy to take care of the pasted surface - all dirt remains on the surface and is not absorbed. In general, it is a good option if you need to update furniture or doors, but there are no funds to buy new ones.
There are also disadvantages and in sufficient quantity:
- Self-adhesive film sticks well only on smooth surfaces.
- Preliminary preparation is required. The film is thin, all defects will be visible, therefore, the surface must first be leveled to an ideal state.
- It is difficult to make the joints perfect - they are usually visible.
- In places of active friction, the film can be rubbed.
- It is difficult to peel it off from some types of surface.
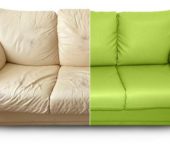
At a low cost, a very good result is obtained.
As you can see, not ideal, but not bad. It is difficult to replace this method of changing the decor - just the gluing of a new veneer, which is much more expensive and technically more difficult. Cabinet furniture is also pasted over with wallpaper, then varnished. This method is cheaper (possibly), but more often decor changes are required.
Types of vinyl for decoration
Self-adhesive furniture film has many color options:
- Opaque:
- matte:
- plain;
- with an image;
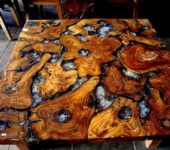
- with imitation of wood, stone.

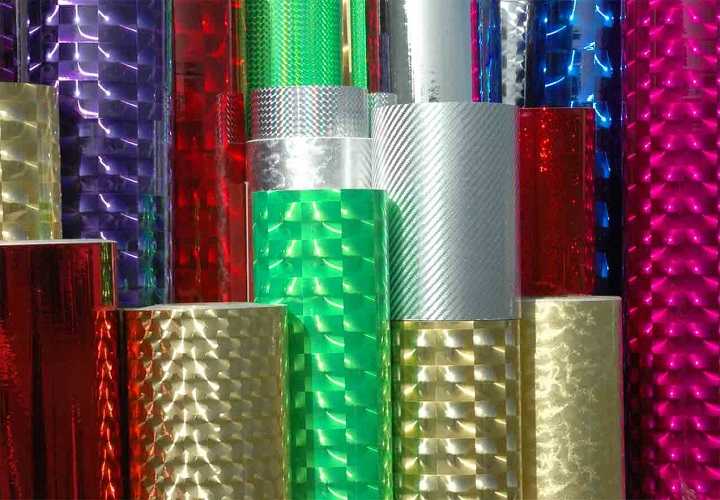
Some types of films with holographic patterns
- glossy:
- monochromatic bright gloss;
- metallic effect;
- holographic films.
- matte:
- Transparent and translucent:
- plain;
- with a color or plain pattern.
There are really many colors, as each color can be found in several shades. The most popular are "wooden" colors. This type of finish is usually used for reworking furniture, and therefore such a choice. The second most popular are glossy or matte PVC films. They allow you to turn ordinary furniture into ultramodern ones, which will fit into modern interiors such as high-tech or minimalism.
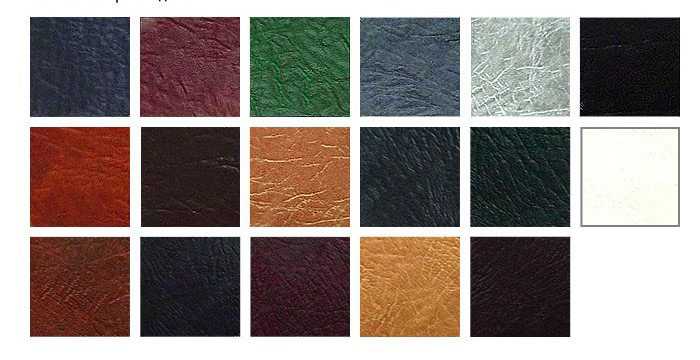
Several types of self-adhesive films for furniture imitating leather
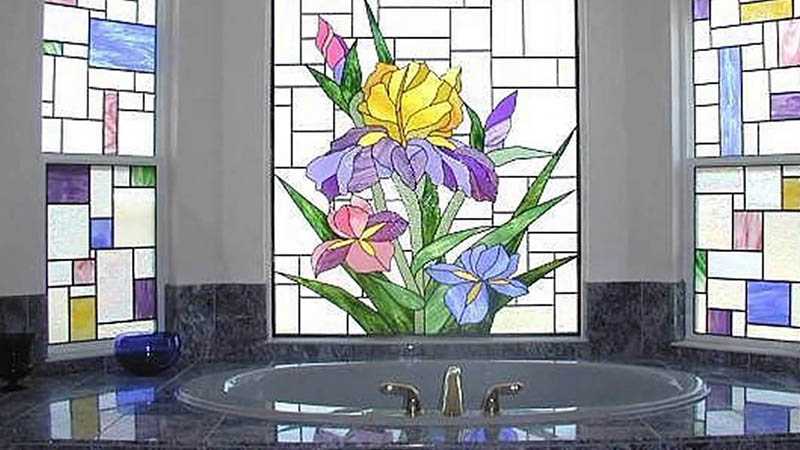
Transparent or translucent films can be used to tint glass. The film is glued to the window panes from the inside. On the first floors, this makes it difficult to see what is happening in the room, on high floors it scatters light. There are also stained glass vinyl films - they are translucent, colored, with imitation of stained glass windows of varying degrees of reliability.They and translucent films with a pattern can often be seen on door glasses installed in interior doors.
Preparation for gluing
In order for the self-adhesive film to lie flat, you need to know the rules for handling it. First of all, remember that it is thin and any protrusions, depressions, irregularities will be visible, especially on a glossy monochromatic film. Therefore, before gluing, the surface is leveled to an ideal state. If we are talking about old furniture, you can use wood putty. You can dilute the usual finishing putty with PVA, diluted with water (1: 1). With this composition, close up all the irregularities. Only knead in very small portions - literally a couple of tablespoons of the powder. Try to immediately make the surface perfectly flat - it is very difficult to sand after drying.
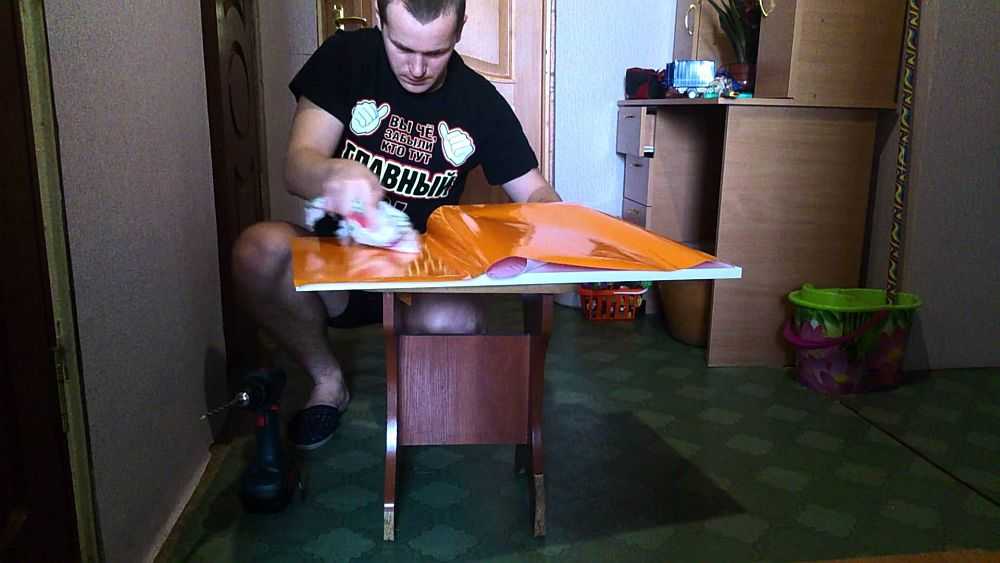
So you can change an old refrigerator using self-adhesive
The leveled surface is cleaned of dust, dirt (with water and dishwashing detergent), and dried. Everything must be removed carefully: even a drop of fat when it comes to changing the "image" of the kitchen set. If using abrasive or acidic products, everything will need to be thoroughly removed, washed several times with water and liquid dishwashing detergent.
If the surface is loose (there are areas of putty, for example), it is better to cover it with a primer. The primer is selected according to the type of surface, taking into account the adhesive composition on the PVC film. A universal option is PVA glue. It can be slightly diluted with water and smeared on the surface. Just make sure that there are no streaks and smudges - all this will be emphasized with the film. The second type of primer is acrylic. Why exactly she? Because the adhesive on the self-adhesive vinyl film has just such a base.
If the original substrate is very loose, two coats of primer may be required. After drying, check for leaks. If everything is smooth, you can start finishing.
Cut
Self-adhesive furniture film is protected from the back with thick paper - it covers the adhesive composition. On this paper, every 5 mm, lines are drawn, numbers are put down. With this marking, it is easy to cut the lengths you want.
When cutting, the film is always made larger. The amount of stock depends on which surface you are pasting, but always remember that you will not be able to "grow" a piece imperceptibly. So it's better to make more stock. If a flat plane is pasted over and there is no need to glue the ends, the margin may be a couple of centimeters. It's enough. If you need to glue the ends, do not forget to add twice the height of the ends, plus all the same couple of centimeters, but from each edge - just in case.

The reverse side looks like this
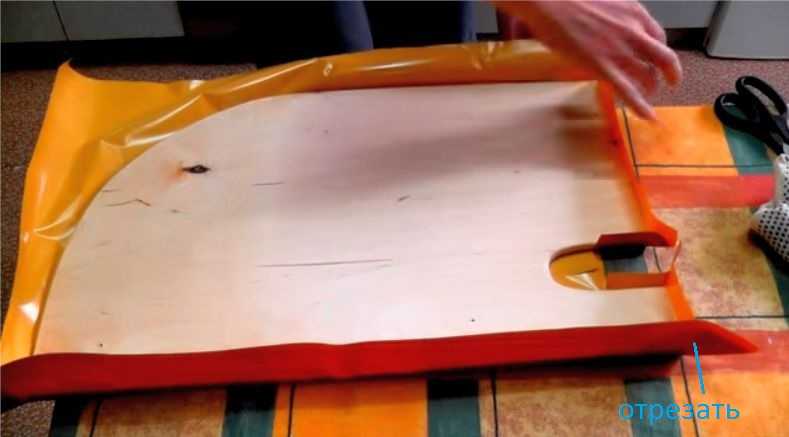
If the edges of the part to be pasted are rounded, cut off a piece that covers the entire part and still 3-4 cm remains. When making a curved cut, the film will have to be pulled, and, preferably, there is something to grab onto. Otherwise, the plan will not work.
When cutting films with a pattern, if you need to combine it, you have to cut from the front part. Then the lines of the drawing are immediately combined, then marks are applied with a knife or scissors along the desired length. Then, turning over to the reverse side, they are cut along these marks along the nearest line.
Techniques for pasting surfaces of different types
Here, it seems, is nothing complicated - take and glue. But no. To get a good result, you need to know some tricks. Better to start with small surfaces. If you are going to paste over a kitchen cabinet, start with the drawers. Having mastered the techniques, it will be possible to move to large planes.
The first thing to remember is that it's easier to work with horizontal surfaces. If you are pasting doors or furniture doors, it is better to remove them, lay them on the table / goats / stools and glue them in this position. It is possible, of course, without taking off, but this is very inconvenient, and the result is likely to be worse.
It is easier to glue on a horizontal surface
Second point.If the self-adhesive furniture film is too thin (cheap), it can stretch and fall in waves. It is very difficult to work with her, even with experience. If you are going to glue the film for the first time, it is better to pay a little more, but buy a good one. The d-e-fix is considered the best. She has perfect density, good glue, and many colors.
We glue on smooth non-absorbent surfaces: glass, plastic
Self-adhesive film is glued on absolutely smooth surfaces with preliminary moistening. You will need a spray bottle with a good spray. Pour water into it, add a little detergent for dishes (such as Fairy). Spray the surface evenly. It should be covered with water. Further, the procedure is as follows:
- The protective paper is removed from the prepared (cut with a small margin) piece.
- The film is neatly laid out on a wetted surface. Lay it down smoothly to avoid air bubbles. If air is trapped, raise one edge, drive out all the bubbles by running a rag over the film towards the raised edge, lower it.
- Position it the way you need it - it “rides” on wet glass or plastic without any problems.
- Take a thick sponge or soft cloth and expel the water from the middle to the edges.
Stained glass films are glued to glass
The result is an evenly glued film. It remains only to trim or wrap the edges. About this operation a little lower, as there are subtleties.
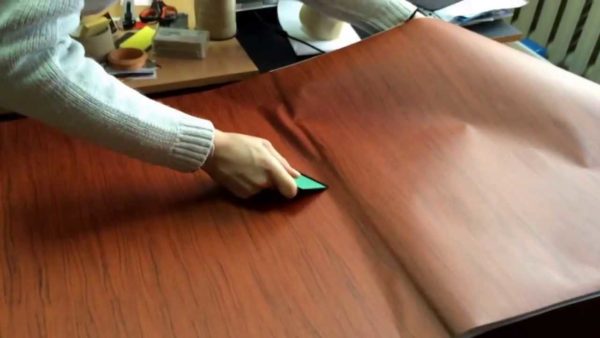
Primed surfaces
On large surfaces covered with primer, you can apply a thin layer of wallpaper glue (not too thick, no lumps), distribute it evenly, then lay the film as described above. The second method is dry. It consists of sequential gluing. This gluing method is more convenient for vertical surfaces. It's easier to get started from the top.
- Having peeled off the film in a strip of several centimeters, we place it along the upper edge of the surface to be pasted. If you need to make a bend, we leave the required number of centimeters sticking out, plus some margin. Here it is important to place the film evenly so that there is no distortion.
Self-adhesive film for furniture can be glued like this
- Further, gradually - by a few centimeters - we peel off the paper, swiping down from the already glued strip, remove the air by gluing the film to the base. Methodicality is important here - we press the film tightly, do not make jerks, squeezing all the air out from under the film. The removed paper should not be far ahead of the "pressure". In this case, bubbles may appear. We make the first "pass" with a little pressure. If we see bubbles, remove them by peeling off the desired place. This is where the quality of the film comes in handy - it can stretch. The second pass is to finally smooth out the treated area.
- Peeling off the paper in small portions, glue the vinyl self-adhesive to the entire surface.

Here the question may arise, the better to smooth the film. It's a matter of preference. It is convenient for someone to work with a palm - the surface is felt better, it is easier to regulate the degree of pressure. They also work with a dense sponge (you can try a washcloth), a soft cloth (terry cloth, synthetic fabrics, non-woven cleaning rags), use rubber spatulas and plastic cards. It doesn't matter what you use. The main thing is that the self-adhesive film is glued without bubbles.
To warm or not to warm?
There is one technique that not everyone uses: warming up the pasted film. When heated, the self-adhesive film becomes more elastic, fits the base tighter and stronger. There is also an opinion that when heated, the glue fixes the panel better. It is difficult to answer whether this is true or not, but after heating the glued surface looks better (in our opinion).
The glued surface is heated with a building hair dryer or iron. A hairdryer is heated by directing the air flow in different directions. When heated, bubbles appear, as they cool down, they disappear. It is necessary to heat until these bubbles stop appearing.Just don't think that you need to keep the air flow on the bubbles all the time, so the film can be melted. They warmed up a little, took to another place, leveled out - they returned again, warmed up. And so on until the bubbles disappear.
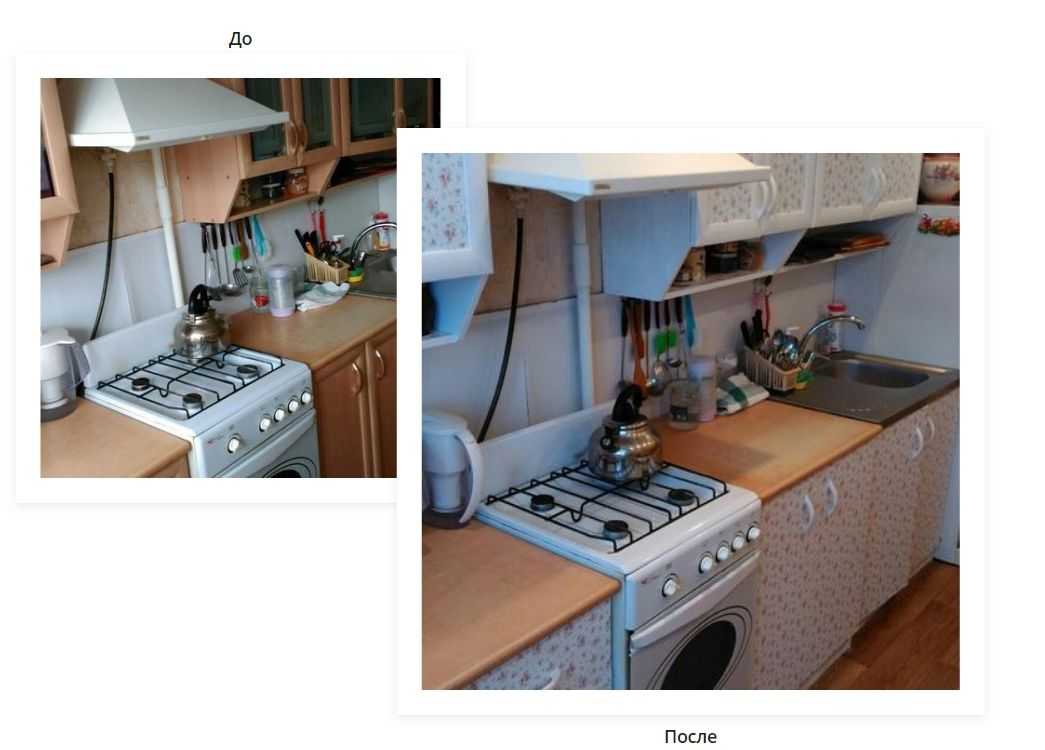
A fun kitchen option
Attention! If you decide to flatten something while heating, be very careful. Vinyl becomes very elastic and can ripple with strong pressure.
They warm with an iron like that. Take a sheet of white paper, spread it on the surface and use a warm (power level 2) iron to iron the paper several times. Minus - you will not see the result until you lift the sheet. And yet - to warm up the relief in this way will not work.
Corner decoration
If you need to glue only on a plane without bends, you can do without heating. You just need to cut the film around the edge. It is better to do this with a stationery or wallpaper knife. Use a new blade, set it at a 45 ° angle, and cut off the excess in one stroke, along the edge.
If you need to paste over a rounded corner, it is difficult to do without heating: you will have to make cuts, stick the fragments one on top of the other. It is necessary to warm up the film at the fold and after that it can be pulled so that it fits around the corner - concave or convex - without strong folds. If the self-adhesive film is of good quality, it can be stretched over the usual one - at a 90 ° angle and the sidewalls will be even. There are no cuts, it will only be necessary to cut off the excess film along the lower edge.
Without heating, you can paste over the corner of furniture with self-adhesive film in two ways. The first is more common. It is necessary to paste over the sidewalls by turning the canvas down. At the corner, the film is cut, trimmed, leaving a small "overlap" on the other side of a few millimeters. On the other hand, we do the same.

We glue the corner with adhesive film for furniture
The second method allows you to do the same, but in a shorter way. Gluing the sidewalls, glue the film in the corners so that you get even corners. We cut off the excess, but not close to the corner, but retreating 3-4 mm. Look at the photo below - it will become clearer.
Method of gluing furniture corners with self-adhesive film
Then, peeling off one side a little, glue one part, then on top of the second. The seam at the corner is, of course, visible, but not so strong that it was critical. To make everything "settle down" better, the glued place can be warmed up.
How to connect two canvases
Sticking two pieces of self-adhesive back to back, so that it is invisible - you have to try very hard. In the case of imitation of wood, this is still real, but with monochromatic canvases it is unlikely to work. Unless on glass or plastic and with good dexterity.

On textured films, the joint may be completely invisible
It is more realistic to make the joint of two canvases invisible by cutting through two layers of film. To do this, stick two parts with a slight overlap of one canvas on the other - it should overlap about a centimeter. The edge that goes over the second film is not glued or pressed. He lies free. Take a long ruler and a sharp knife. Apply approximately in the middle of the "overlap" and cut through two films. Remove the cut strips by lifting up the loosely glued edge. With it very carefully so as not to stretch. Then you return it to its place, iron it. Perfect match. And if you then also warm it up with a hair dryer, the junction can be seen only from a very close distance. This is how the self-adhesive foil can be applied to large surfaces.