How to make a stretch ceiling
If you want to have a perfectly flat ceiling quickly and without dust - there is only one way out - to make a stretch ceiling. You are unlikely to be able to make the film itself, but you can pull the finished one yourself. This may become relevant somewhere far from the city, where the installers will not go or their arrival will be too expensive. In this case, installing a stretch ceiling with your own hands is a way out.

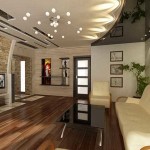
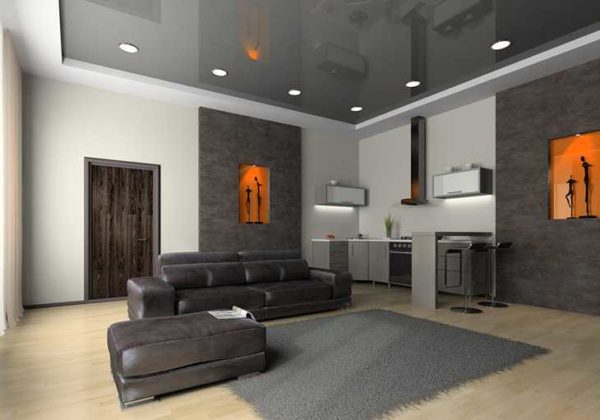
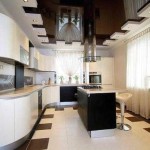
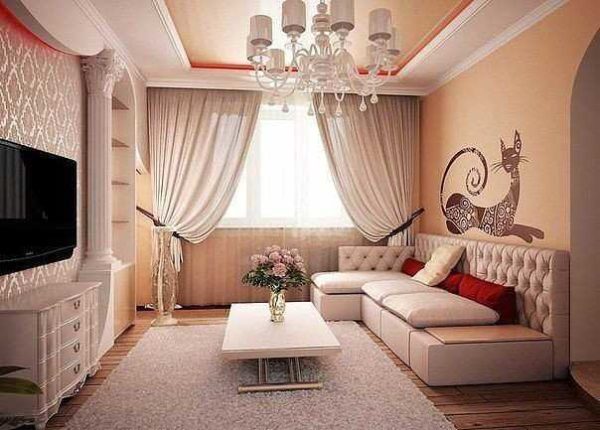
One of the stretch ceiling design options
The content of the article
Types, their comparative characteristics
There are two types of stretch ceilings: PVC film and fabric. They differ in properties and appearance. The film does not let water through, which in the apartment can serve as insurance against a flood from above. But there is no guarantee that it will withstand the weight. In addition, the film has holes for the lamps. This fact is only a "side effect" that the material gives, as well as the fact that it does not allow vapor and air to pass through.
The advantage of fabric ceilings is precisely their ability to pass air and water vapor. This is important, for example, for a wooden house where this quality is in demand. It is possible to make PVC film ceilings in a log or log house, but due to the difference in temperature or pressure, folds and wrinkles may appear on it. There is a solution - to carefully seal the cracks, which are always in such buildings, and install a ventilation grill (or several) that will unite the space from below and above, eliminating the unpleasant phenomenon.
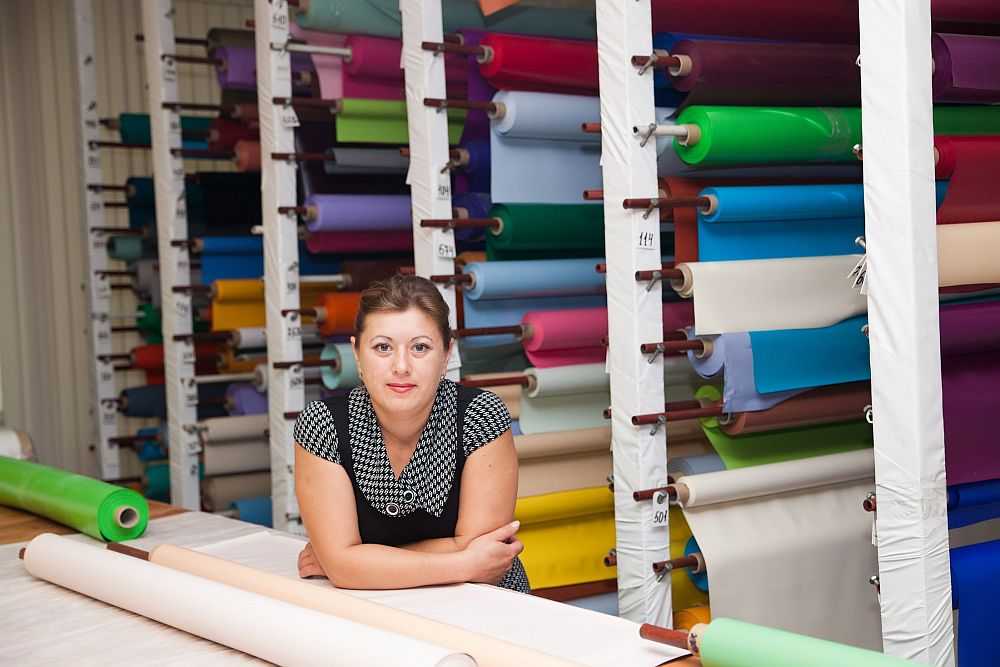
Example of assortment of film colors
The second plus of fabric ceilings is their large width. The canvases are up to 4-5 meters. You can also find 6 meter ones, but by special order and the corresponding - special - price. Nevertheless, for most rooms, this width is enough for the eyes. Therefore, this type is also often called seamless: there is no need to sew the canvases.
The disadvantage of fabric stretch ceilings is their higher cost, as well as a more limited choice of colors. But there are much more textures: there is under the skin, velvet, imitation of frosted glass and others. Also on this basis, any type of photo printing looks great. But if you want a bright gloss, it can only be in PVC film. The woven surface is either matte or slightly reflective.
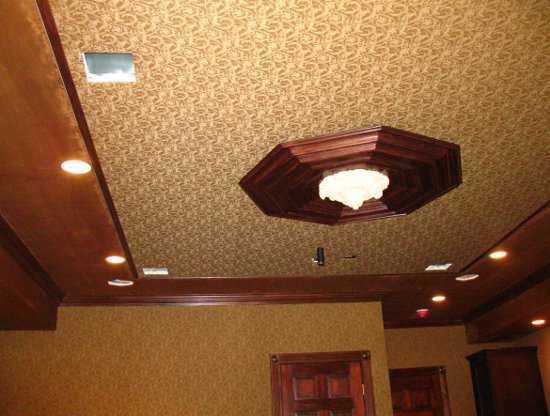
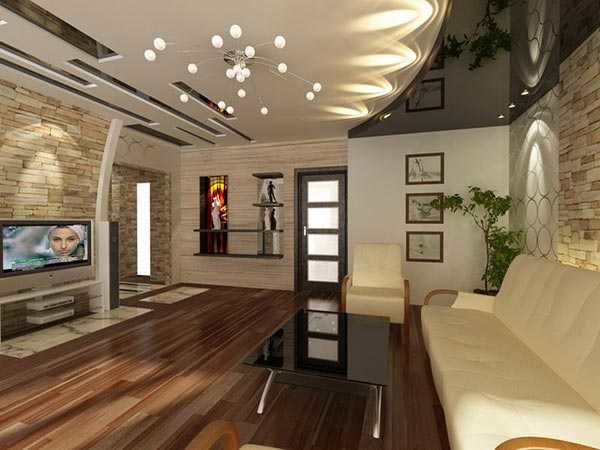
Stretch ceiling made of textured fabric (walls are also finished using the same technology)
By the way, you need to be careful with bright gloss. He, of course, visually makes the room higher. By reflecting light and objects. But it is the reflection that can play a joke with you. Everything is reflected in the ceiling. And what lies on the cabinets too. And debris and dust. Literally everything. So consider this too.
Another comparison parameter is the operating temperature. The PVC stretch ceiling can only be used at positive temperatures. At 0 ° C it becomes brittle, after -40 ° C it collapses. If you install such a ceiling in an unheated room, it may survive a winter or two (if the doors are not suddenly opened in a cold house). But then it will inevitably break. Fabric stretch ceilings are undemanding to temperatures, so they can be frozen.
Preparing for installation
You can install a stretch ceiling in a few hours. But the preparation, as well as the connection of lighting, sometimes require even more time. So let's get started.
First, we clean off everything that may fall from the ceiling. This is very important for aesthetics. Anything that shines through after stretching the ceiling.
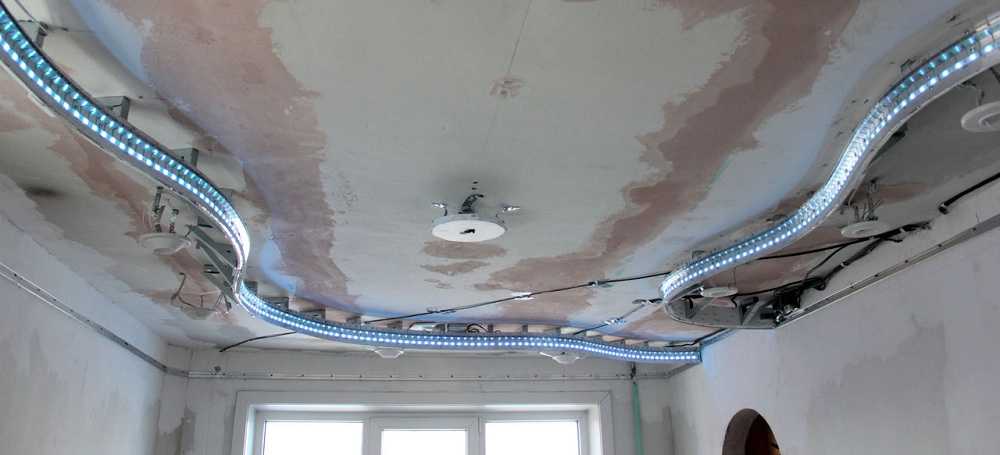
Ceiling prepared for installation: everything is cleaned, embedded for lighting installed
If the film is white or light, dark spots, if any, may be visible through it. The same problem exists in a log house: the dark ceiling will be visible. In this case, you can pre-sheathe it with some kind of material (plywood, drywall, etc.) which is covered with white paint. Alternatively, shoot some kind of white material (at least a vapor barrier).
At what stage of repair to install
Installation of stretch ceilings is carried out after the main "dirty" stages of the repair have passed, while the walls are aligned... It is possible before pasting the wallpaper, or after. Both options are imperfect. And that's why:
- If the walls are already covered with wallpaper, they get dirty when the baguette is installed. To avoid contamination, you have to close the walls, which is too much time.
- If you glue the wallpaper after installation, you need to work very carefully: the films (if you pulled it on) tear very easily. And with such work it is very easy to break it.
What is the lesser evil for you - choose. In another period, this is impossible.
Mount the ceilings after all dusty work is done, on even walls
Where and at what height is it attached
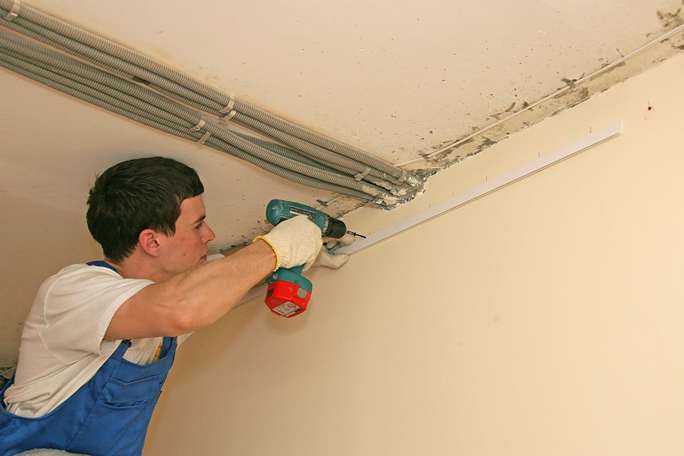
There are two types of profiles - for the ceiling and for the wall. Ceiling ones are used in cases where for some reason it is impossible to screw the supporting structure onto the walls (wiring passing in the required place is a very unstable material). In other cases, the baguette is mounted on the walls.
At what height is the baguette fixed? If there are no distortions, at the level of 4-5 cm below the joint with the ceiling. Why not at the very top? Because the strength of the wall is reduced higher, and it can crumble. The loads with PVC films are decent, so the bearing capacity is important. In addition, wiring is often laid in this place and it can be damaged. So be careful with the wiring, mark the area where it is located. This headroom also allows you to use a wider range of fixtures. As you can see, there are enough reasons.
You need to fix the baguette on even walls, stepping back 4-5 cm from the main ceiling
If the walls in the room were not leveled, but you want to install a stretch ceiling, align the area in which the baguette will be attached. If this is not done, it will bend, which will be perfectly visible from below.
On the walls of foam concrete, a beam is mounted to the wall, and a baguette is mounted to it. The tension created in this way is transferred mainly to the timber, and the wall experiences less stress.
For normal tension of the ceiling, it must be pulled in a strictly horizontal plane. Therefore, they find the lowest point of the ceiling, lay the same 4-5 cm from it, and then beat off the horizontal along all the walls. So, relative to the existing ceiling, the height difference may be different.
Differences from the main ceiling may be uneven….
The most convenient way to apply the line is with a paint cord (a thin cord, "soiled" in a free-flowing dye such as blue).
If it is decided to make a two-level stretch ceiling, it is attached to a plasterboard structure. If the mount falls on one of the horizontal rails, everything is fine and there are no problems. If lower or higher you need to add gain. This can be a profile fixed in the right place or a strip of plywood with a thickness of 5-6 mm. Both have been tried and work well.
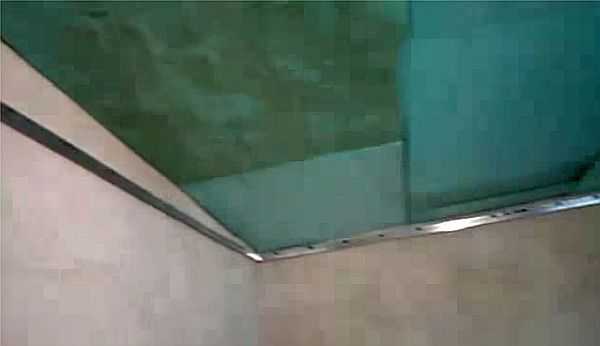
When installed in a room whose walls are tiled, the baguette is fixed 2 cm below the edge of the tile. It is important that there are no voids under it.
Wiring and fixtures for lamps
Since in stretch ceilings, lower-power lamps are used (no more than 40 W for incandescent dump and 35 W for halogen ones), more lamps are required. In addition to the main chandelier in the center, they also make peripheral lighting. In this case, usually built-in lamps are used.
It turns out that there are a lot of wires running along the ceiling. They must be secured well and correctly.If a stretch ceiling is made in a wooden house, all electrical wires are laid in fireproof pipes, a special corrugated hose or a mounting box. In other cases, it is enough to fix them to the ceiling with mounting tapes or clips.
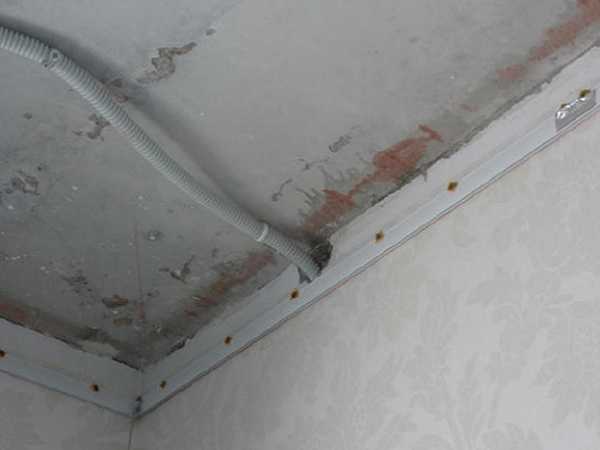
A reliable way to secure the wiring
Embedded elements are made for the installation of lamps in a stretch ceiling. Their design depends on the type of luminaire and is selected separately each time. It is only desirable that the plafonds be either directed downward, or not closer than 40 cm from the ceiling. Otherwise, after a while, yellowish spots from overheating will appear on it.
The best, perhaps, way out when choosing lamps for a stretch ceiling will be LED. They give a powerful stream of light, serve for a very long time, "pull" very little electricity and practically do not heat up. The downside is the big price. But it is justified quickly - by saving on electricity.
Installation procedure
In this section, we will talk exclusively about the installation steps, without all the other points, which are many (about them below). A stretch ceiling of any type is attached to a special profile that is attached around the perimeter of the room. The mounting method is chosen based on which walls:
- for brick and concrete, take dowel-nails;
- for wooden - screws;
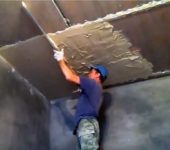
- for fragile materials (rakushnyak, aerated concrete) - first, a mortgage wooden beam is attached, then a baguette is attached to it.
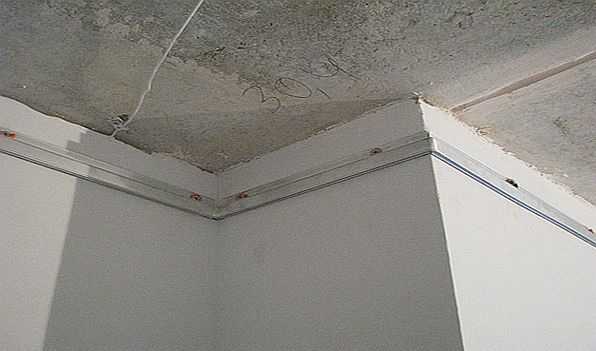
The baguette is fastened by installing fasteners every 15-20 cm. For tensioning the films it is better to take a step of 15 cm, for woven it is possible and 20 cm. Profiles for fabric and film are different, but the essence does not change. But further in the installation there are differences.
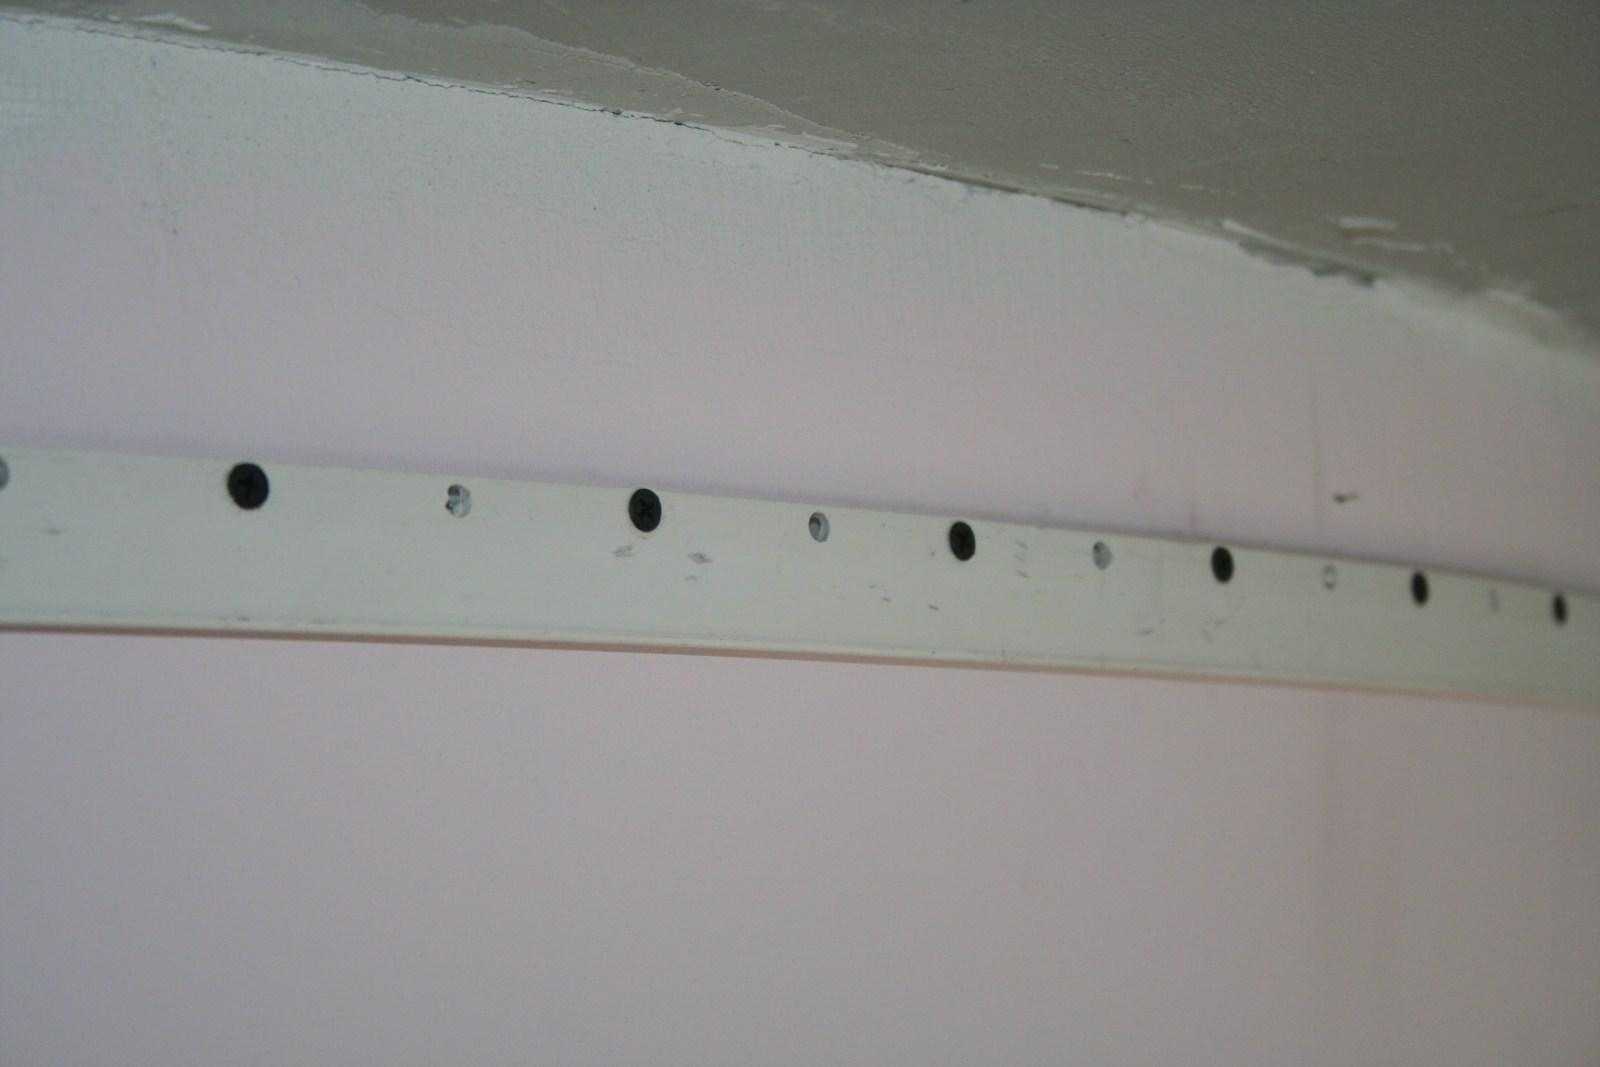
The baguette is attached every 15-20 cm
For PVC film
It should be especially noted that the material must be handled with care, as it is easily damaged by sharp objects. The technology uses heating to high temperatures, which means that everything that can be damaged from this is removed from the room.
How to install
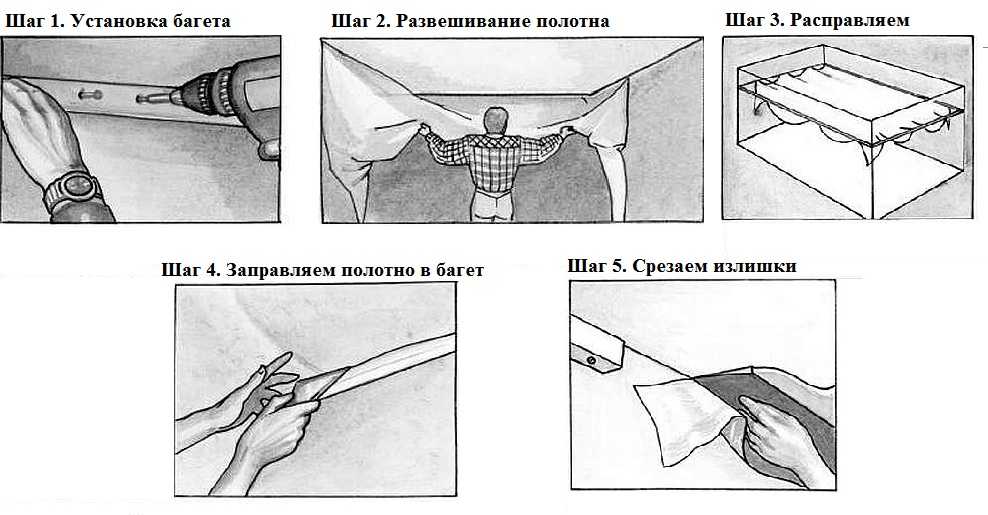
After installing the profile, there are only four steps left:
- The film is straightened, suspended (without tension) on technical clamps in the corners. First, the first two corners of the diagonal are fixed, then the second.
- Using a powerful heat gun, the film (and the air in the room) is heated to 50-60 ° C.
- The elastic film is stretched, the harpoon is tucked into the baguette. This is done using a spatula (spatula) with rounded ends (the film is easy to cut and this is one of its disadvantages).
- While the temperature is still high, if provided by technology, the technological gap is closed with a decorative overlay.
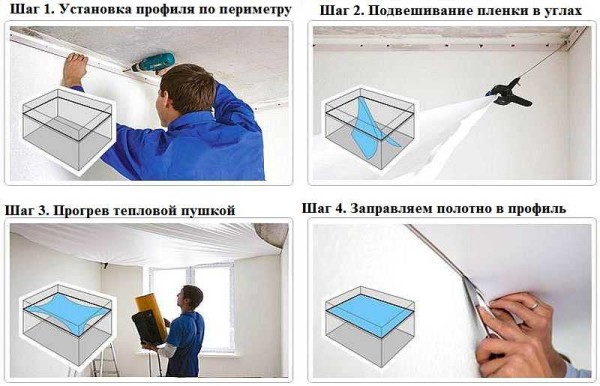
Stretch ceiling installation procedure

On this, the installation of the stretch ceiling can be considered complete. All this can be done with your own hands, but with assistants. But this is only the process itself, and there are still a bunch of accompanying ones: preparation of walls, connection of lamps, installation of bypass rings for lamps and pipes, if any.
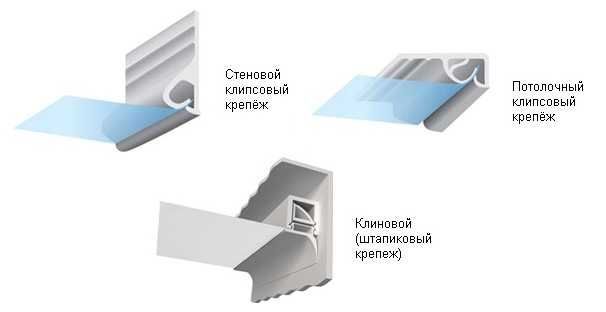
Types of profiles for films
In general, there are two systems for fixing PVC ceilings: harpoon and wedge (glazing). Recently, only a harpoon has been used, since it allows for a better and more even tension of the canvas, and also makes it possible to repeatedly mount / dismantle it.
There were complaints with the wedge system when fixing the film: it sagged, and the constriction was a problem, since the excess material was cut off after installation. Therefore, this method of fastening for vinyl (PVC) stretch ceilings is practically not used, but it manifests itself well when installing fabric ceilings.

Wedge and harpoon systems
With a harpoon system, a special plastic profile is welded along the edge of the canvas at the factory, which is inserted into another - screwed along the perimeter. The shape is designed so that they have excellent grip. But at the same time, after installation, a technological gap remains around the entire perimeter. Its special narrow skirting board (baguette), which can be white or to match the film.
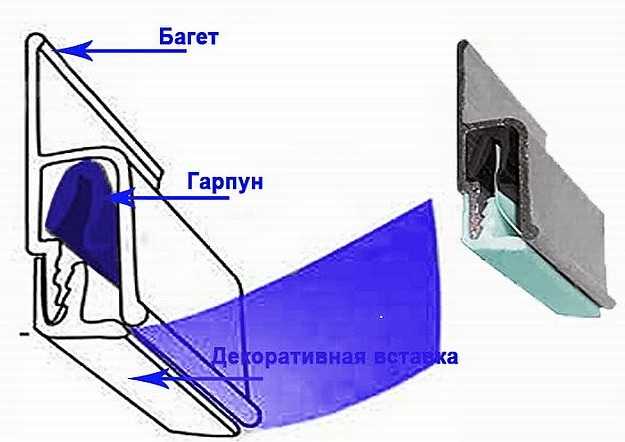
Harpoon system for fastening a stretch film ceiling
There is one more form of the same system - “gapless”. Here the harpoon is made so that the film adheres tightly to the wall, without gaps. It looks more neat, but its disadvantage is the higher price.
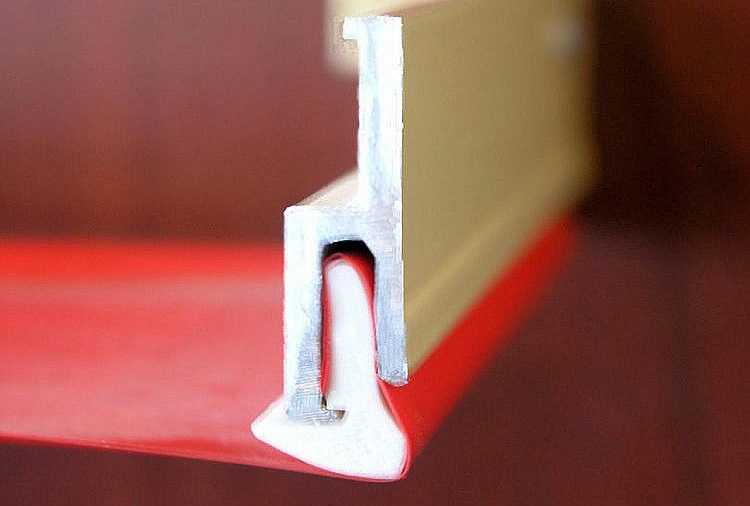
This is how the gapless system of fastening PVC ceilings looks in section.
The disadvantage of the harpoon mount is the higher cost of the system. Another unpleasant moment: high accuracy is required when measuring the room and making the canvas. Inaccuracies lead to sagging, wrinkles and folds.
Frame material
The profile that is attached to the walls can be aluminum, or it can be made of durable plastic. Good quality plastic is no less reliable, but weighs less, is easier to install (you can fix it directly on self-tapping screws without pre-drilling holes), and also weighs less. Therefore, many installers prefer it.
The consumer is attracted by plastic profiles at a lower price. So they are rarely against it.
For fabric
We can immediately say that the fabric ceilings are not afraid of sharp objects and you can not be particularly almond with them. Even if they break, the hole does not part. It can be nicely "patched up" so that nothing will be visible. But the fabric is heavier than the film, therefore only aluminum profiles are used: they are able to withstand the weight without difficulty. But they are more expensive, which is added to the higher price for the fabric itself (compared to PVC).
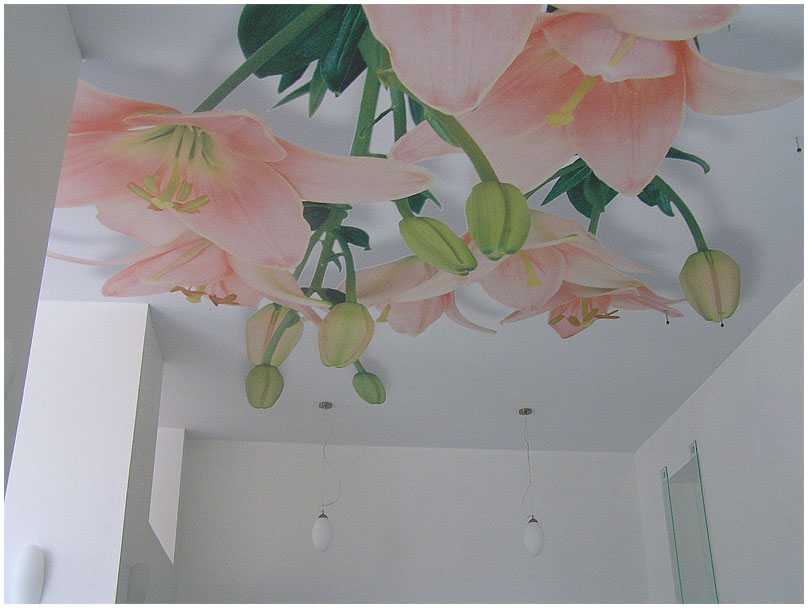
Photo printing can only be applied to fabric
Another feature is that the fabric is not heated. It is simply pulled well and fixed in the baguette. Therefore, special accuracy is not required when cutting the canvas. It is cut with an allowance of 10-20 cm: for ease of installation. The surplus is then cut off.
On the one hand, this is a plus - simple installation. On the other hand, there is a minus: you can stretch it unevenly. Before trimming it is possible to fix everything, but after ... you can only pull it into a smaller room.
How to install
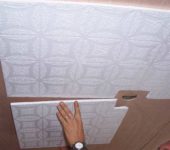
As before, the profile is first screwed around the perimeter of the room. Then the fabric of the stretch ceiling is brought in and unfolds.
Installation of fabric stretch ceiling
It is first laid out on the floor along a short wall. Raising the edge up, in several places (after about 50-60 cm) they fix it by simply inserting it into the profile. They try to wind up the edge exactly so that there are no distortions.
Pulling the canvas away from the wall (step 2 in the photo), it is tucked into the side profiles one by one: then on one side, then on the other. The second short side is fixed last. It turns out a ceiling with sagging, but more or less evenly spread (step 3).
The next step - the fabric is finally straightened and tucked into the profile with a special spatula. If the perimeter of the room has good geometry, you can focus on the remainder: it should be the same length. But even with careful alignment, small creases remain near the baguette. They are straightened by heating - a building hairdryer, but at medium temperatures. After everything is aligned, cut off the excess fabric.
Profile types
As already mentioned, the fabric stretch ceiling is fixed using glazing beads or a wedge-shaped system. The section of the baguette is very similar to those used for film.
Baguettes for woven stretch ceiling
There is also another system - clip, developed by the manufacturer of fabric ceilings Clipso. It is much more convenient to install, but it also costs more.
Photos of some interesting options
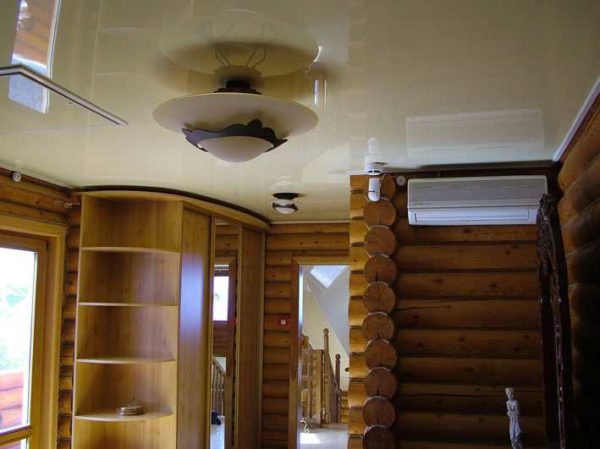
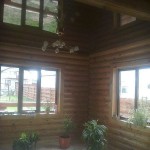
There are so many variations and design options for stretch ceilings that you can easily make a unique development. The material is plastic, it can be combined with almost all materials. Even with those that do not seem to fit in texture, like wood, for example. But it only seems so. Several photo examples of stretch ceilings in a wooden house are given below. As you can see, everything goes well.
-
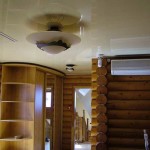
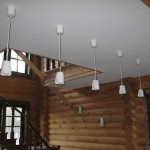
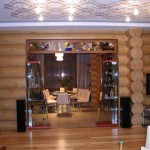
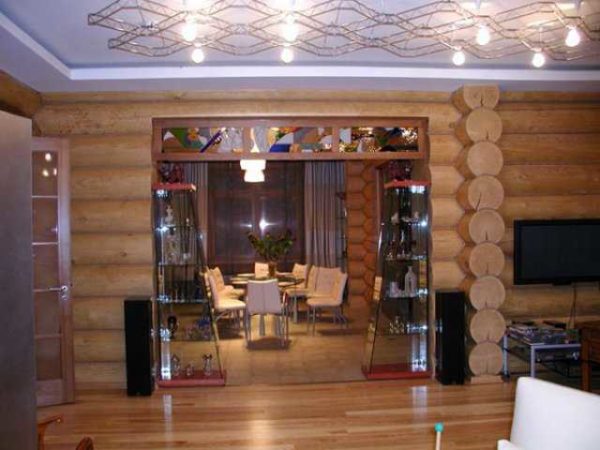
- Photo of a hallway in a house made of logs with a stretch ceiling
-
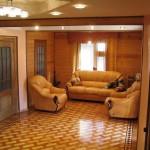
- Warm tones of films fit perfectly

-
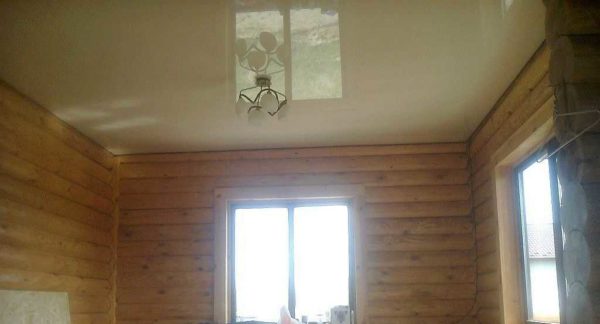
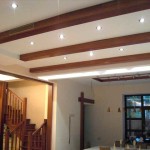
- Traditional white ceiling combined with beams - looks great
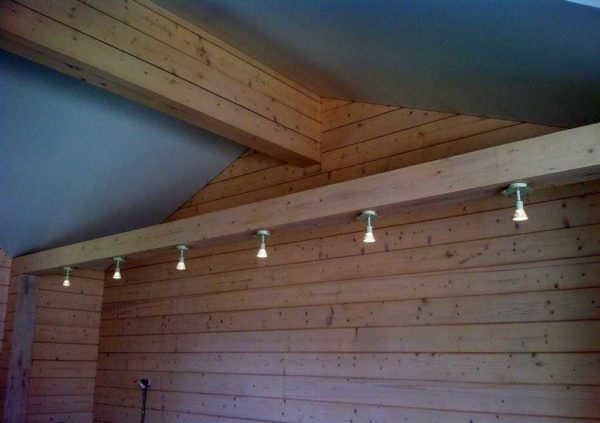
-
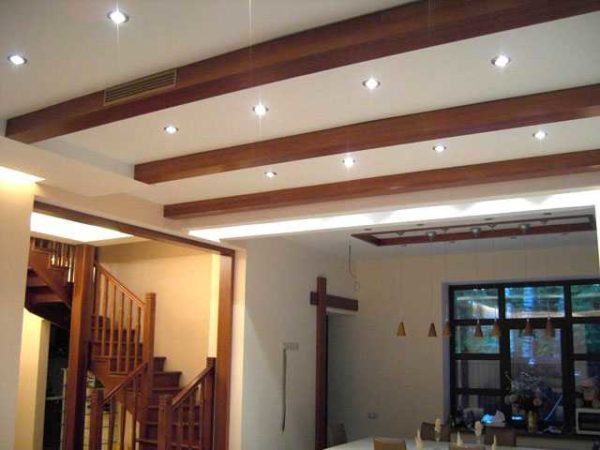
- The abundance of light allows the use of dark colors on the ceiling
-
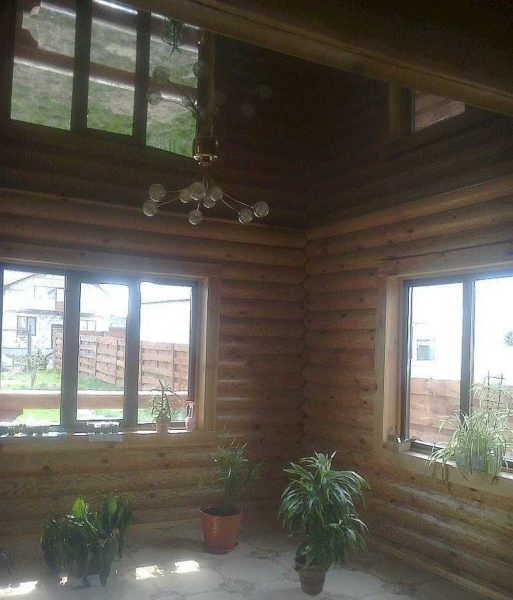
- Glossy stretch ceiling in a log house
-
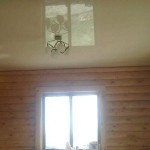
- Matte white against wooden walls - looks great
-
- Traditional decor with unconventional material
-
- A very interesting option
This is, perhaps, the technology that allows you to realize really any fantasy. Want gold on the ceiling - easily, you need velvet - no problem, a photo - choose which one. The number of levels and their form is limited only by fantasy.
-
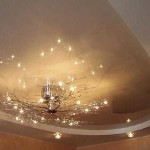
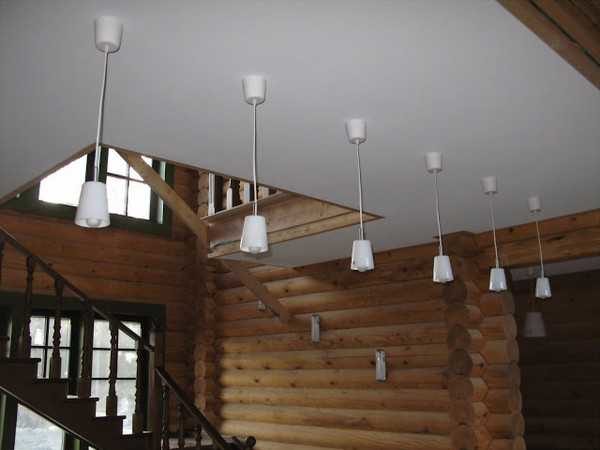
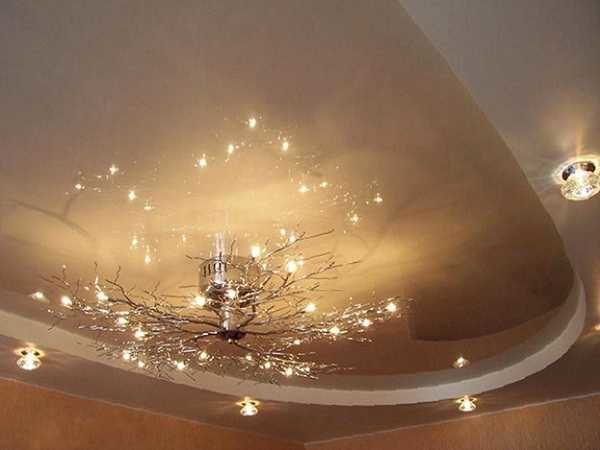
- Luminaires play a significant role in creating the effect.
-

- Stretch ceiling with photo printing - even a map of the world

-
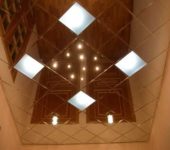
- Beautiful play of light - directional spotlights behind the film
-
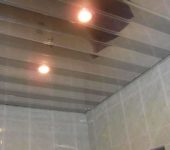
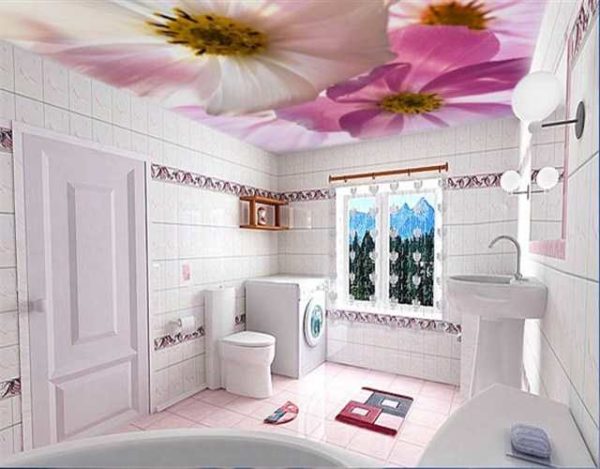
- You can also use a stretch ceiling in the bathroom.

-
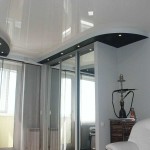
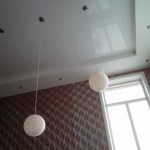
- Gloss fits perfectly into minimalism and hi-tech
-
- Matte films or fabrics are compatible with any interior
-

- You can portray anything you want
-
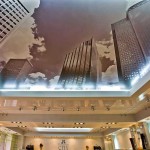
- Popular cityscapes

-
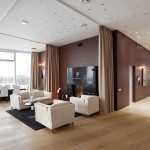
- Modern style is also combined with stretch ceilings

-
- The main thing is to create harmony
-
- An interesting play of colors)))
-
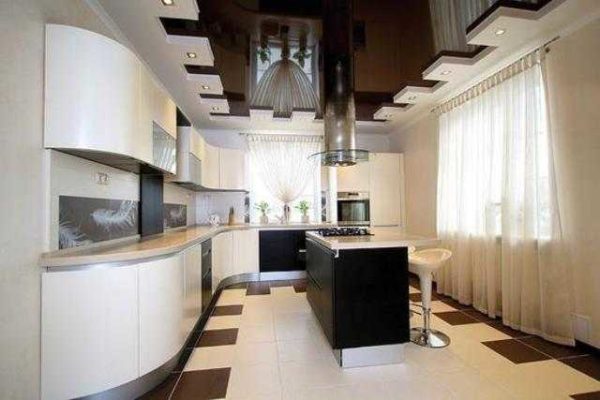
- Black and white ceiling and the same room decoration

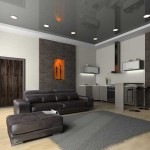
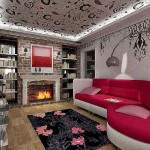
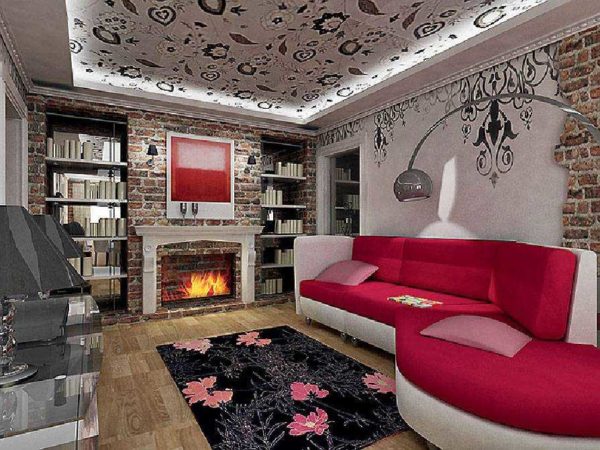
-
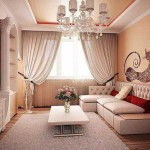
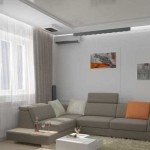
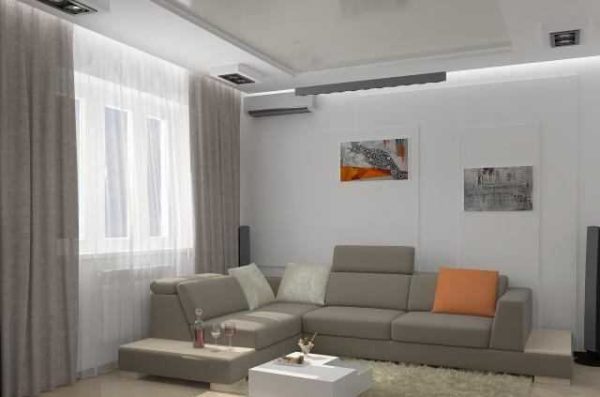
- Stretch ceiling in the living room
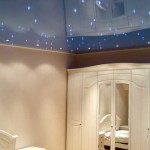
-

- There are options for the children's room too

-
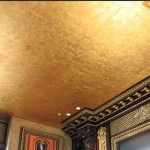
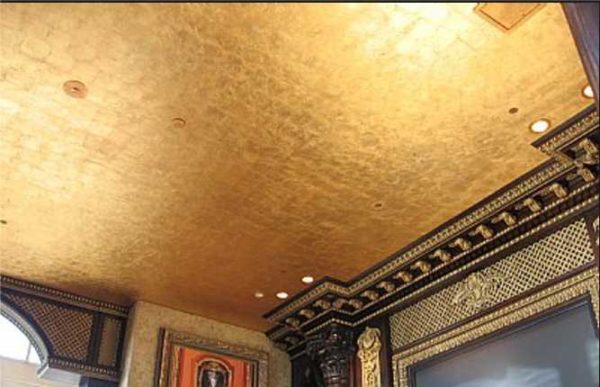
- Gold for luxurious interiors in classic style
-
- Optimal lighting solution