We plaster the ceiling ourselves
A flat ceiling is one of the components of modern renovation. One way of leveling is by plastering the ceiling. The technology is not very complicated, but it requires accuracy. With modern materials and tools, this work can be done by hand. This is not to say that it will be easy, but you can cope without the skills of a plasterer.
The content of the article
With or without beacons
There are two technologies for plastering the ceiling - with and without beacons. That's right - to do with lighthouses. Then the surface of the ceiling is obtained in one plane. However, there are ceilings with a very large height difference. Throwing a layer of plaster 5 cm thick on the ceiling is dangerous: it may fall. Even if you make several layers with the application of a primer after each, there is still no guarantee that such a large layer will hold.
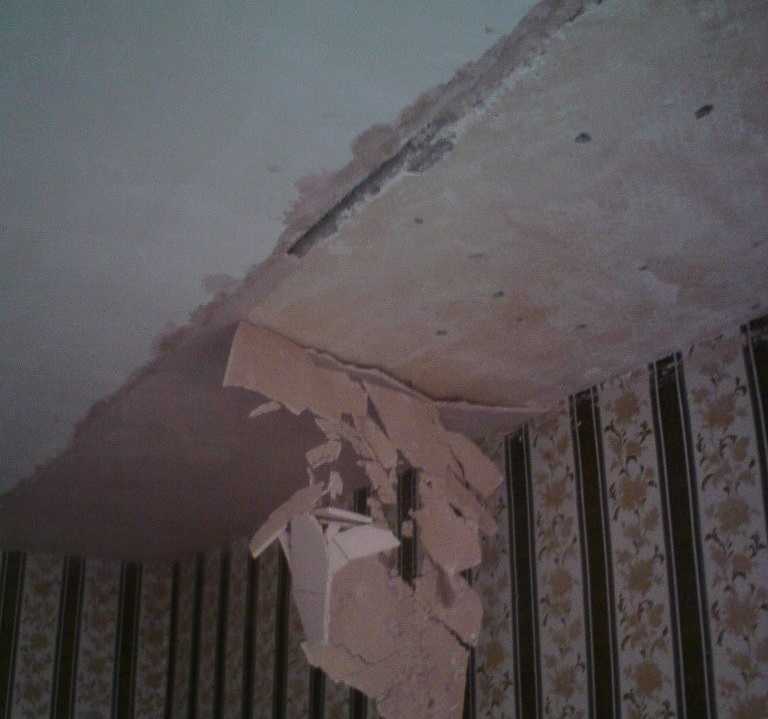
Incorrectly applied plaster can fall off
In general, with a large curvature of ceilings, it is recommended to level them suspended plasterboard ceilings, but not all rooms allow you to "steal" about 10 cm in height. In this case, you can do the wrong thing - plaster the ceiling without beacons.
The whole idea is to make the ceiling smooth in some area. It will not have noticeable drops, it will visually look as smooth. And the fact that in different corners the distance to the floor will differ by several centimeters cannot be determined "by eye". With this technology, the main task is to make the joint of the ceiling and walls even. This line is very clearly traceable and should be straight. If you choose this technology for plastering the ceiling, you need to start plastering from the walls towards the center.
The better to plaster
For plastering the ceiling, you can use a regular cement-sand mortar, or the same, but with the addition of lime. But it is advisable to apply a small layer at the same time. Although this mixture turns out to be the cheapest, it has been rarely used lately - it can fall or crack.
The place of the usual mortar was taken by polymer-based plasters, which have better adhesion, less often cracks. Their disadvantage is the high price. But reworking the ceiling after the applied layer has dropped will not be cheaper. Therefore, they prefer to immediately make plaster flow from modern mixtures. Some types of similar materials recommended for ceilings are shown in the table.
| Name | Appointment | Colour | Layer thickness | Binder type |
|---|---|---|---|---|
| Knauf Rotband plaster mix | For plastering smooth walls and ceilings | White gray | 5-50 mm | Gypsum with polymer additives |
| Knauf Sevener Plaster-Adhesive Mix | For the restoration of old plaster surfaces, including facades | Grey | Portland cement with polymer additives and reinforcing fibers | |
| Bergauf Bau Interier plaster | For plastering in rooms with normal humidity | Gray / White | 5-40 mm | Cement with polymer additives and perlite filler |
| Volma-Canvas Plaster | For indoor areas with normal humidity | 5-50 mm | Gypsum-based with chemical and mineral additives |
If the experience of plastering is small, when choosing a composition, pay attention to the time until the mixed solution hardens. During this period, it is necessary to apply and level the entire solution, because then it begins to harden, loses its elasticity. Of the plasters listed in the table, Volma has the longest "life". But not everyone likes to work with her, many say that it is easier with Knauf, although their hardening time is shorter - 50-60 minutes, but it is more than enough even in the absence of experience.
Primer, why is it needed and which is better
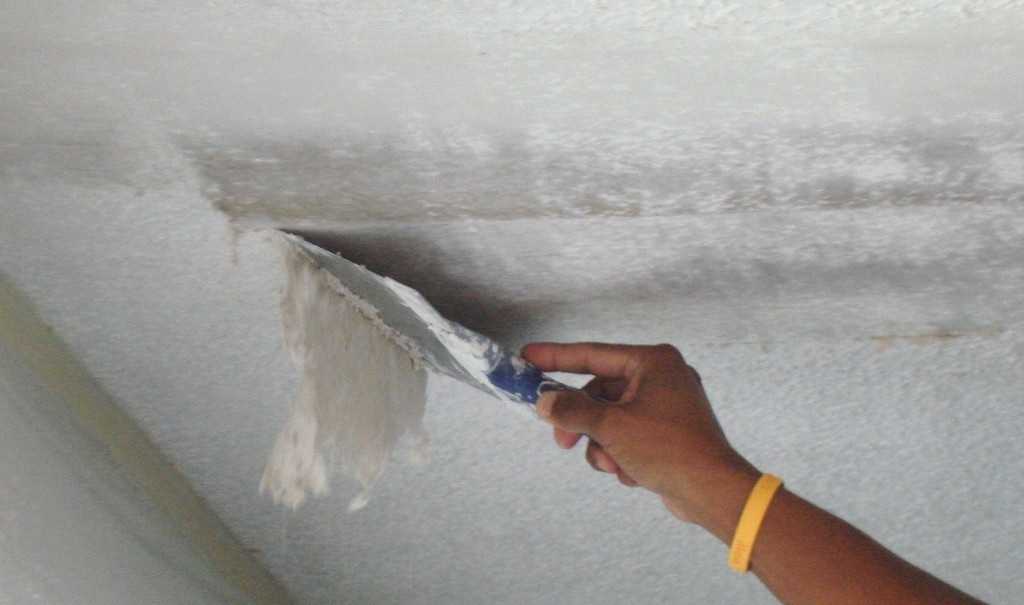
Normal plaster of the ceiling without a thorough primer, you will not succeed. It improves the adhesion (adhesion) of the plaster mixture to the base. Basically all the problems with falling and peeling finishes on the ceiling are due to the fact that the base has not been primed. Therefore, we do not skip this stage. Moreover, if there are several layers of plaster, it is advisable to treat each of them with a primer (with complete drying).
First, we prepare the base - we clean it of old coatings, and then we process it with a primer. To do this, pour the composition into a paint bath, take a roller on the length of the handle (telescopic rod) and distribute the composition over the ceiling. If there are any depressions - recesses, defects on the surface of the ceiling, into which the roller simply does not fit, we pre-treat them with a brush dipped in a primer.
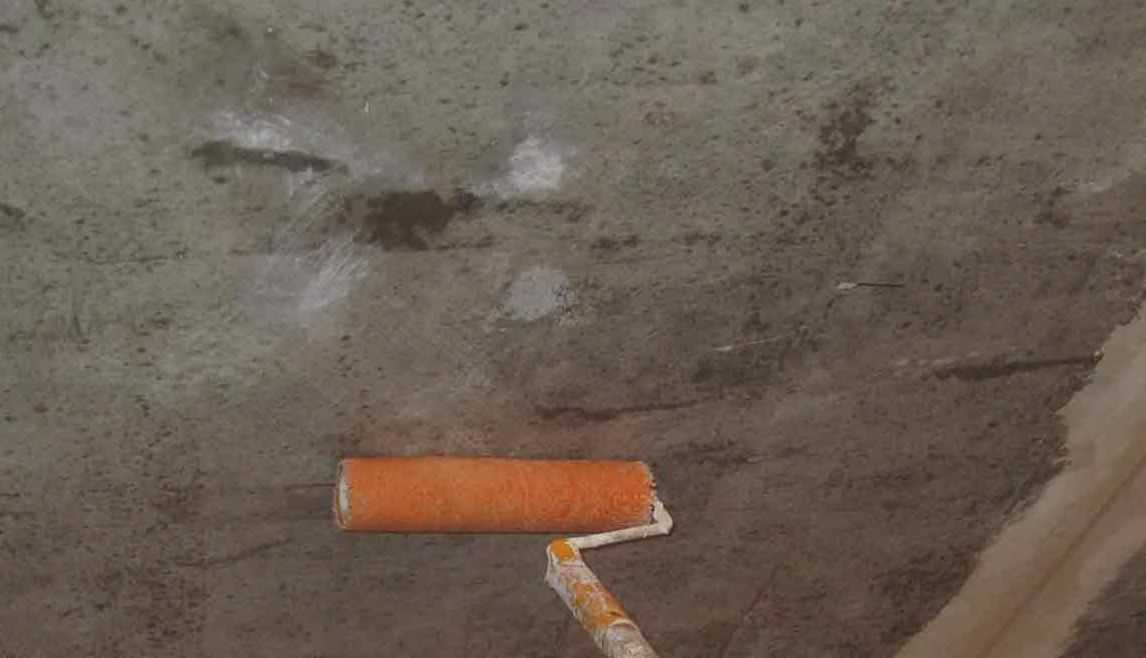
Ceiling primer before plastering
Now about which primer is better for the ceiling. According to the masters, this is "Betonokontakt" by "Knauf". After drying (24 hours), a rough, sticky film remains on the surface. Putty “clings” to it perfectly. Just one point: you need to make sure that while the primer dries, no dust gets on it. Otherwise, there will be no effect from such processing. It can only get worse.
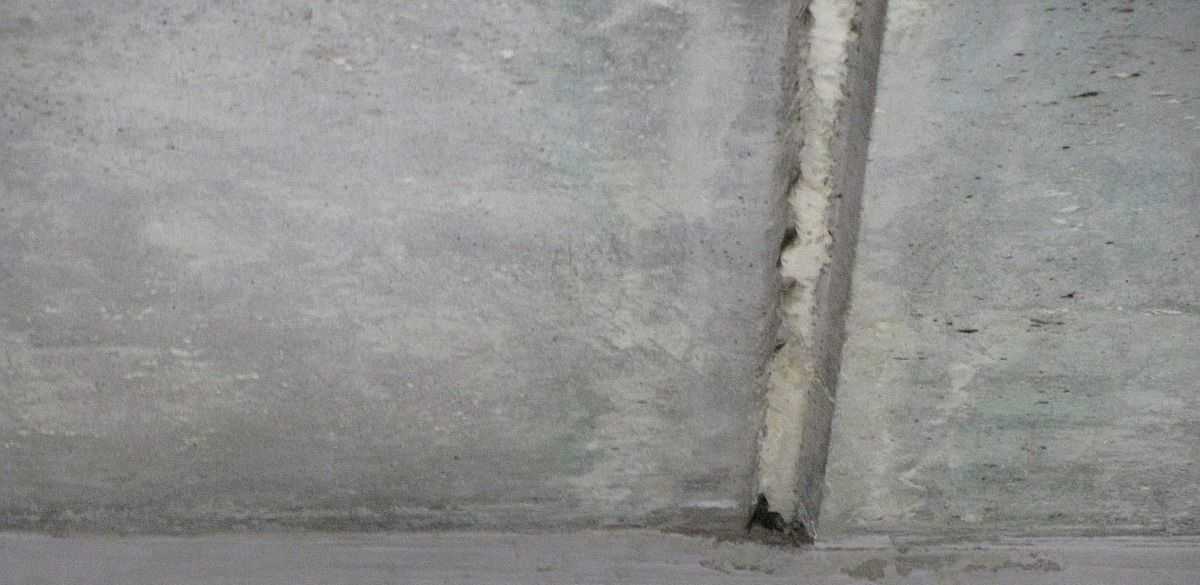
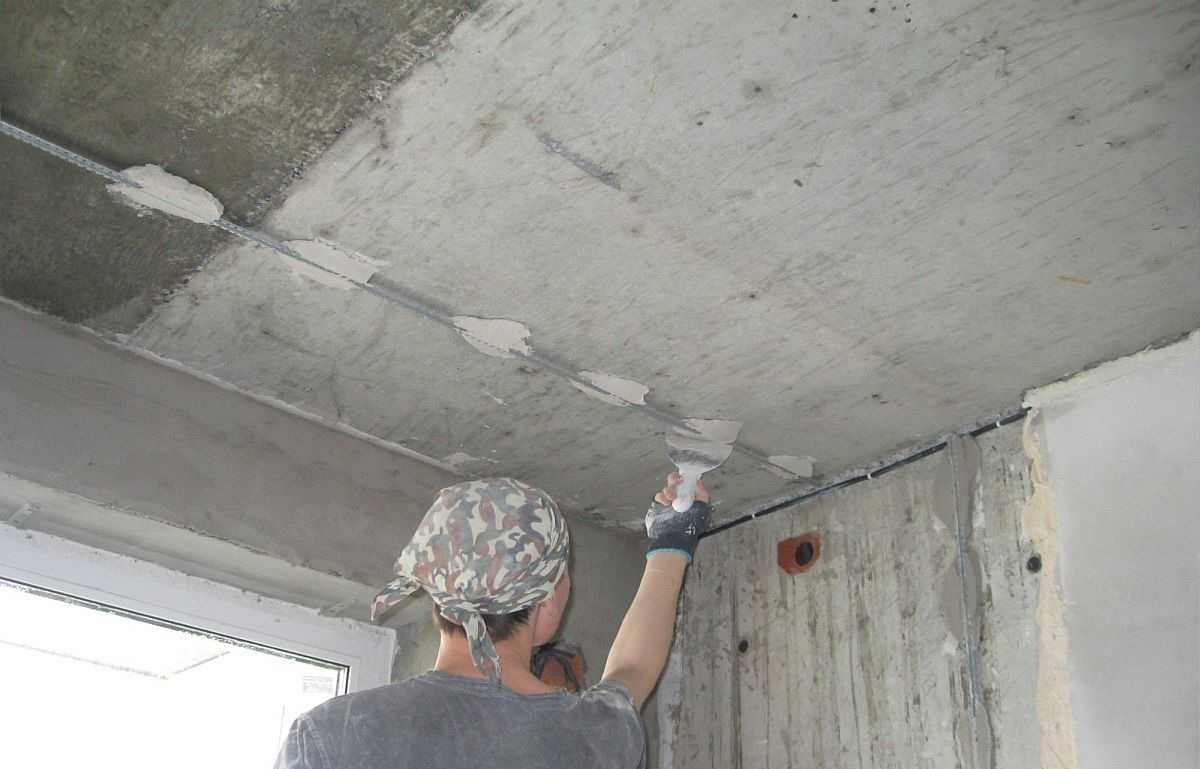
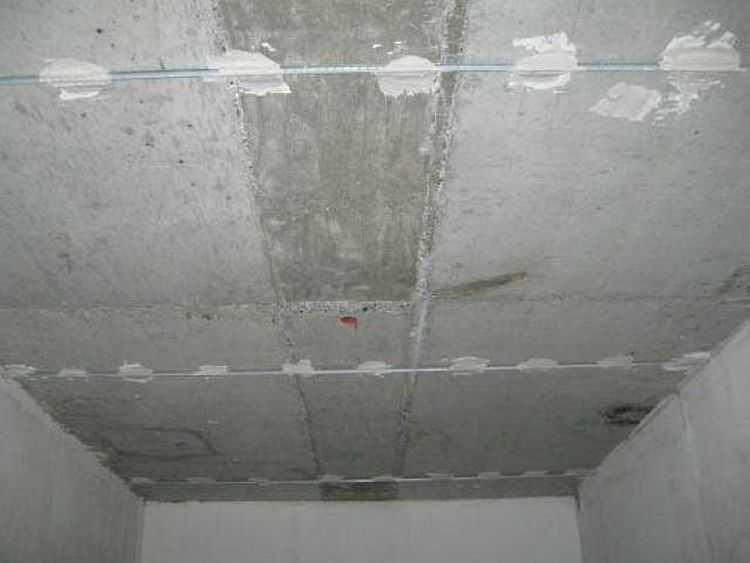
How to close up joints of slabs and rustication
When plastering a concrete ceiling made of reinforced concrete slabs, the main problem is the sealing of joints and rusts - recesses at the joints. They are sealed a few days before the general plastering of the ceiling begins - it is necessary that all materials "grab".
First, everything that turns out is removed from the joints. Then, with a brush, everything is cleaned of dust and sand. Prepared joints are coated with a primer. Most often they recommend "Betonokontakt". Such processing significantly reduces the possibility of delamination of the applied plaster layer. If this option is not suitable for some reason, you can use any deep penetration impregnation, but the effect will not be the same.
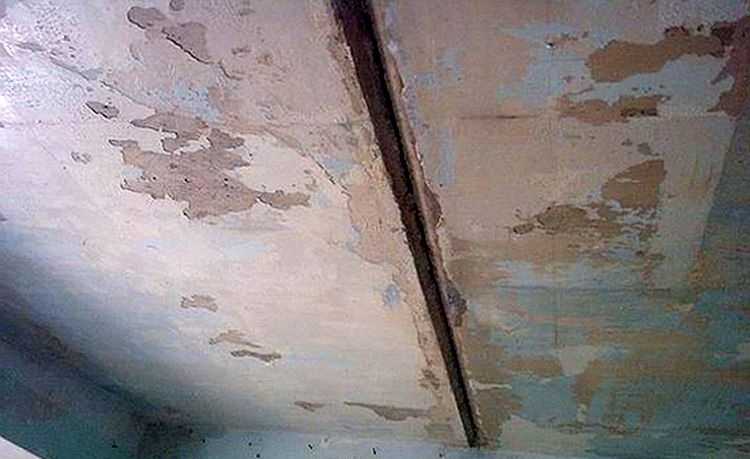
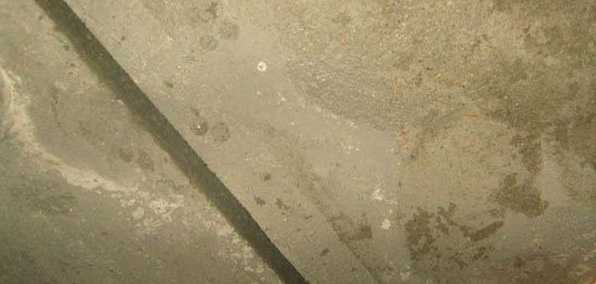
Such seams on the ceiling are not uncommon.
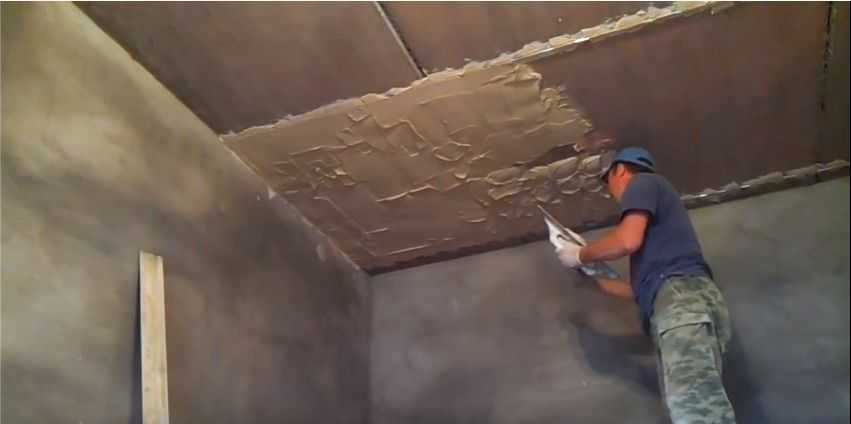
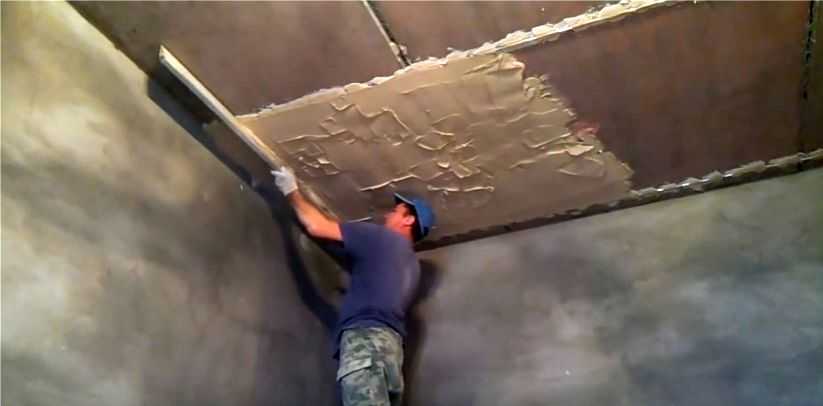
After the impregnation has dried (24 hours from the moment of application), the solution is applied. If a layer of more than 30-35 mm is required, it is better to apply it in two layers. Having laid the first one, a relief is formed on it with a notched trowel. A day later, when the solution dries up, a second layer is applied. It is already level with the ceiling.
With a large layer of plaster, the joints of the slabs are sometimes reinforced with a layer of paint stack. It is needed so that cracks do not appear at the seam during seasonal slab movements. It is unlikely that someone will nail the mesh to the ceiling, it is usually simply attached to the composition. In this case, after applying the first layer of plaster, a strip of polymer plaster mesh is laid, a notched trowel is passed over it, deepening it into the solution and, at the same time, forming a relief for applying the second layer.
When plaster is applied in two layers, a relief is formed on the first
Sometimes the rust (crack in the seam) is very deep and there is no way to seal it with mortar. It is also preliminarily cleaned from crumbling parts and sand, treated with "Betonokontakt". After that there are two options:
- Seal with polyurethane foam. We put it a little, about 1/3 of the volume of the gap, having previously abundantly moistened the walls with water (needed for normal foam polymerization). We leave it for a day, after which we cut off the foam so that the plaster fits into the seam at least 1 cm. After that, we prime and apply the plaster in two (or three) layers.
It is inconvenient to hold a can of foam against the ceiling, you can put a piece of hose on the "spout". It's much easier to work this way
- Take a rag, moisten it with Concrete Contact, hammer into the gap. Leave on the ducks, then plaster.
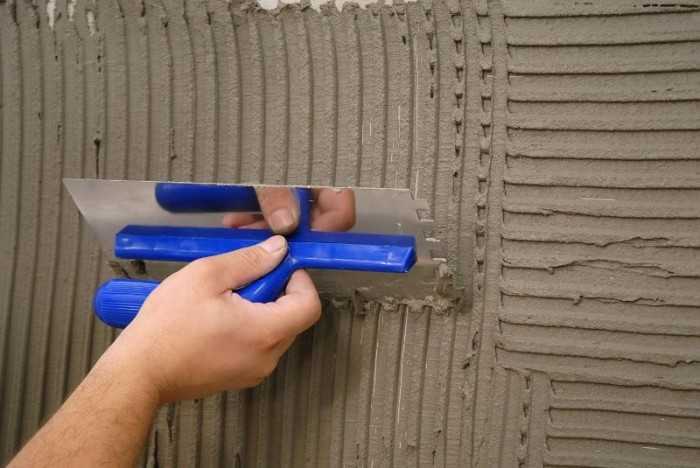
The question may still arise how to seal the joints of the plates on the ceiling. Usually one of the formulations with polymer additives is used, and you can also use a good tile adhesive. It also contains a considerable amount of polymers. They say that after such a seal, the joints do not crack.
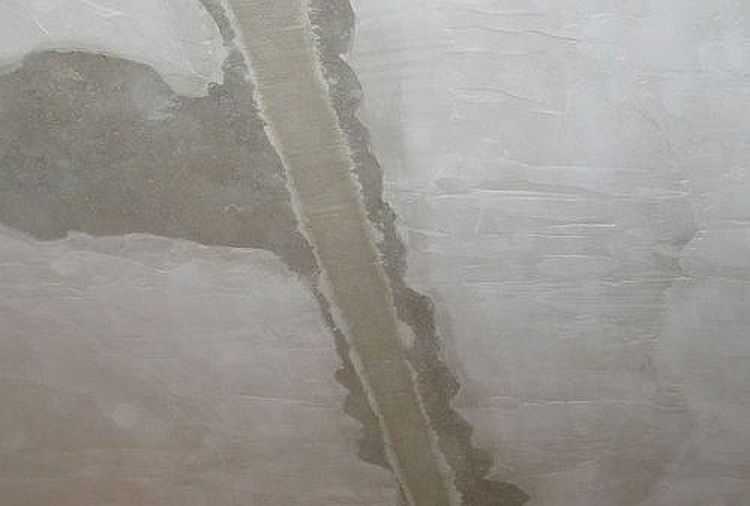
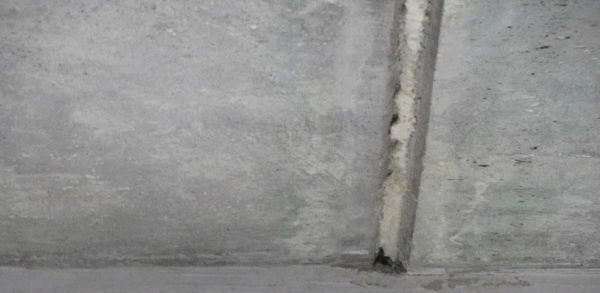
It looks like a seam on the ceiling
Plastering the ceiling on the lighthouses with your own hands
If you ever plastered the walls, it will be easier for you. The plaster of the ceiling is slightly different, but not drastically. The biggest difficulty is that you have to keep your hands up - they get tired, the neck also gets tired - you have to throw your head back.
Preparation
First, the ceiling is cleaned of all available finishing materials, down to bare concrete. Then dust is removed from the surface. If there is a construction vacuum cleaner (not a household one, it will clog up), it is convenient to work with it, if not, just remove all dust and sand with a large brush.
First we clean everything to clean material
If the ceiling is made of reinforced concrete slabs with large rustications, they are covered. After the mortar has dried on the rustic stones, a primer is applied to the clean surface. after 24 hours work can be continued.
Installation of beacons
The first stage of plastering the ceiling is the installation of beacons, but first you need to determine the maximum and minimum height difference. It is more convenient to do this using a laser plane builder. It is installed under the ceiling, included in the horizontal plane. Measured at a number of points measure the distance from the ceiling to the luminous beam. In this way, the maximum and minimum deviation is found. The thickness of the plaster layer should be slightly greater than the largest deviation.
The same operation can be done with the water level, but it will be much more difficult. First you need to apply a horizontal line along the perimeter of the walls at some arbitrary distance from the floor. We fix one end of the level at this mark. With the second, we go around the room, measuring the distance from the water column in the level - to the ceiling. So calculate the same maximum and minimum points.
Having decided on the layer thickness, select the beacons. These are galvanized perforated strips with a protruding backrest. These backs will be the supports when leveling the mortar. The height of the back of the lighthouse can be 6 mm and 10 mm. We choose the one that is slightly larger than the maximum deviation found.
Installation of beacons on the ceiling
Beacons are placed in increments, slightly less than the length of the rule - the tool with which the solution is leveled and cut off. With a rule length of 1.5 meters, beacons are placed at a distance of 1.1-1.3 m. It's difficult to work with longer ones out of habit, shorter ones are not worth it - there are too many seams. First, they put the extreme beacons, stepping back from the walls 20-30 cm. The remaining distance is divided so that the distance between the beacons is within the specified limits.
Fix the beacons on a plaster solution, knead it thickly. Islets of this solution are applied along the line of installation of the lighthouse (you can draw on the ceiling). The strips of the lighthouses are pressed into it, exposing their backs in one given plane. If there is a plane builder (level), everything is simple - set it along it - the beam should slide along the back.
If we work with a water level, we transfer the required "final" level of the ceiling to the walls, pull several cords so that they are directed along the lighthouse. Along these cords we insert the backs of the slats. After setting all the beacons, check the plane with a rule with a bubble level set on it.
The distance between the beacons on the ceiling is 1.1-1.3 meters
After the plaster has set (several hours should pass), you can start plastering the ceiling.
Application and leveling of plaster on the ceiling
At this stage, the work will require a stable construction trestle with a large area between them. From tools - a small spatula and a construction falcon - a platform with a handle.
The selected plaster mixture is diluted strictly according to the instructions. The solution should be homogeneous, without lumps. A solution is applied to the falcon from the container, then it is placed on the ceiling in portions using a small spatula. It is probably more convenient to send the solution with a sharp movement of the brush, but you can simply “apply” the solution to the ceiling. Here everyone chooses their own way.
We fill the space between the beacons with a solution
The distance from one lighthouse to another is filled with plaster. The width of this strip for a start is 50-60 cm. When laying, you should not achieve a uniform surface. It is filled with chaotic strokes.
We take the rule, lean it on the beacons, move it towards us, shaking it from side to side. With this movement, a certain amount of mortar remains on the bar.
We take the rule, we start leveling
We remove it with a small spatula and send it to the ceiling - to the unfilled part or where the pits were found. After filling in the holes, we draw the rule again. These are the basic techniques for plastering the ceiling, we repeat them until the site becomes even.

Stretch out several times, filling in the holes
So, gradually, one strip is filled, then the second, and so - the entire ceiling. We leave it to dry for 5-8 hours.
Extraction of lighthouses and embedding of rusts
When the solution has set, but has not yet dried, take out the beacons. If left on, the metal will start to rust, and rusty streaks may appear on the ceiling.
After removing the lighthouses, rusty remains, they are sealed with a solution
The rusts remaining after the lighthouses are filled with the same solution, leveled at the same level with the ceiling plane using a wide spatula. There is no point in using the melt - it is too long. After that, we can assume that the plastering of the ceiling with our own hands is finished. It remains to wait for it to dry completely. This will take from 5 to 7 days - depending on the composition.