How to make a weather vane
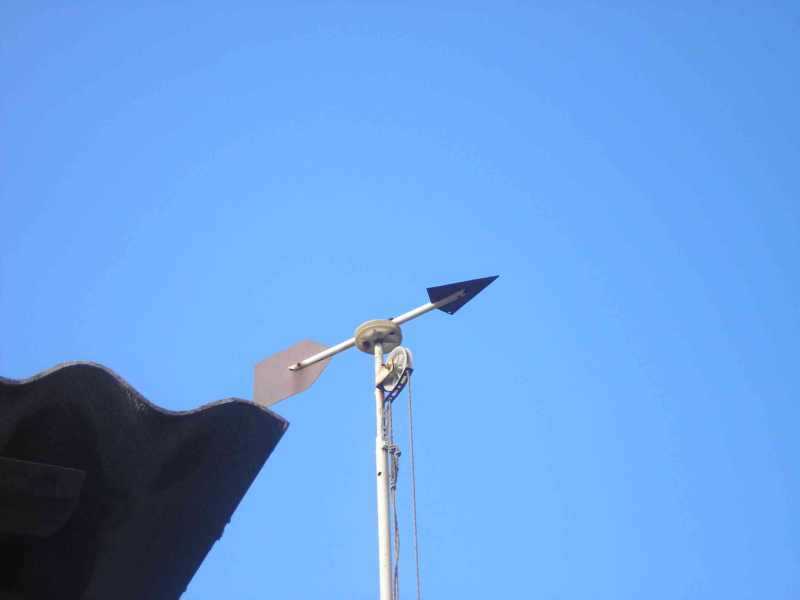
Knowing the direction of the wind can be useful, because it is not for nothing that wind indicators - weathercocks - have been installed on almost all roofs. There are very simple models - just an arrow that shows where the air flow is directed. There are whole works of art - voluminous models. About how and from what to make a weather vane with your own hands and we will talk further.
The content of the article
What to make a weather vane
Wind direction indicators are made from a wide variety of materials. The main thing is that these materials are durable and weather resistant. The following materials meet these conditions:
- Sheet steel from 2 to 5 mm thick. The weather vane turns out to be very durable, but working with such metal is difficult.
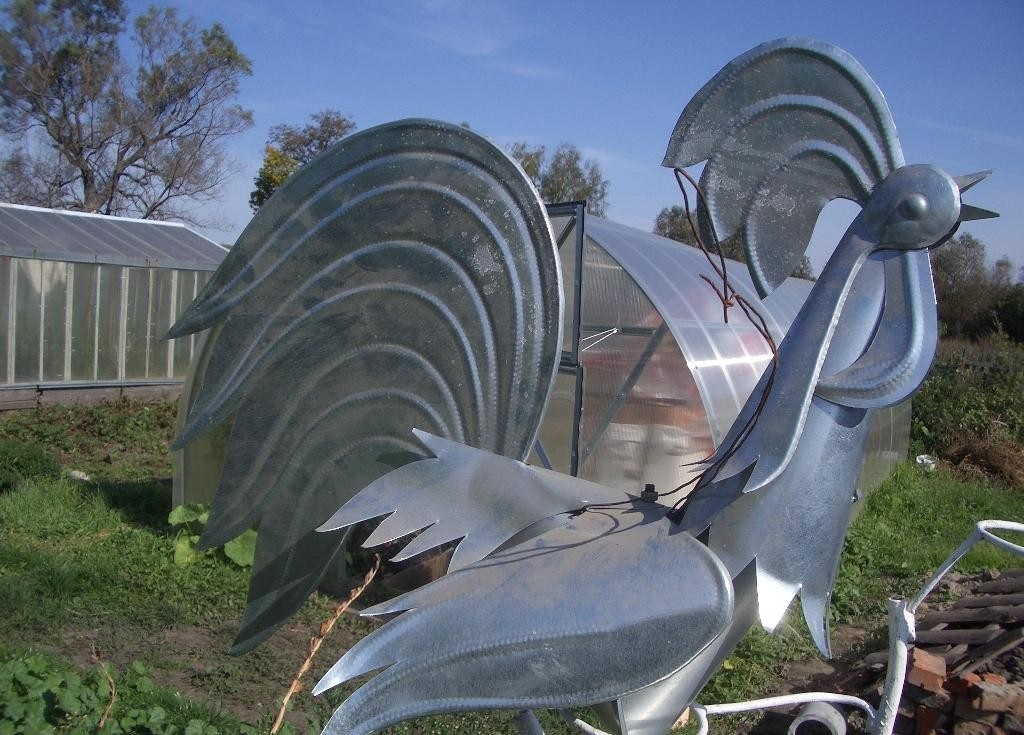
- Cink Steel. Volumetric wind direction indicators are made of this material. Two identical parts are connected, giving them some volume. Everything is fine with them, but it is difficult to paint - only powder paint and some automobiles adhere to galvanized coating reliably enough.

Volumetric weather vane can be made of galvanized steel
- Sheet aluminum from 2 mm thick. It is cut with scissors for metal, connections are made with rivets or bolts.
- Double-sided foil textolite. The material is not often found, but fully satisfies the requirements. Easy to cut, paint well.
- Sheet plastic with a thickness of 4-5 mm. There can be so many problems with painting, but if you take the plastic of the desired color, then there is no need to paint it.
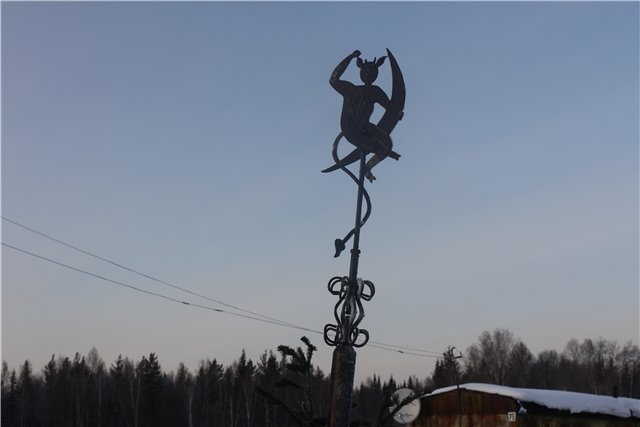
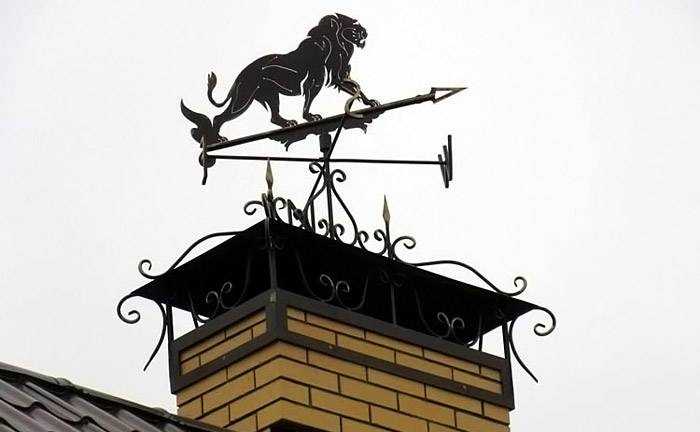
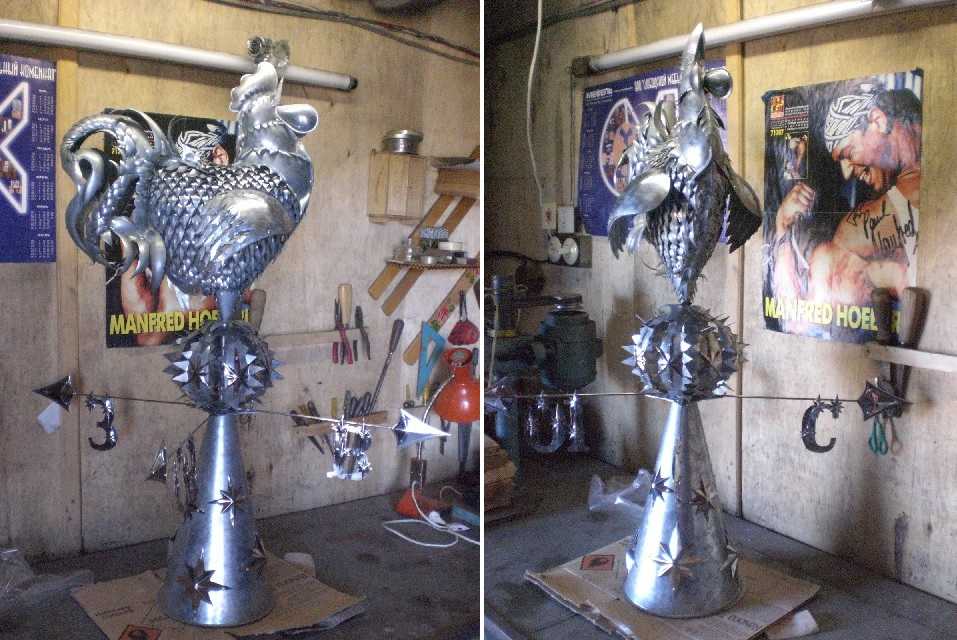
Some items are more like a work of art
- Moisture resistant plywood. Cutting is very simple, only the ends will need to be additionally protected with impregnation, painted with paint in a couple of layers.
The most durable, naturally, metal weather vane. But cutting sheet metal is challenging. The sheets are thinner - 2-3 mm, you can still try to cut it with a jigsaw with good quality files. And then, you will have to stock them in large quantities. All other materials are cut with a bang with this tool.
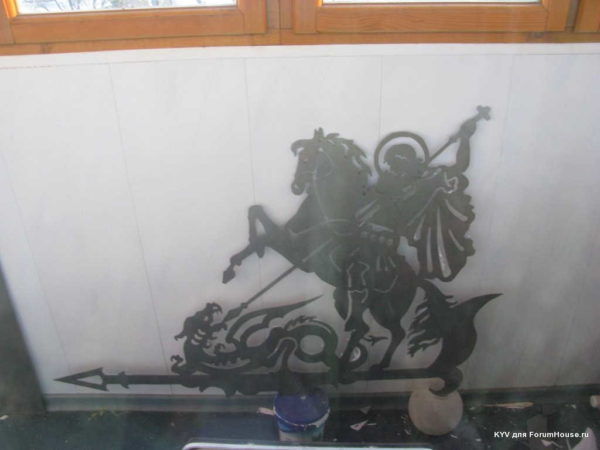
Where to get or how to make a sketch
Sketches for a weather vane can be found with dimensions, or you can create from a suitable picture. To do this, any picture you like must be uploaded to one of the photo editors, enlarged to the desired size and printed. This trick can be done with COREL.
Another option is to open the drawing in AutoCAD, circle the contours with half lines. You will get the desired contour. It can be enlarged to the desired size.
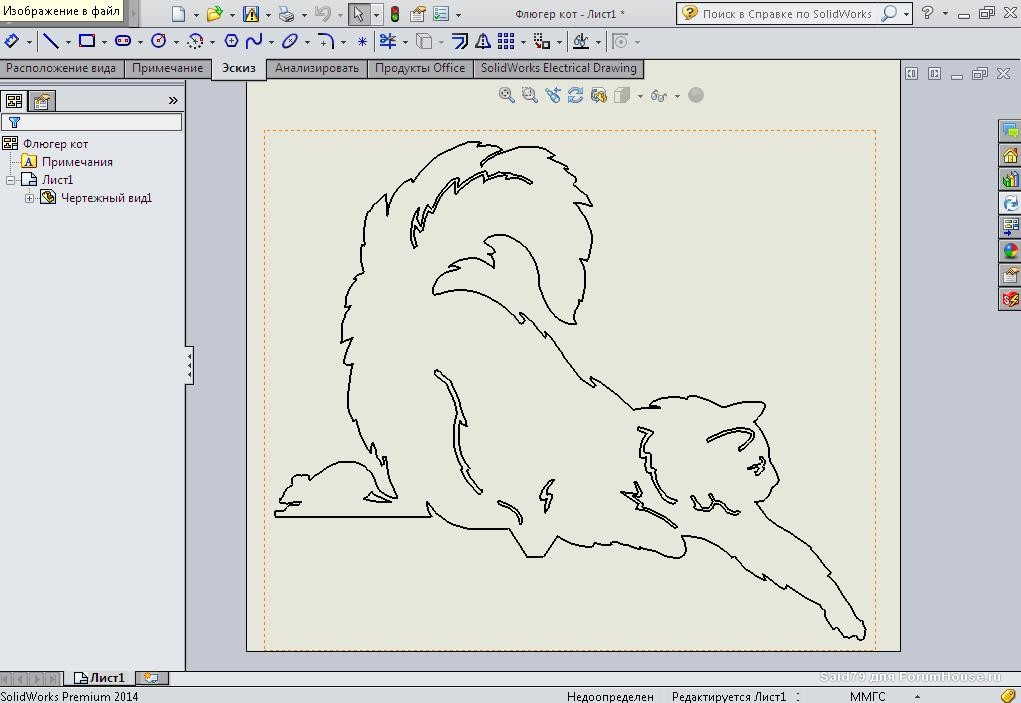
In programs, from any image you can make a sketch for a weather vane
If you are not very friendly with computer programs, you will have to work with your hands - draw the drawing into small squares, then transfer it to paper on a large scale.
How to make a weather vane
Glue the finished sketch of a weather vane in natural size, printed on paper, on a piece of material of the desired size. Transfer the contours to the material in any available way. This can be done:
- Using a carbon copy. This option will take place with plywood, plastic and textolite.
- With the help of punching. This method is suitable for metal. We take a narrow chisel or a powerful awl, put the tip on the contour, hit the handle with a hammer a couple of times from above. The tip leaves a small dent on the metal. So we transfer the entire path.

Some items are more like a work of art
- With a drill and drill. This method is suitable for any material. For metal, only stronger drills are needed. The drill needs a small diameter.We drill holes along the contour with a small step. Where the bends are sharper, the holes are made more often - in order to transfer more accurately, where the lines are even or with a smooth bend, there may be few holes.
Restore the contour using the marks. On some materials, this can be done with a pencil or marker, for metal - only with the same punching.
So that you can understand where the wind is blowing from, they make such a wind rose
Then you need to cut out the body of the weather vane along the resulting contour. Choose a tool for cutting a weather vane depending on the type of material. In most cases, a jigsaw is suitable. For softer materials, you can also use a hand file. For metal with a thickness of 2-3 mm, you can also try to cut a weather vane with a hand saw or jigsaw. True, it will take a long time. The metal is thicker, even the most powerful jigsaw will not take it. For such a case, you can use a welding machine, a large chisel. Straight and not very rounded sections, you can try to cut out with a grinder.
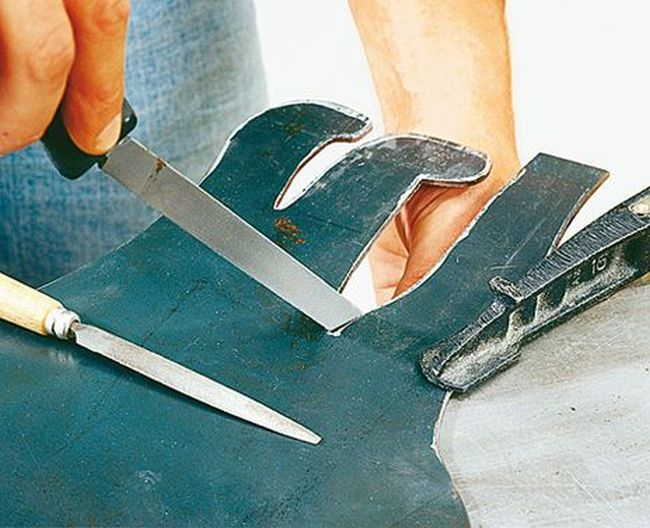
After the "body" of the weather vane is cut, the edges are processed to smoothness. To do this, use needles, files, sandpaper. If there is a grinder, the process can be accelerated by placing sanding discs of different grain sizes.
How to make a swing mechanism
In order for the weather vane to perform its actions, it must be fixed movably. And so that at the slightest wind it turns. For this, the "body" of the weather vane itself is attached to the rod, and the lower part to the roof or chimney (if a weather vane is made, a cap for a chimney with a weather vane). These two parts are connected movably - by means of bearings or other similar connections.
With a ball
You can find any bearing and weld two parts of the "holder" to it. You can make a swivel mechanism without a bearing, but with a ball of a suitable size or a cone.
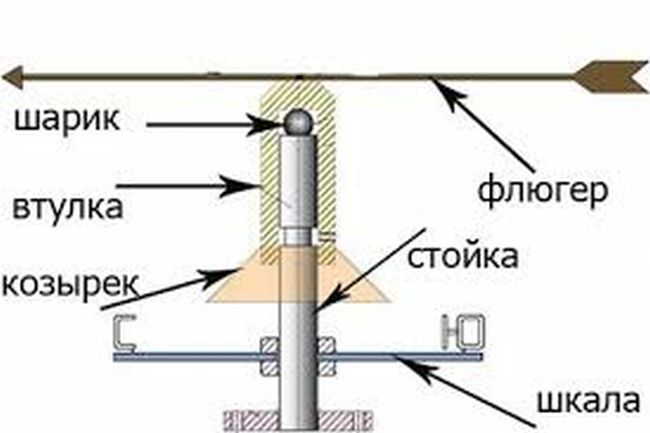
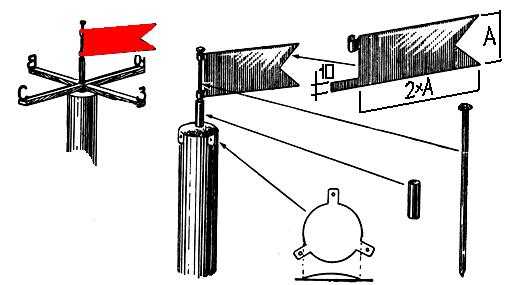
Weathervane device and swivel mechanism
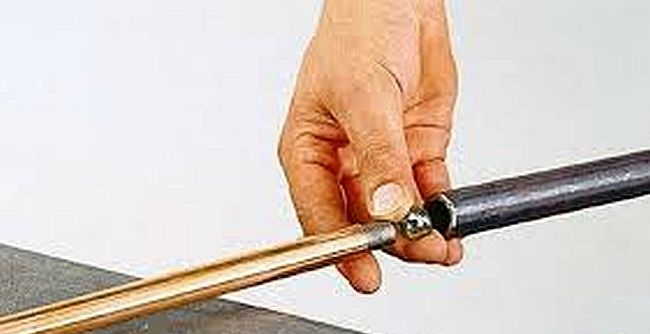
To make a rotary vane mechanism, you will need two metal pipes of different diameters or a pin of a smaller diameter and a pipe of a larger one. Moreover, they must be selected so that one fits into the other with a minimum gap (2-3 mm).
The body of the weather vane is attached / welded to the wider pipe. Moreover, it is necessary to make sure that the upper part of the pipe is sealed. The downtube or pin is used to mount the cardinal indicator. It is she who is attached to the roof. The upper part should also be welded or sealed.
To make it a little clearer
If you don't have a welding machine in your arsenal, you can use wooden plugs - they are packed tightly into the pipe. For reliability, you can grease the walls with universal glue. But this option - with wooden plugs - cannot last too long. Frequent turns will wear off the wood, so after a while the wind vane's turning mechanism will have to be restored.
One of the metal weather vane
When assembling the weather vane, a ball from the bearing is placed on the installed pin, and the weather vane body with a welded pipe is put on top. For smoother rotation, you can add oil to the mechanism. After that, we can assume that you have already made the weather vane with your own hands. True, it still needs to be fixed, and this is far from easy to do - working at height with a heavy and bulky product in hand is still a task.
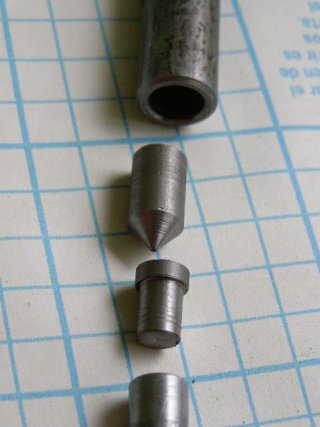
With a turned cone
If you can't find a ball of a suitable size, but you know a turner or you can work with metal, you can carve a cone that will replace the ball.
Rotary mechanism for wind vane with cylinder
The very scheme for assembling the weather vane remains the same: we attach the body to the upper pipe, and fix the lower one on the pole, ridge of the roof, etc.
Final revision
In order for the metal weather vane to serve for a long time and at the same time have a presentable appearance, it is necessary to paint it carefully, having prepared the surface well beforehand.To begin with, using sandpaper, remove the rust, completely to bare metal. Then we cover it with an automobile primer (you can also use a rust converter). Once dry, the primer can be painted over.
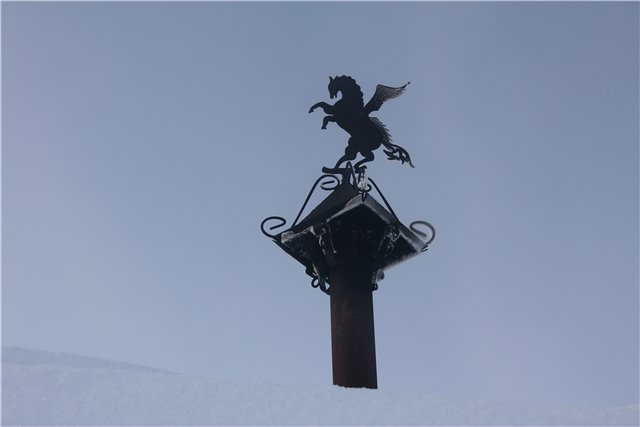
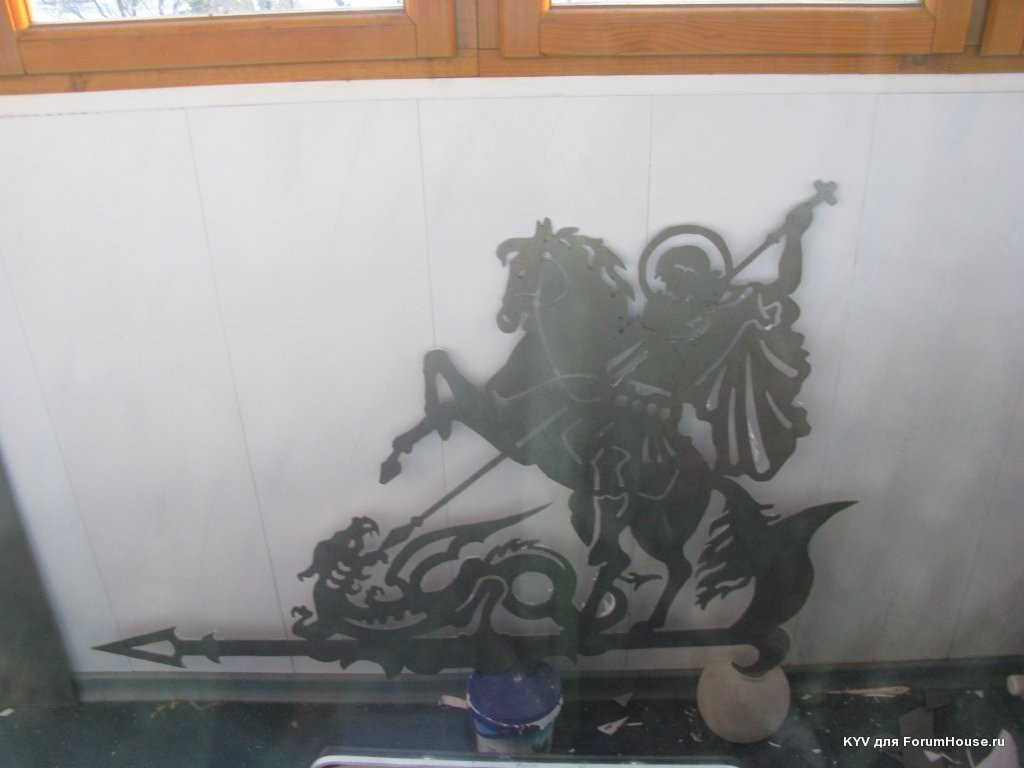
The winged horse is not a decoration for the home
We take paints for outdoor work. All automobiles are perfect, but you can also oil ones - such as hammer ones. They have an interesting effect. You can also try to paint with powder paints, but they require special conditions - high temperature. Otherwise, the coating falls off quickly.
After applying the paint, leave the product to dry for two days without touching it. Such paints dry for a long time (with the exception of powder), after the "tests" stains remain. If the quality of the painting suits you, you can install the weather vane in place.
Homemade weather vane of varying complexity: photo reports
When making a wind direction indicator with your own hands, many questions arise. The design is simple, but there are many options. For example, a pivot assembly can be made in different ways, not to mention the shape and size of the body. Everyone chooses what he likes best. To form at least a general idea of how you can make this device useful for a summer cottage or garden plot, we will give several examples of homemade weather vanes with step-by-step photos.

You can make such
Based on a bearing from a VAZ pump
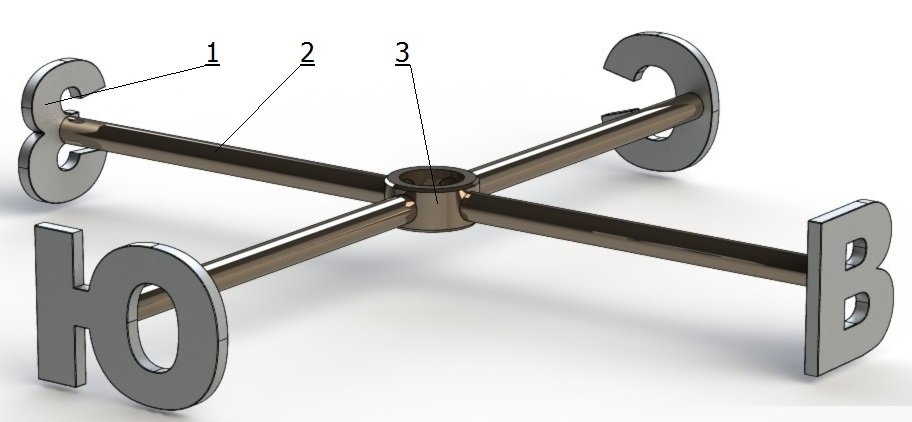
The bearing is taken from an old VAZ. According to the size of the bearing, pipes were found - one such that this bearing fits into. In this pipe, we install a stopper so that the bearing does not fall inside, after installing it, we weld it. We cook a cross from pipes of a smaller diameter, to which we then attach letters indicating the direction of the cardinal points.
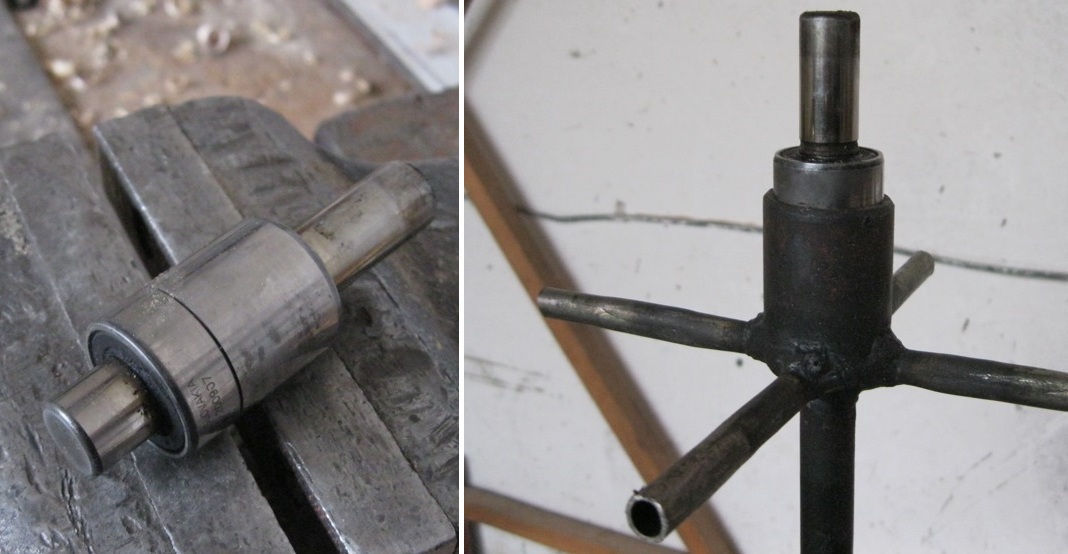
We make a weather vane with our own hands
We weld another piece of thin pipe to the top of the bearing. This will be the turning part, to which the body of the weather vane will be attached later. We weld two short pipe sections perpendicularly to this pin - we will weld the cut weather vane to them. To protect the bearing from moisture and dust, we use a boot from the tie rod, pulling it on before we started to weld the rotary part.

We collect the structure little by little
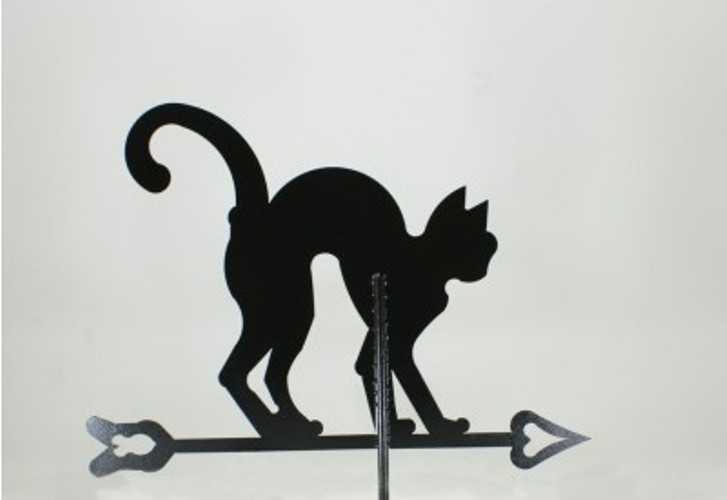
A cat is cut out of 2 mm thick aluminum sheet, letters are made of galvanized steel. We will paint them from a spray can with bright red car enamel, the cat - black.
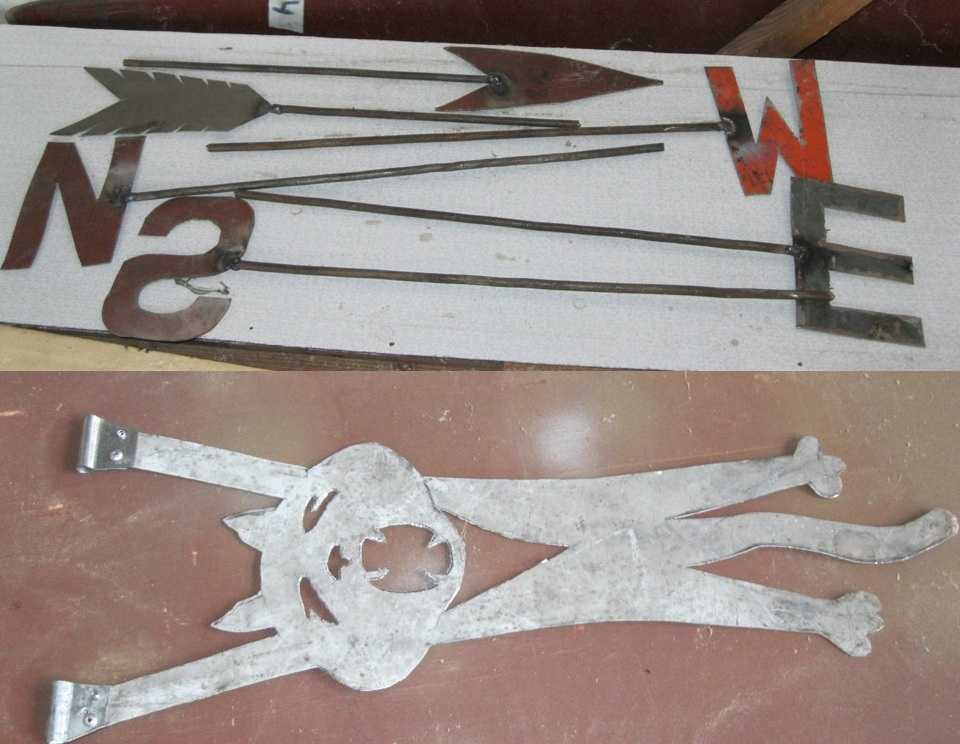
Components for a homemade weather vane
It remains only to weld / attach all the parts by assembling the weather vane.
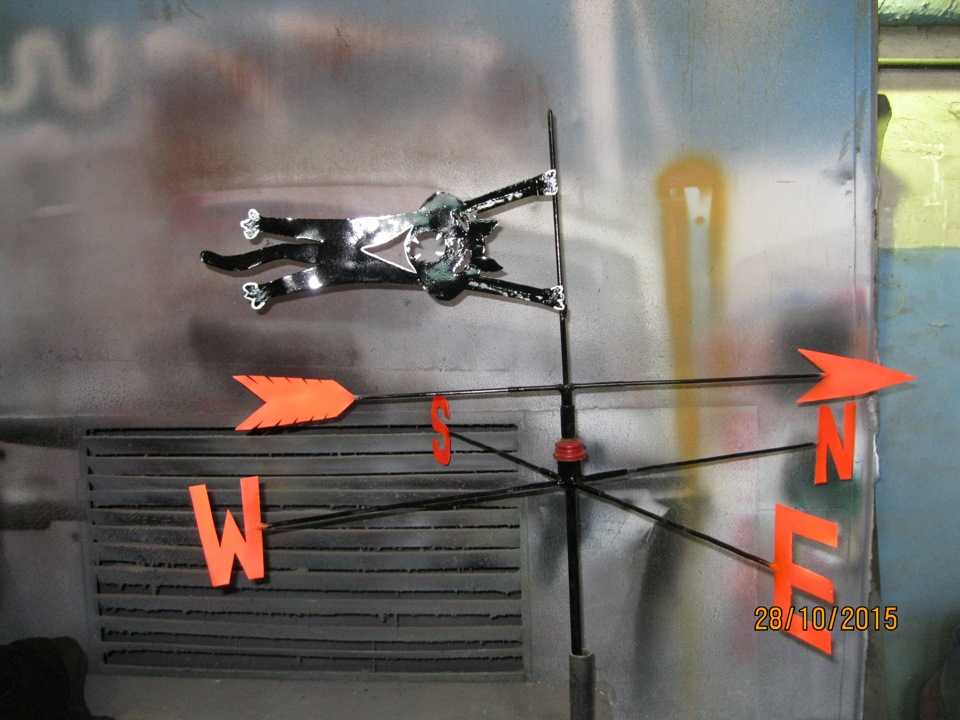
This is how everything looks assembled.
Homemade metal weather vane on a bearing is ready. Can be installed on the roof.
The simplest weather vane in 5 minutes from scrap materials
When hunting, fishing or at the cottage, you may need a wind direction indicator. You can literally make a very simple model out of nothing. You will need:
- plastic or paper cup (preferably large capacity);
- thick wire (you can use aluminum or steel);
- plastic screed;
- washer with an inner diameter not less than the diameter of the wire.
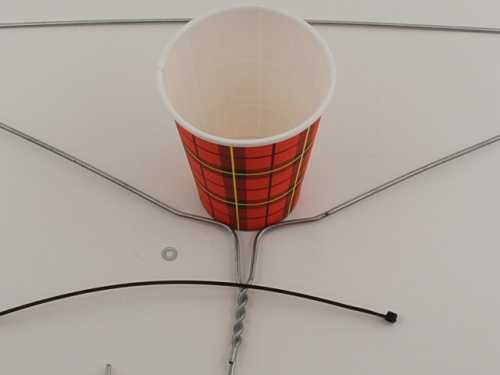
What is necessary
The manufacturing process is very simple. First of all, carefully, without damaging the walls, remove the bottom. You can remove it from a paper cup, you will have to cut it off from a plastic one. Further, stepping back from the wider edge about a centimeter, we make two holes in the walls, located one opposite the other, we pass the wire. Bend one edge of the wire so that the wind indicator does not fall off.
We make a weather vane with our own hands from scrap materials
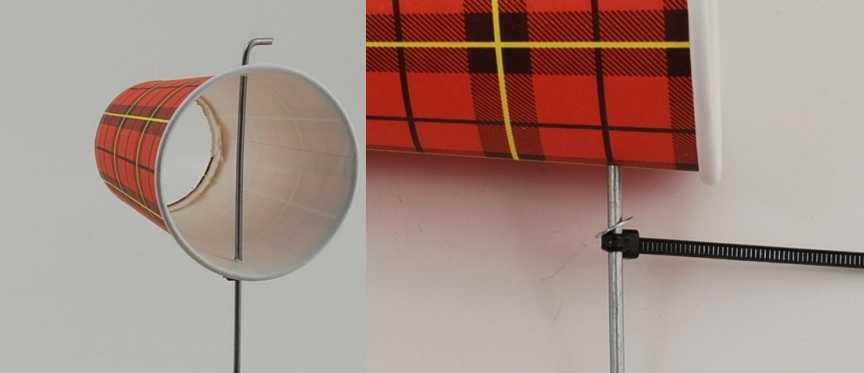
From the opposite side - from below - we put a washer on the wire, raise it to the level of the glass, leaving a very small backlash (several millimeters). We take the tie, tighten it, fixing the washer at the desired level.
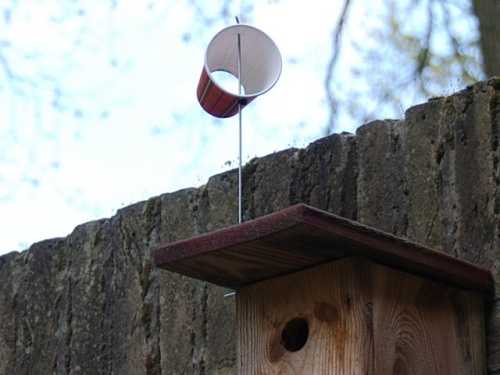
Index in work
That's all, we made the simplest weather vane with our own hands. Of course, it is very short-lived, but long-term service is not always necessary. And it will be correct to indicate where the wind is blowing from.
Related Videos
Photo weather vane and ideas for sketches
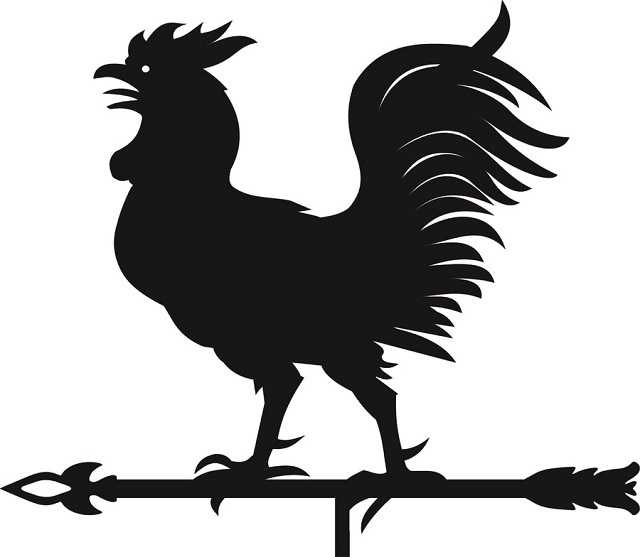
The most common themes for making a weather vane are a cat, a rooster, an eagle, and a ship. They are the most common. There are many variations and variations. But there are some very unusual ideas. Perhaps, after looking at them, you will want something original.
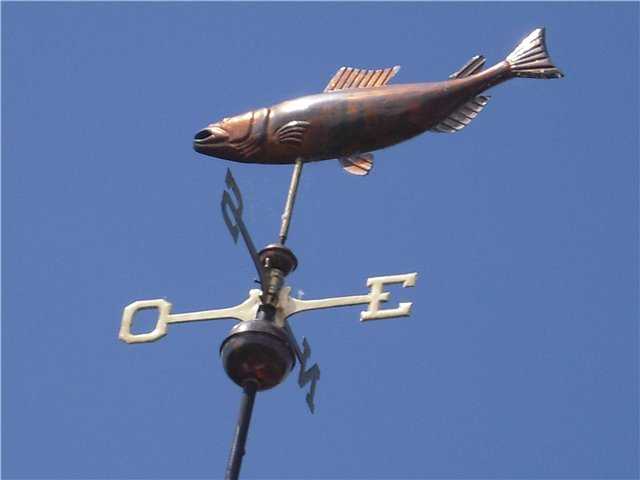
Bulky fish made of painted zinc or copper
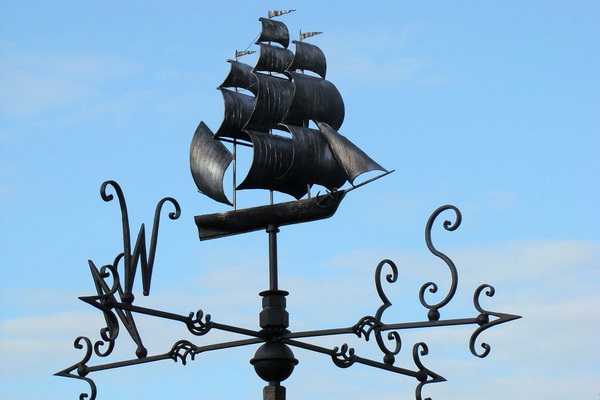
Ship under sail
One of the most popular motives
You can attach a weather vane not only to a ridge or pole - it can be installed on a pipe
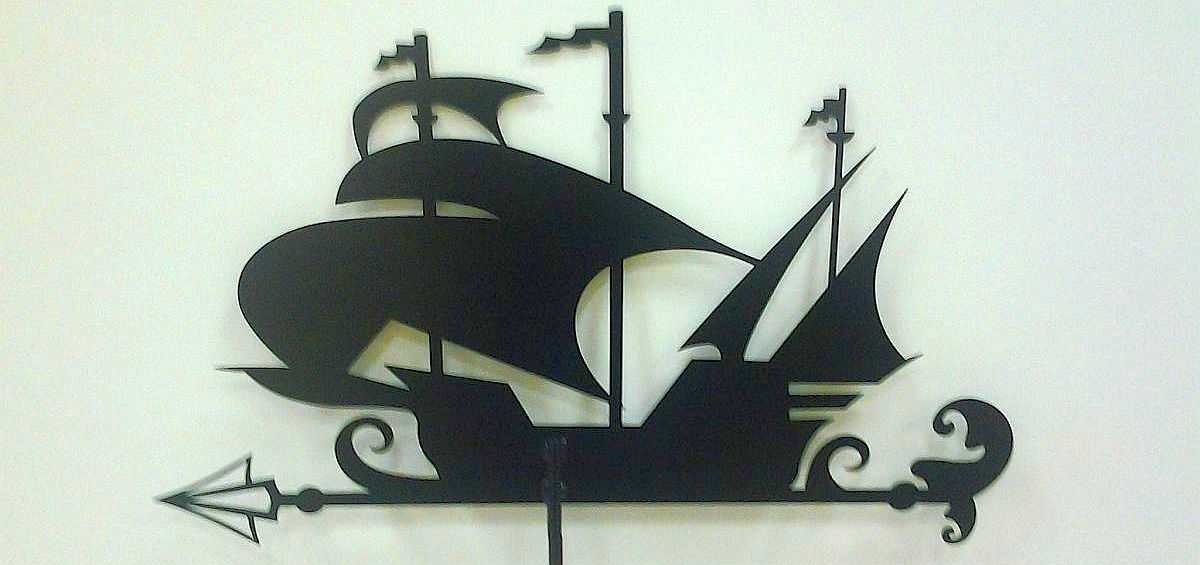
Sheet iron ship
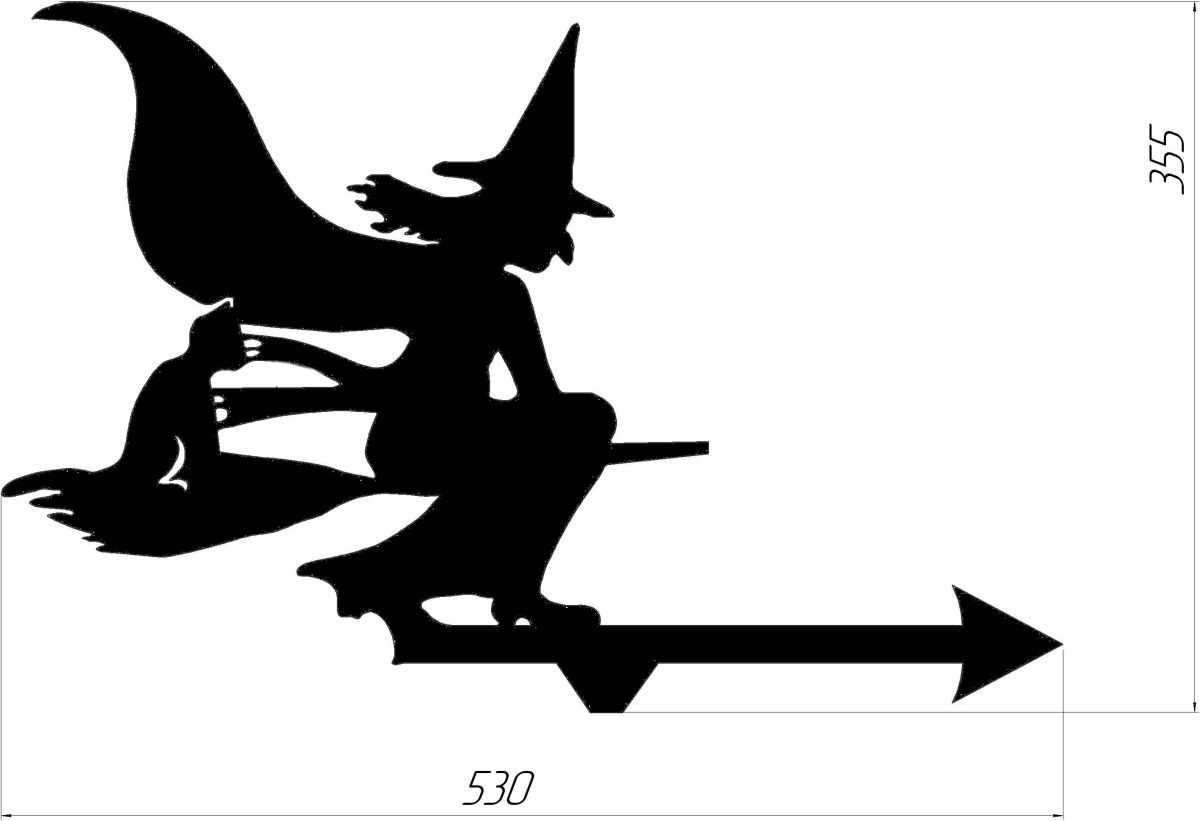
Witch with a cat (sizes available)
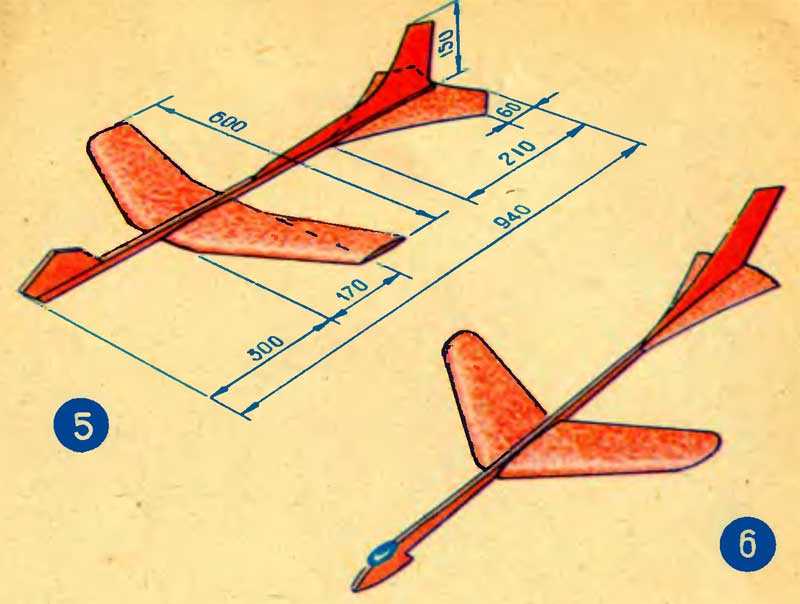
A plane for a weather vane. This one can be made from plywood and wood plank
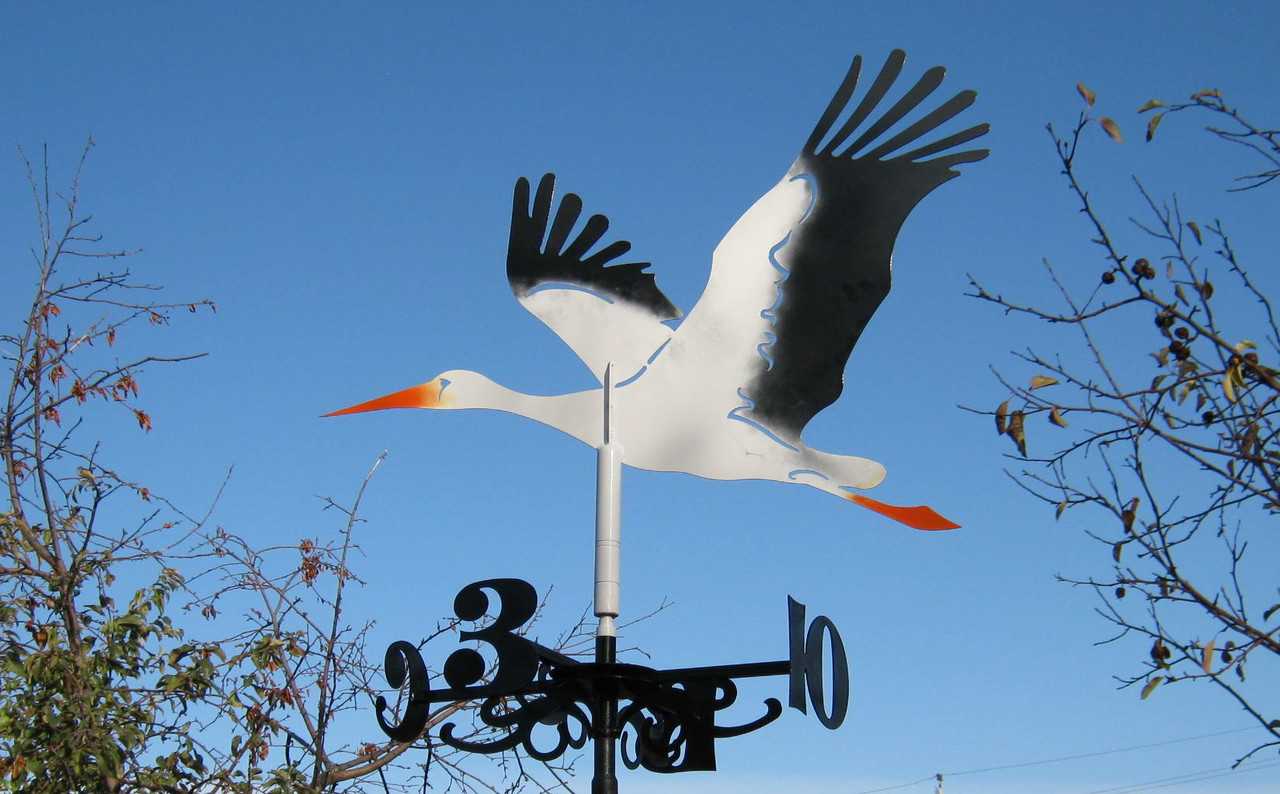
Stork - for happiness and wealth
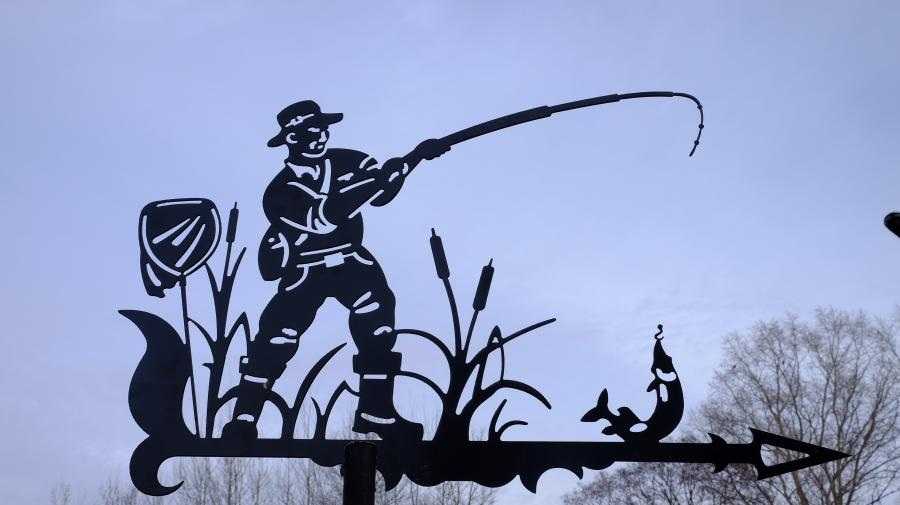
Favorite hobby - the fisherman can be seen from afar
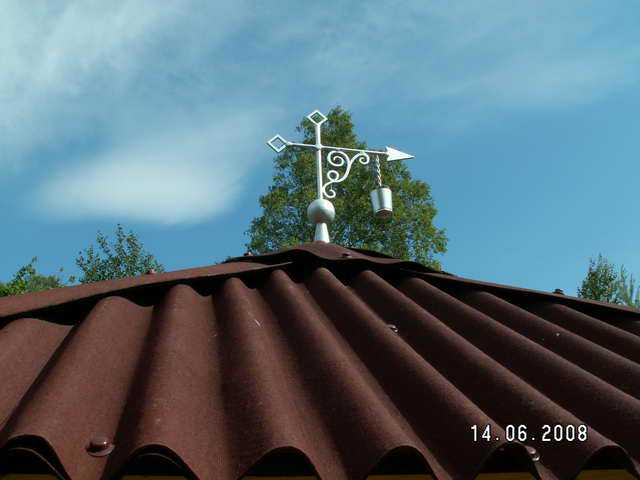
Traditional roof decoration

If you like basketball
Wooden weather vane - you can also do it yourself
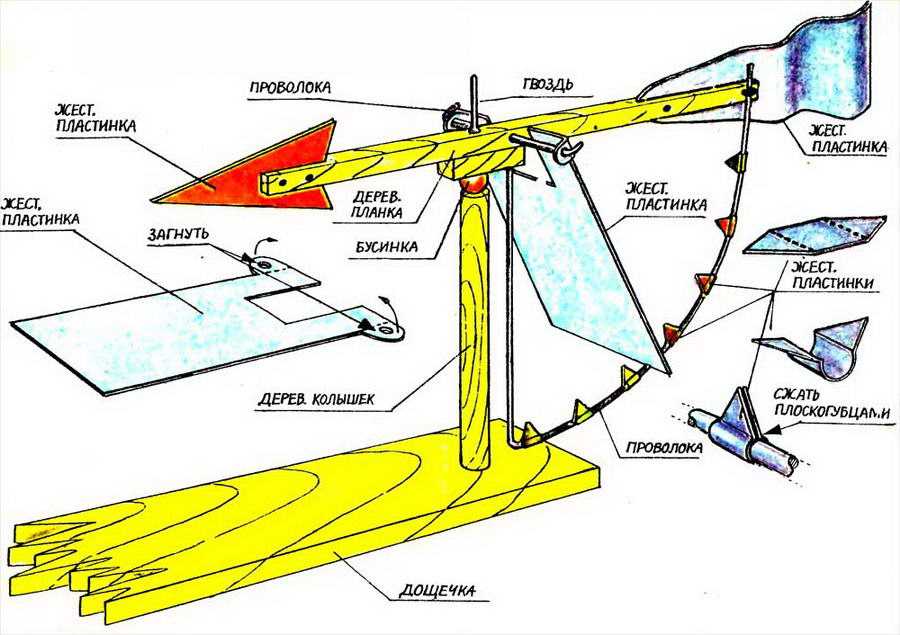
How to make a weather vane from tin or sheet copper without welding
Painstaking work with tin
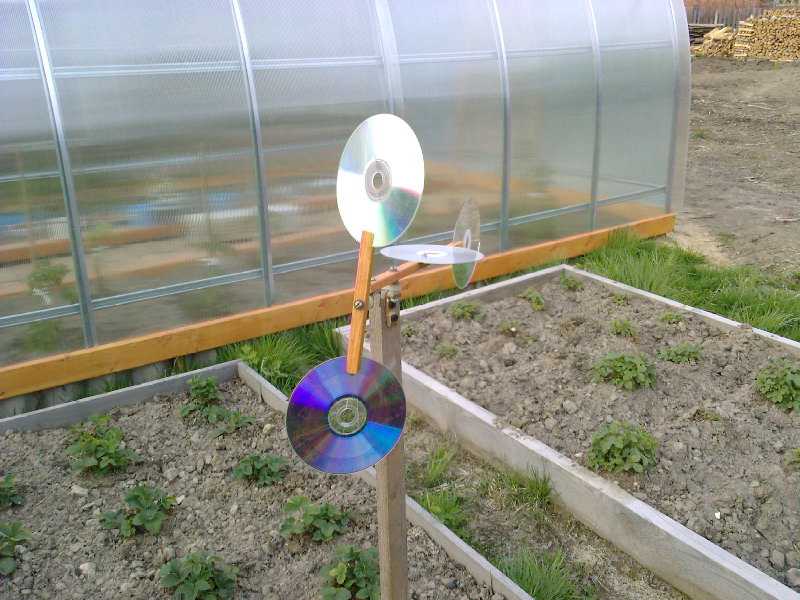
Improved weather vane with propeller
It couldn't be simpler
Ideas can be found in the most ordinary things.
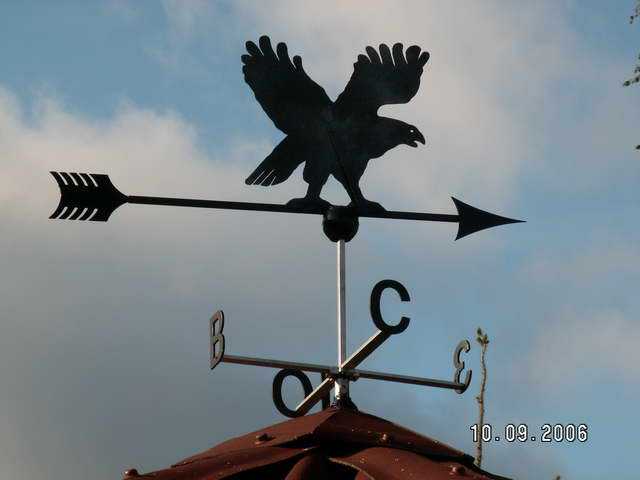
The eagle is another popular theme
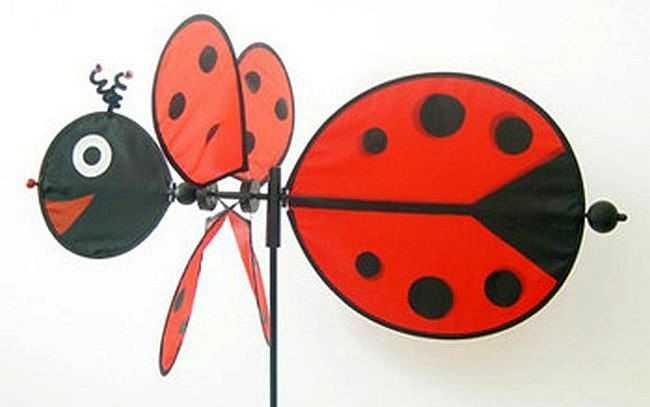
Ladybug - easy to make from small pieces of tin
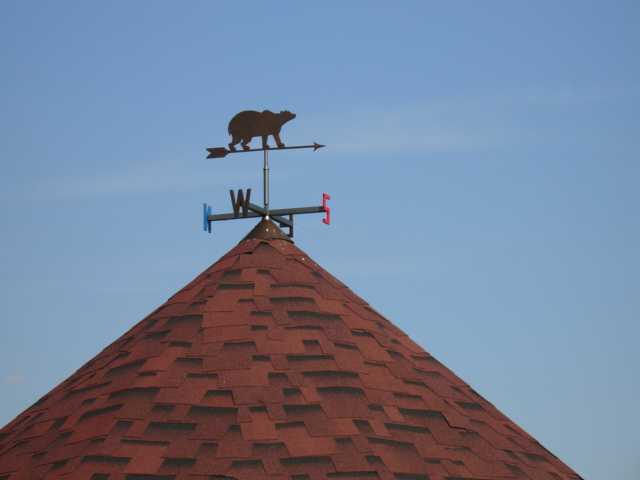
Bear - for serious and reliable
-
 Buying an apartment: what documents are required, their verification
-
 How to deal with cockroaches in an apartment, the best remedy for cockroaches
-
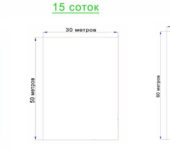 How many square meters in a hundred square meters of land: measurement, calculation
-
 Conversion of inches to cm and mm, centimeters to inches, tables, applications, formulas
-
 Floor stands for flowers


