DIY bas-relief for beginners
I want to make my home beautiful and original. The safest way is to use unique homemade jewelry. One of the very interesting ways is a bas-relief on the wall. This is a volumetric image sculpted from plaster or any other similar material. Gypsum in its pure form is used very rarely - it hardens too quickly, without giving time for processing. The most commonly used plaster mixes. They come with additives that make the job easier. With them, you can make a voluminous wall panel with your own hands, even without experience.
The content of the article
General technology for creating a bas-relief
To make a bas-relief on a wall, you first need to prepare it: clean it, level it. Already on a level and completely dry surface, you can start working. When you are going to make large bas-reliefs, it is advisable to prime the wall - for better adhesion of the composition to the wall.

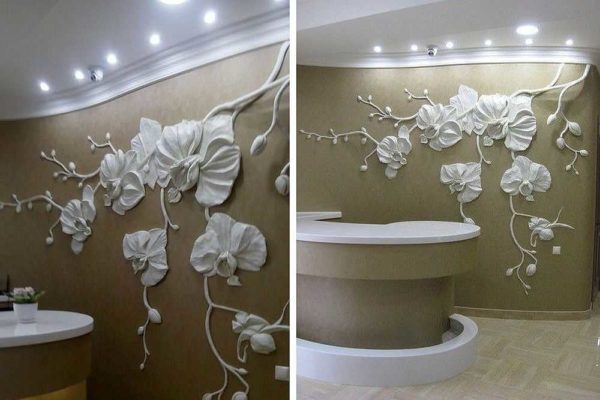
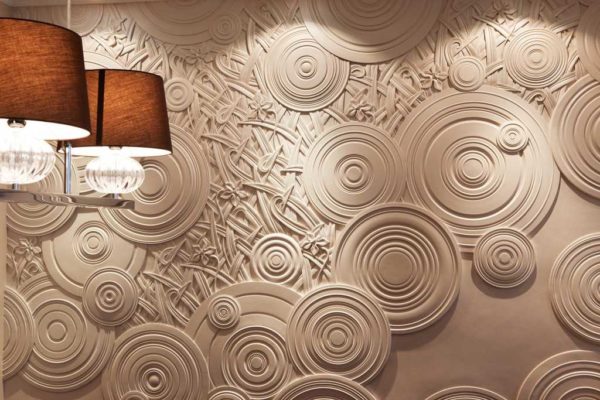
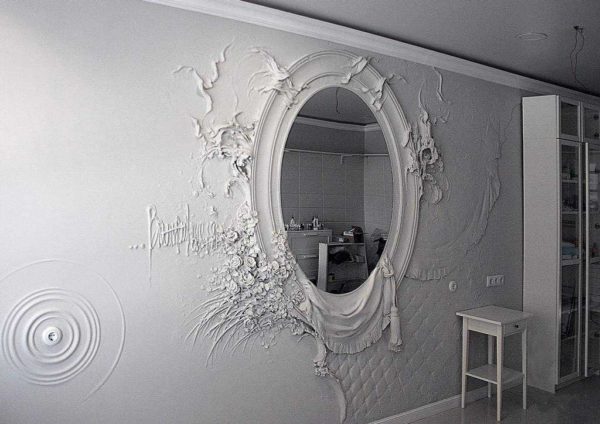
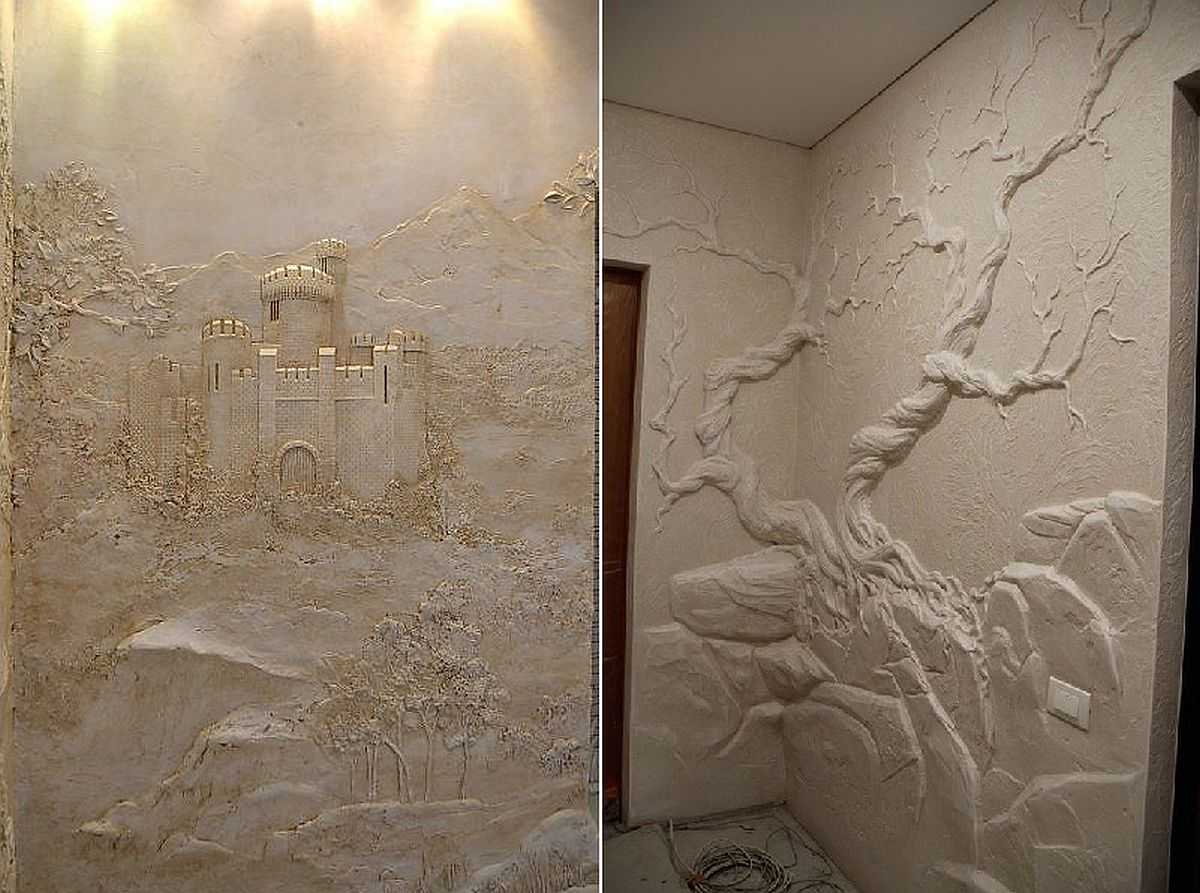
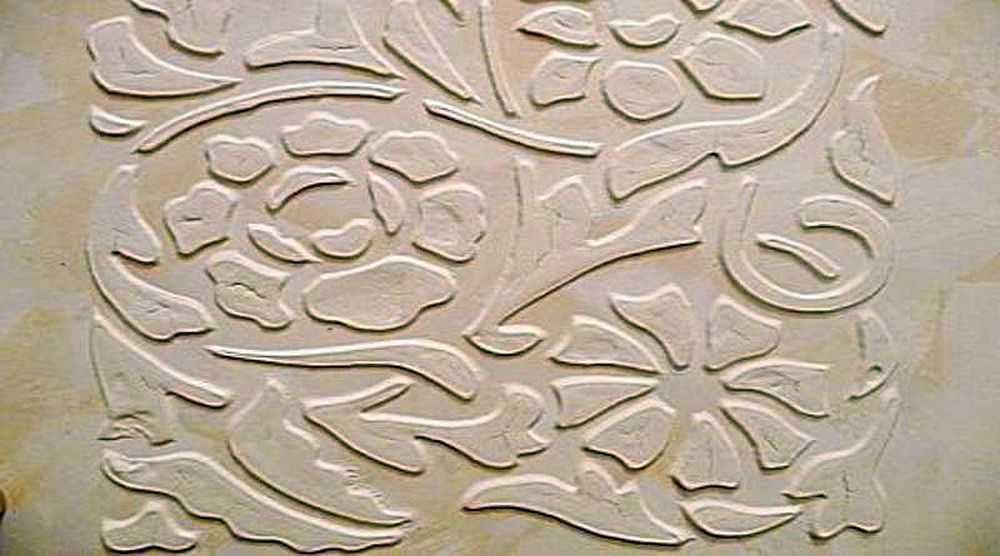
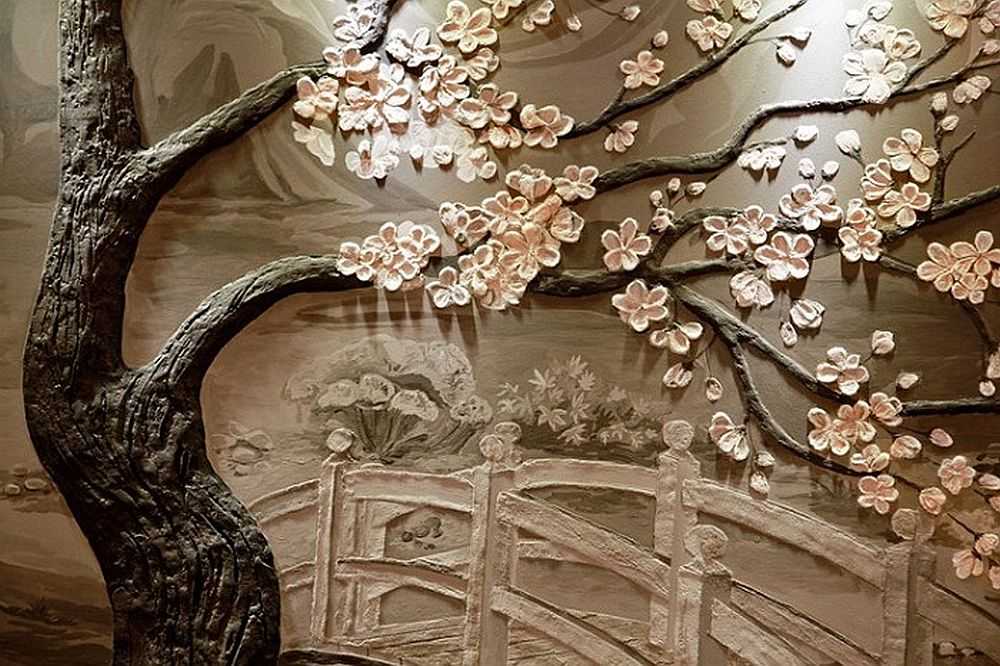
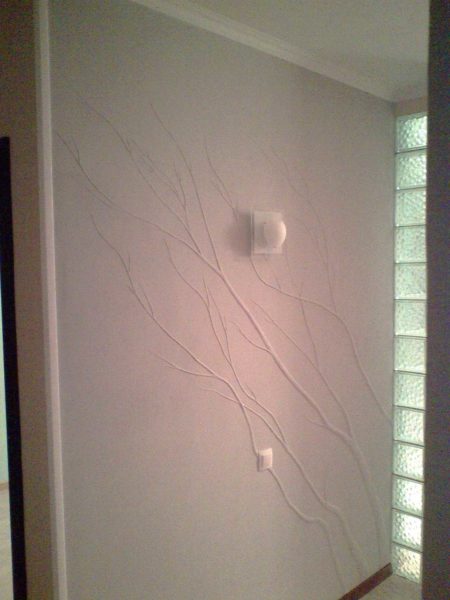
The bas-relief on the wall can be of varying degrees of difficulty. This one is difficult. For beginners, it is clearly overwhelming. But you know what can be done in the future
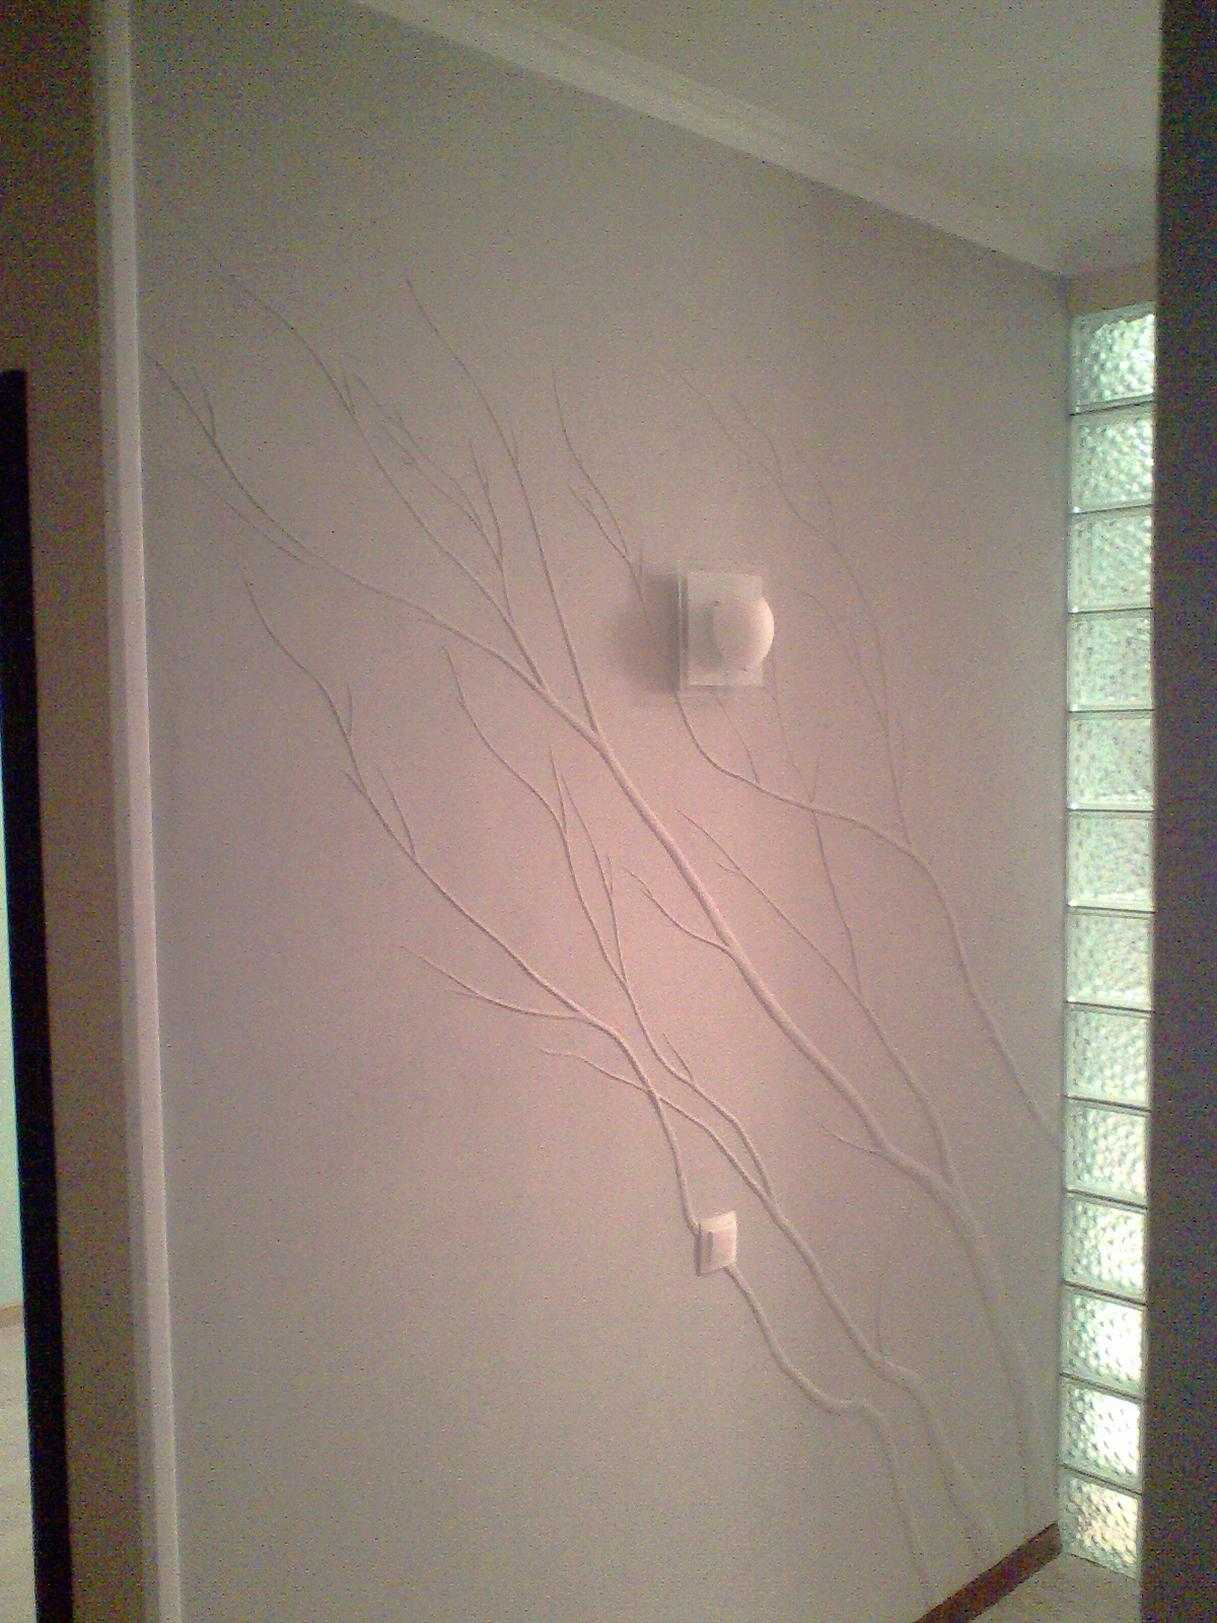
For the first experience, it is better to start with small items, such as medallions (round or square) with simple relief images. As a basis for such products, it is best to take a moisture resistant drywall... A frame can be made for it (from a profile, for example). In this form, the volumetric composition can be outweighed from place to place. This makes it easier to master the basics of technology.
- Find and print the image that you want to transfer to the walls. It must be cut from durable and waterproof material. Plastic is best for this, but you can use thick cardboard. If necessary, the template can be replicated.
- We knead the mixture thickly (usually finishing gypsum putties are used). It should have a pasty consistency and should not flow or spread.
- We fix the template on the wall (you can use double-sided masking tape), use a spatula to fill the slots with putty.
- After half an hour or an hour, we remove the template, trimming the uneven edges that break when the template is removed.
- If the relief should be deeper, add more composition on top of the resulting plaster spots.
- We wait an hour or more - it depends on the composition. The material must still be sufficiently ductile so that it can be cut with a knife, chisels and other similar tools. We choose the unnecessary, forming the desired relief.
- We are waiting for it to dry completely, we achieve the desired degree of smoothness using sandpaper of different grain sizes (from medium to very fine).
- We paint, after drying, it can be varnished (not necessary, but possible).
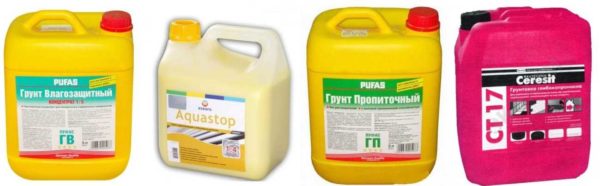
Impregnation for bas-relief priming
In addition, the following compositions are used:
- before starting work - to improve adhesion to the wall material (or base);
- for layer-by-layer processing - when creating a deep relief, when one layer of putty is applied to the already dried, applied earlier;
- for finishing impregnation before painting - to level the absorbency and so that the paint lays down evenly, emphasizing the relief, and not hiding it.
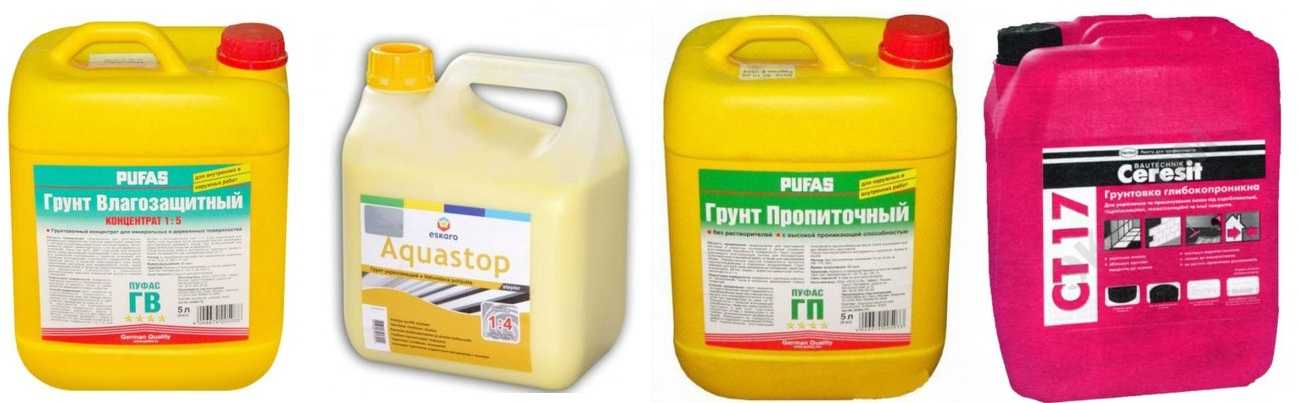
For layer-by-layer processing, primers are needed, which create a sticky, rough surface on the surface. In this case, you can put a new layer of putty even on the already dried surface. Ceresit deep penetration primer and PUFAS impregnating primer are suitable for these purposes. They can also be used for finishing before painting.
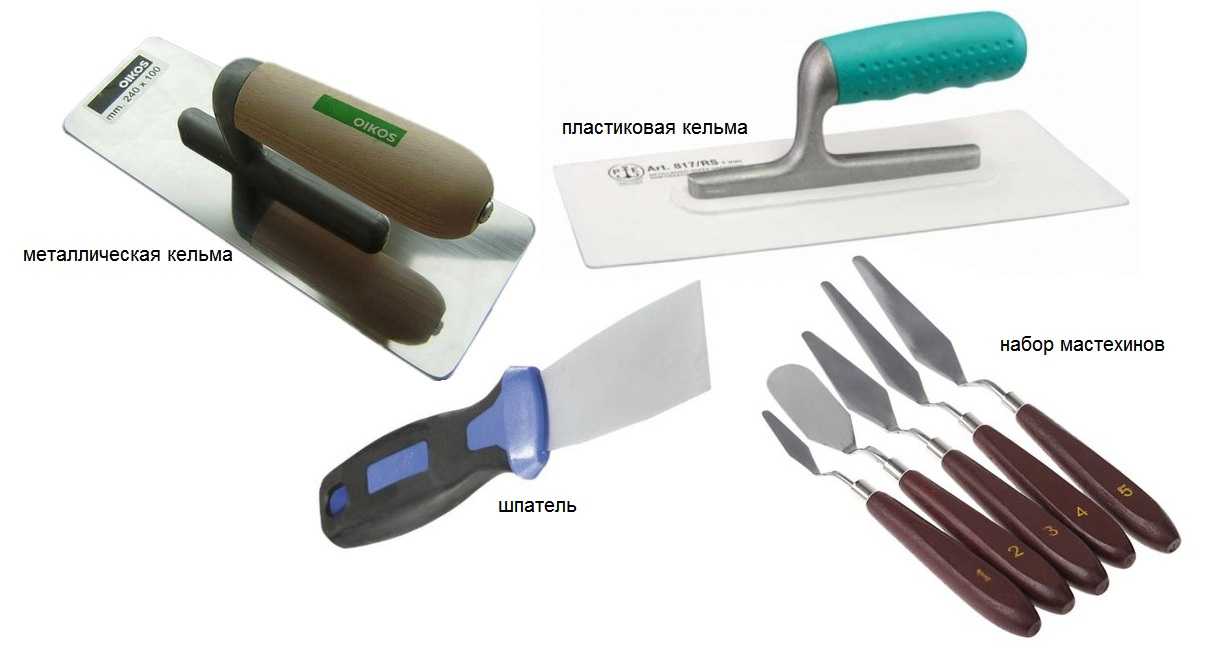
Tools
Bas-relief tools are needed for two types of work - for applying putty and for removing / cutting off excess mortar. Therefore, the set of tools and devices is quite extensive. For applying putty or decorative paints use:
- Stainless steel metal trowel. She applies a solution, level it, create a shallow relief of a small size. They are usually used when working with large areas.
- Plastic trowel. It also works on large areas, but with its help they form a deep or extensive (extended) relief: the solution stretches well behind the plastic.
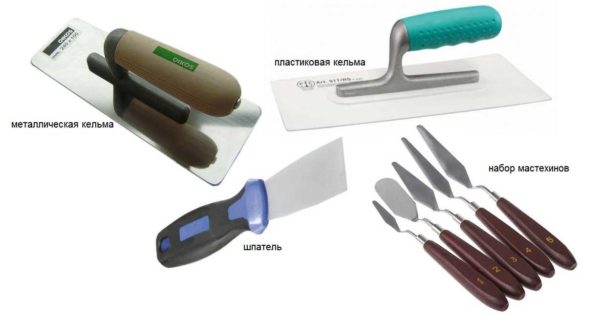
The main tool for shaping relief for decorative sculpting on walls
- Putty knife. It is a technical tool. They put a solution on the trowel, pick up the excess, clean it. It also applies mortar to the walls, creating a base coat, then adding in the right places for depth.
- Palette knives. Small spatulas of various shapes. They can apply the composition, remove it, forming the desired relief.
- Sculptural stacks. A double-sided professional sculptor's tool with various types and sizes of small spatulas and blades. It is used for shallow relief, detailing and accurate drawing. This tool is worth purchasing if you decide to make more than one bas-relief on the wall or ceiling, but turn this activity into the main one.
- Medical scalpel. You can do without it, but it makes very accurate cuts. Professionals have several scalpels of different sizes and shapes.

For accurate drawing and correction
- Chisels for wood carving. They cut fresh plaster as well as wood. Chisels are very different, with different shapes and sizes of the cutting part. They are selected depending on the shape to be cut.
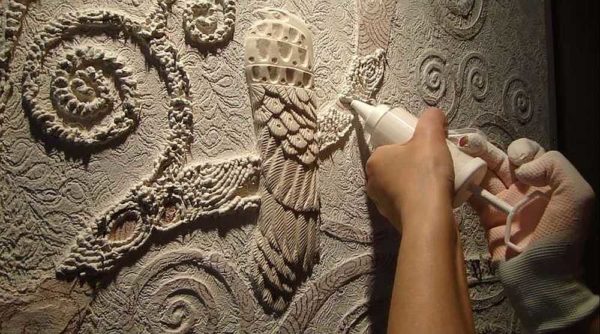
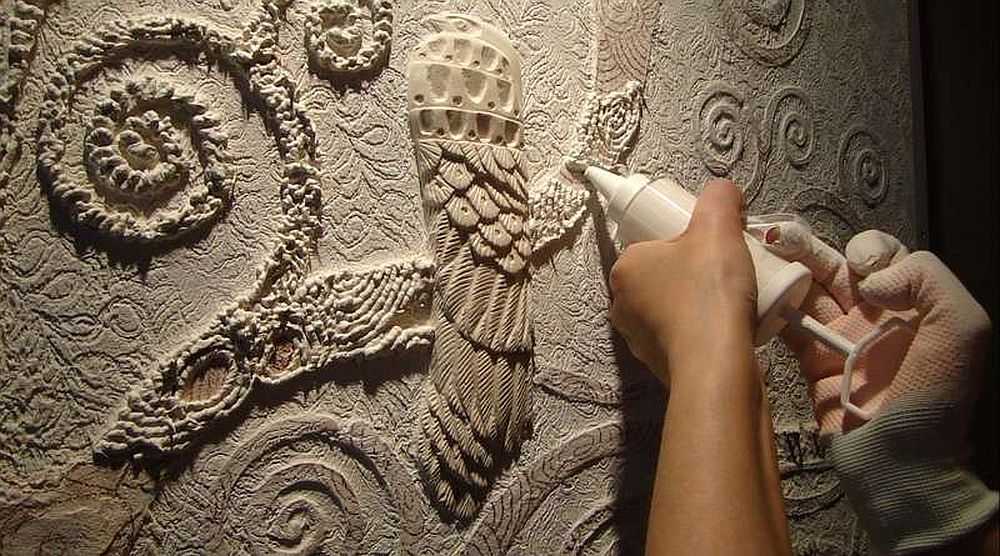
- Cream injector. There are no special tools of this kind, so you have to use one. It is convenient for them to add small portions of material. This need arises when you cut off the excess. When choosing, pay attention to the fact that the piston fits snugly against the walls of the tube, otherwise the solution will come out. You have to buy several pieces for one job - syringes break quickly.
These are all the tools you might need. Necessary: trowels, spatula, chisels. Palette knives are very convenient, it is difficult without scalpels and a pastry syringe. Stacks, on the other hand, are a tool for perfectionists to fine-tune the relief.
Making a bas-relief from gypsum plaster: photo report
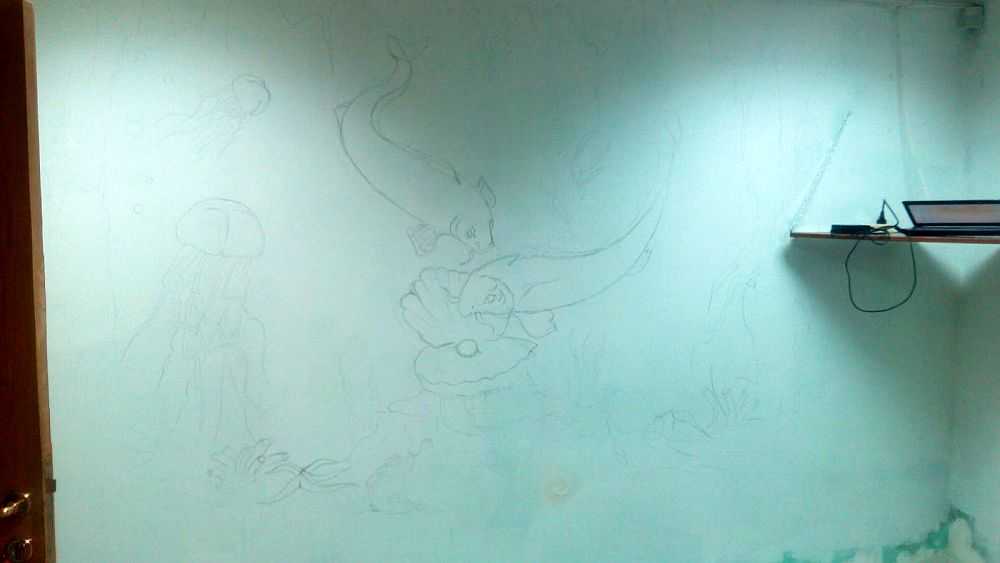
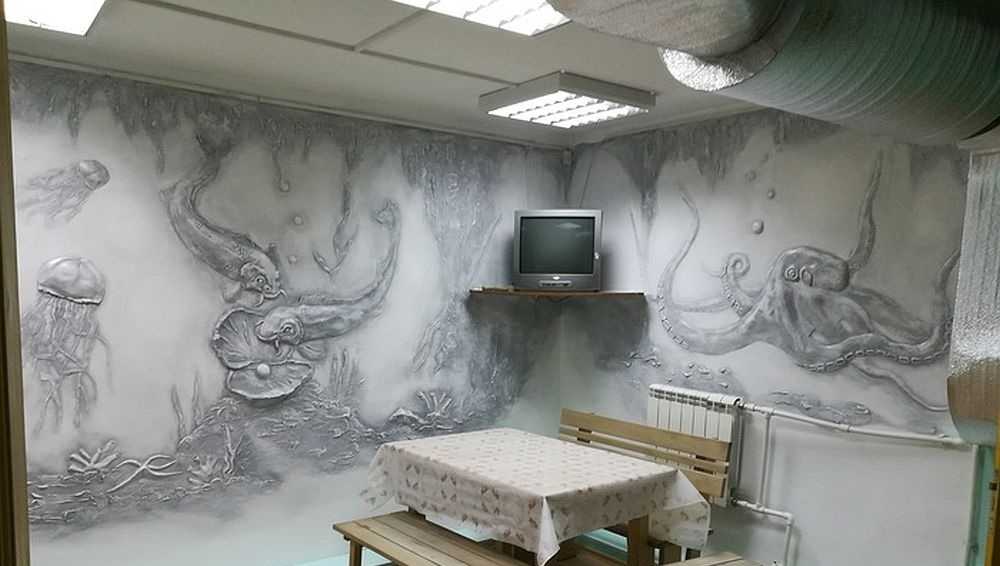
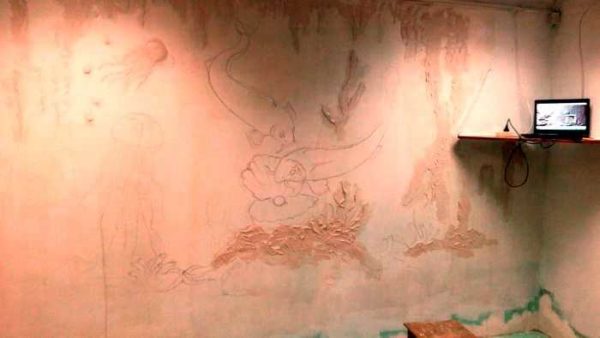
For the relief painting on the wall, a sea theme was chosen - with fish, octopus, algae. A great option for getting your first experience! A light pattern that can be formed gradually.

Here is a drawing on a marine theme for the first production of a bas-relief
Preparatory work
Drawing with a pencil transferred to a pre-leveled and primed surface. For the production of the bas-relief, SHITROK / SHEETROCK gypsum plaster (with a finer grinding) is used. When diluting the solution, a smaller amount of water is added: take 0.5 liters of water per kilogram of the mixture (instead of 0.6 as recommended). With such a kneading, the composition turns out to be harsh, but it is this one that is better for making a relief image on the wall.
The solution must be thick enough. Let's start with the simplest: algae
Mix a small amount of mortar immediately: gypsum plaster quickly loses its elasticity (15-17 minutes) and you need to have time to not only lay out the entire volume on the wall, but also align and give the desired shape. For the first time, knead 300-400 grams, lay out, give some shape. If in the process you feel that you can handle the larger volume, knead more.
Little by little, spread the solution with a palette knife, filling the contour of the algae, cut off the excess, smooth it out as much as possible
With this tactic - small portions of the solution - most of the time is spent precisely on kneading the putty. It is better to knead in a bowl with high sides - a bucket or a saucepan. However, it is difficult to remove the frozen solution from them. If there is an old ball in the house, you can cut off the top and knead the putty in it. Even small particles are easily removed from such a container.
Pour the powder into the container, add clean cold water, mix quickly with a spatula, then bring the composition to homogeneity, leave for 5 minutes, then mix again. There should be a homogeneous thick paste without lumps or irregularities. The time of holding and "setting" is indicated on the package with putty, if you use a different composition, follow the manufacturer's recommendations.
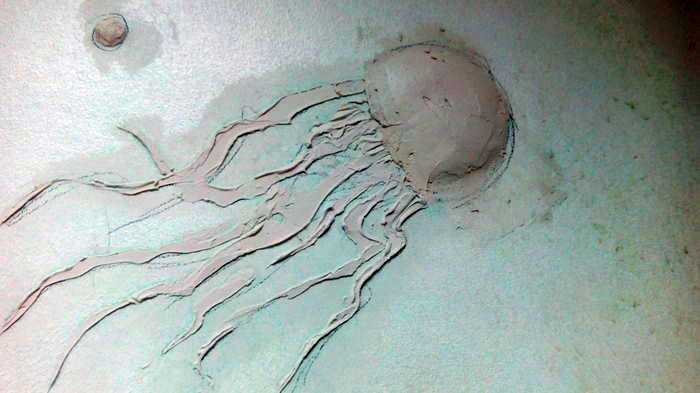
Formation of small parts
It's easier to start with shallow terrain. When forming small parts, we take a small amount of mortar on a trowel, apply it to the right place, trying to smear it well so that the adhesion of the mortar to the wall is good. If the wall is covered with a primer that improves adhesion (the surface is slightly rough and sticky to the touch), there will be no problem. If the details are very small - like the tentacles of a jellyfish - it is more convenient to put the solution with a palette knife.
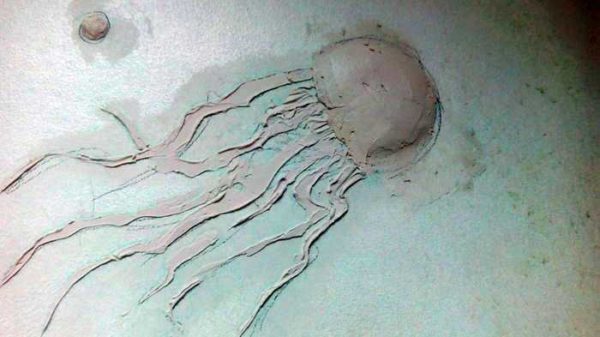
A bas-relief of a jellyfish made of plaster or acrylic putty is not much more difficult to make ...
Having laid out the mixed portion of the solution on the wall, we immediately proceed to leveling and forming the relief. We work with the edge of a trowel, palette knives, knives, chisels, scalpels - everything that is at hand and that can give the surface the desired shape. If the part has already dried out in the process, but has not yet been finalized, you can moisten it with a spray bottle and try to modify it after a few minutes. When you achieve the desired degree of perfection, clean the mixing container of the remaining solution and mix a new batch. Note: the container must be absolutely clean... The smallest particles will leave scratches.
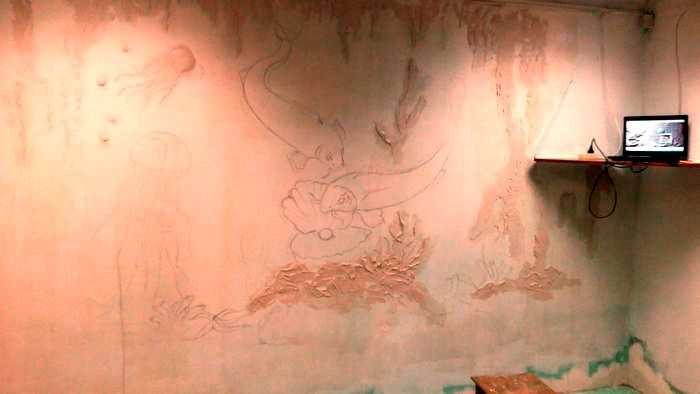
We form the main reliefs
When making a bas-relief that will protrude beyond the wall by no more than 2 cm, no reinforcing structures are required. With a greater thickness, in those places where a layer thicker than 2 cm is planned, self-tapping screws are screwed in. It will be possible to navigate by them when applying plaster, they will also support the solution, preventing it from slipping.
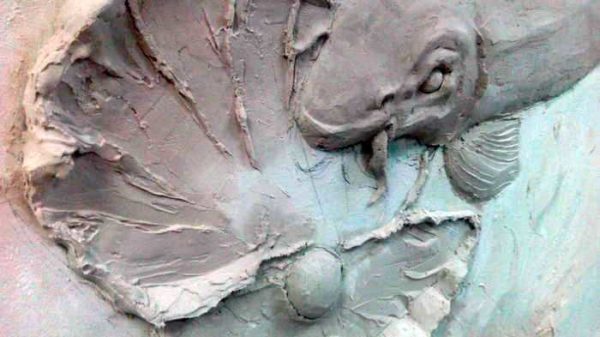
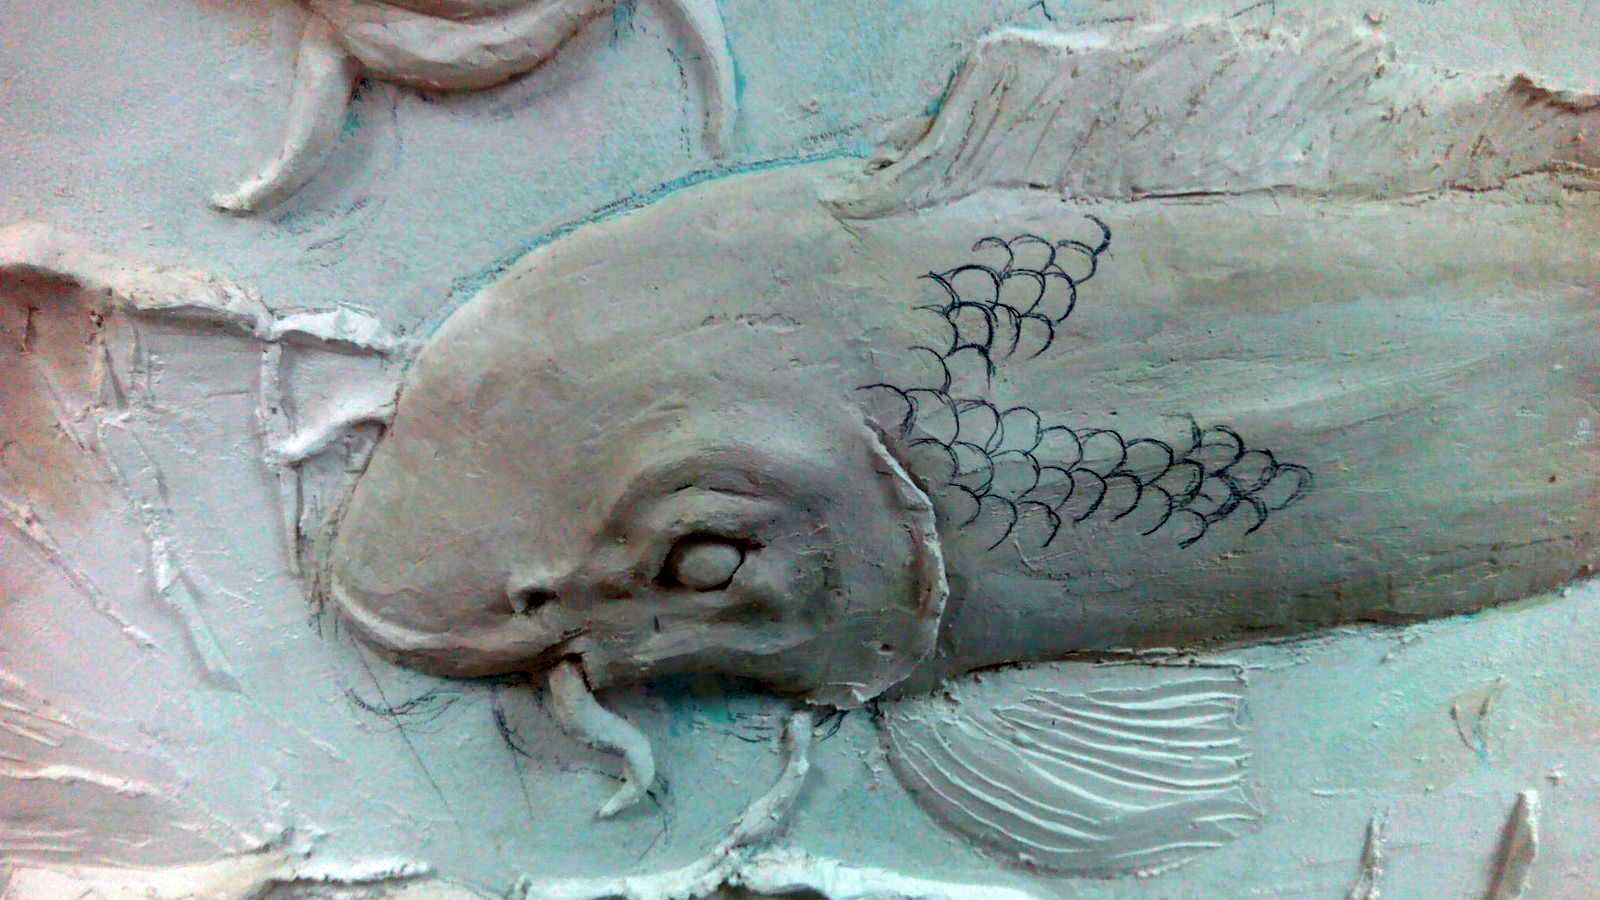
The fish and the shell have a larger volume - in some places more than 2 cm.Here we screw in self-tapping screws for reinforcement
In this bas-relief, the most prominent parts are fish and a shell with a pearl. In those places where a thick layer will be laid and screw in the screws. We roll the pearl separately, making a ball and putting it on a self-tapping screw.
The thickest place is the head
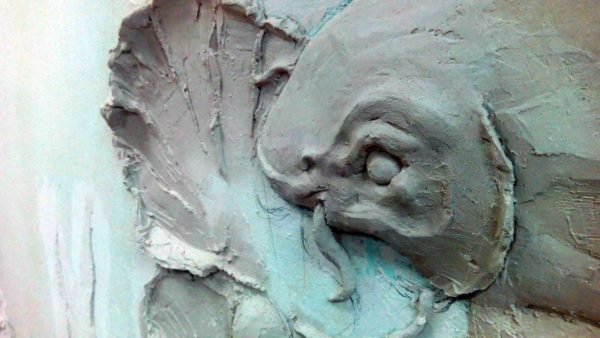
In places where the relief is supposed to be deep, you can apply the solution not at one time, but in several layers. In this case, it is not at all necessary to smooth the layers. The more uneven the surface is, the easier it will be to apply the next layer. When the required volume is reached in a certain area (for example, the head of a fish), we begin work on small details - eyes, whiskers, gills, etc.
When working out small details, knead no more than 100-200 grams of solution - while cutting, leveling, the solution sets, so large portions are simply not needed.

Flakes are drawn for detail
After the drawing from the putty on the wall is ready, it is left for a couple of days until it dries completely. Then you can start sanding - we take sandpaper with a medium grain, process it, achieving the desired smoothness. When the relief is ready, we polish it with fine-grained sandpaper.
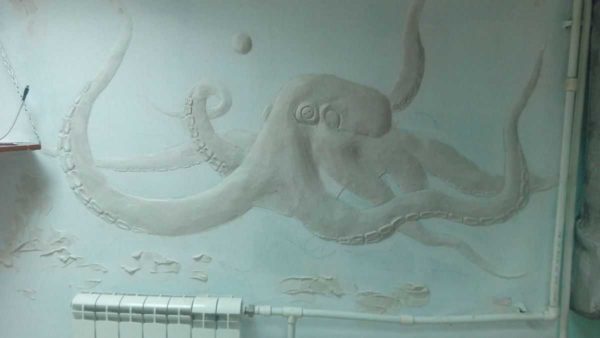
The same technology was used to make an octopus on an adjacent wall.
Two days or more, elements with deep relief can dry. Smaller ones - algae, waves, jellyfish - dry out faster. You can start with them. While you are bringing them to mind, thicker parts will also dry out.After sanding is completely finished, remove dust with a thick brush. Vacuum if desired. Next, we cover the decorative plaster panel with a deep penetration primer.
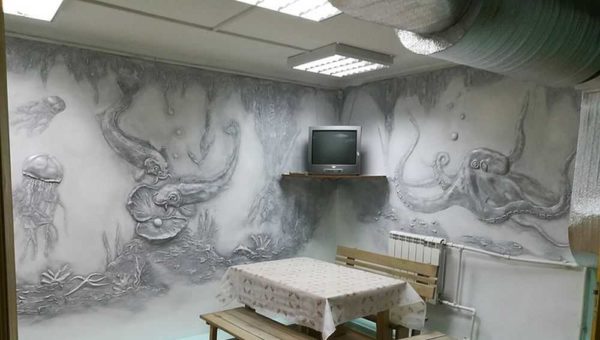
The bas-relief on the wall on the marine theme is ready
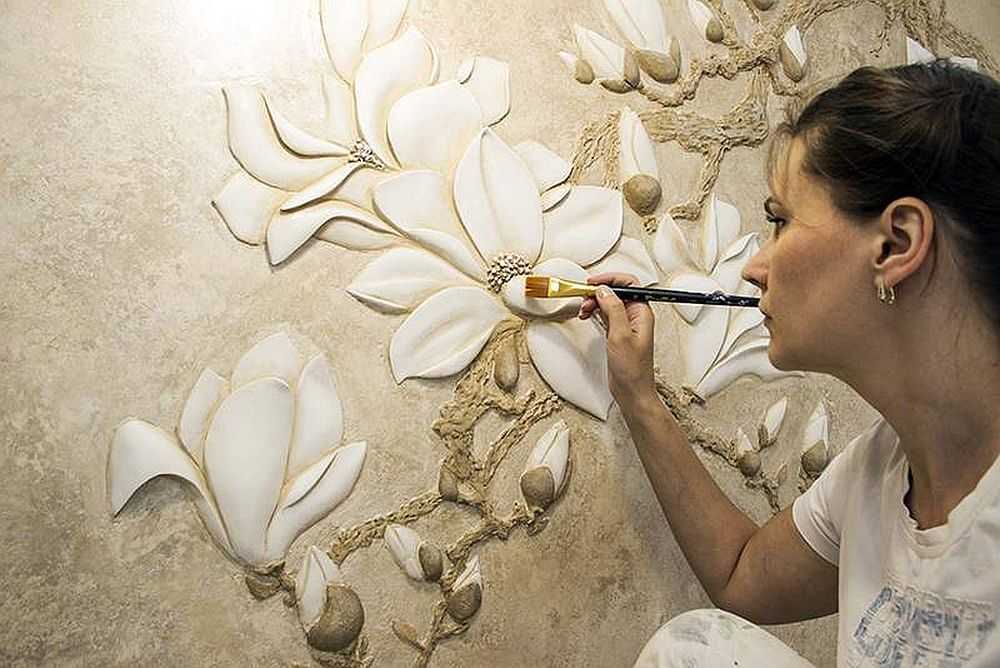
The last step in making a bas-relief on the wall is painting. Everyone chooses the method of coloring himself. In this case, a conventional water-based emulsion was used (the primer was under water-based paints). On this we can assume that you made a bas-relief on the wall with your own hands. In this case, the result is a large composition on two free adjoining walls.
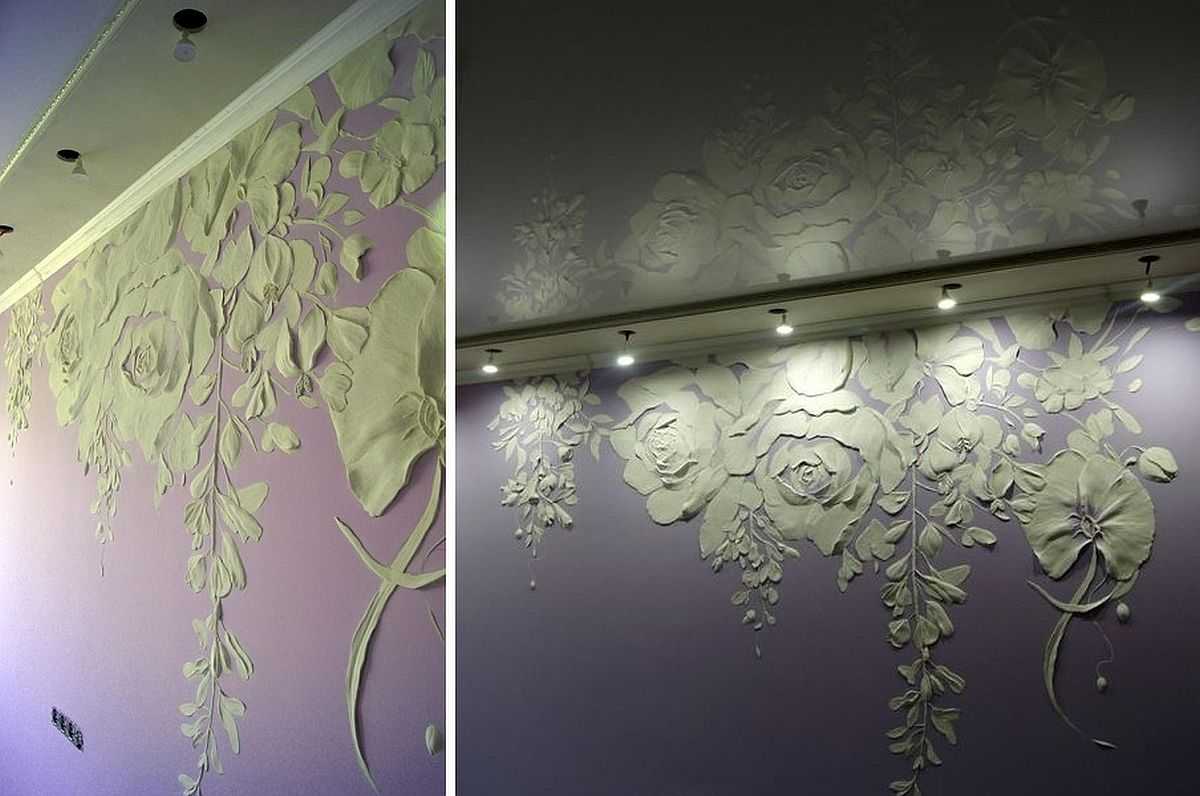
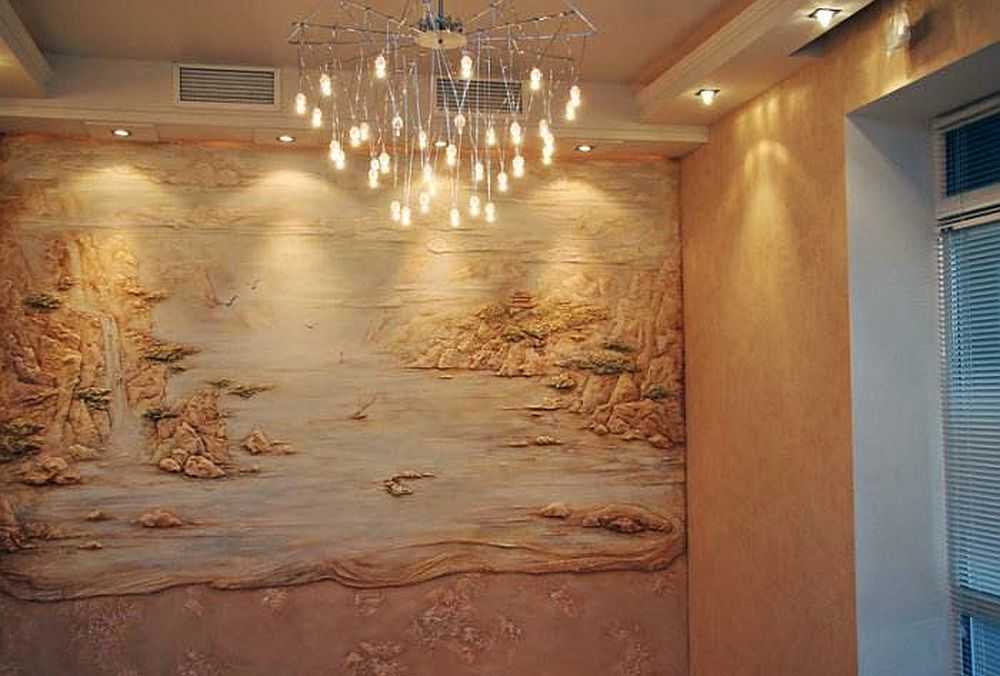
One tip: the bas-relief on the wall looks better with specially designed lighting. So before you level the wall, post the wiring, print the ends. After leveling and priming the surface, install those lamps with those lamps with which you will further highlight the relief picture. In this light, you will need to grind the volumetric panel you made from the plaster mixture. Only in this case everything will look good. Because if the work is carried out under a different lighting, when installing standard lamps, you may find "nightmare and horror".Bas-relief on the wall: photo ideas
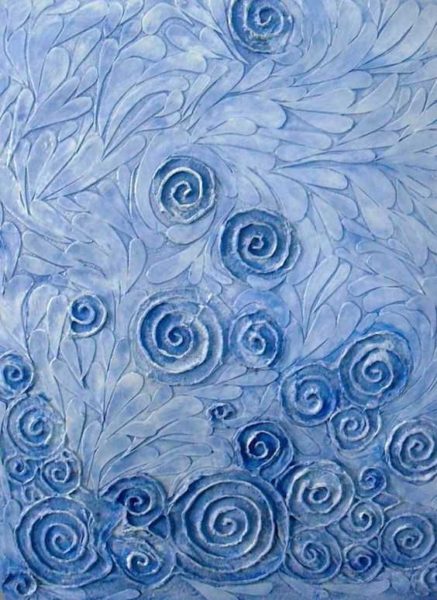
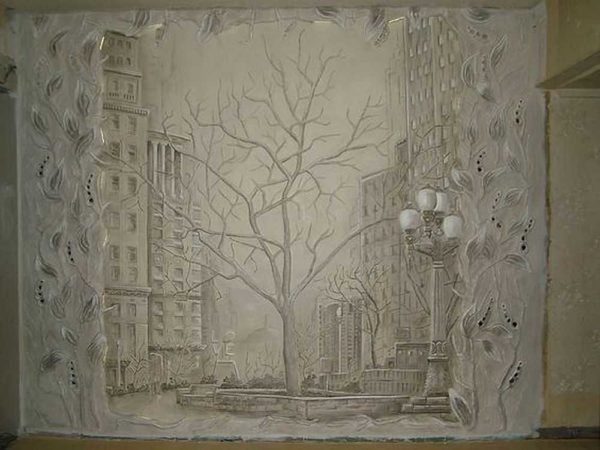
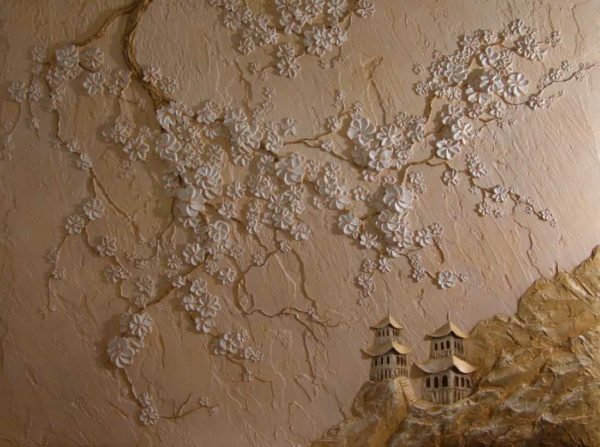
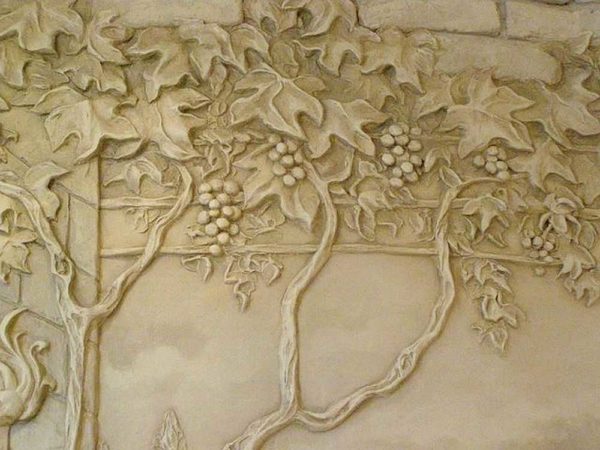
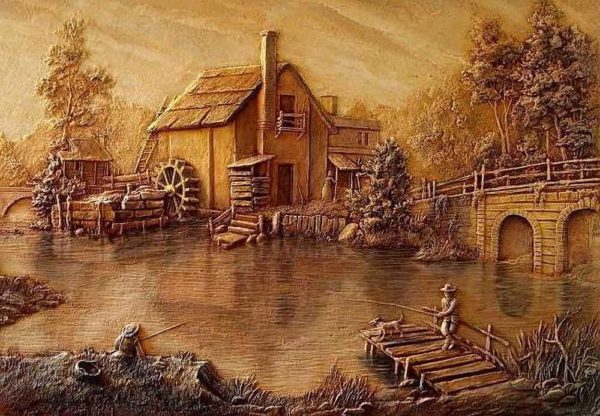
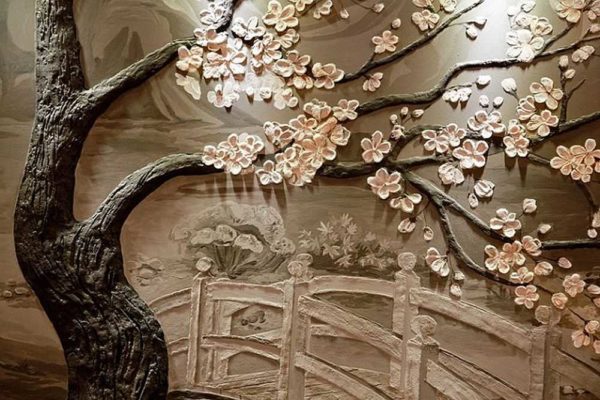
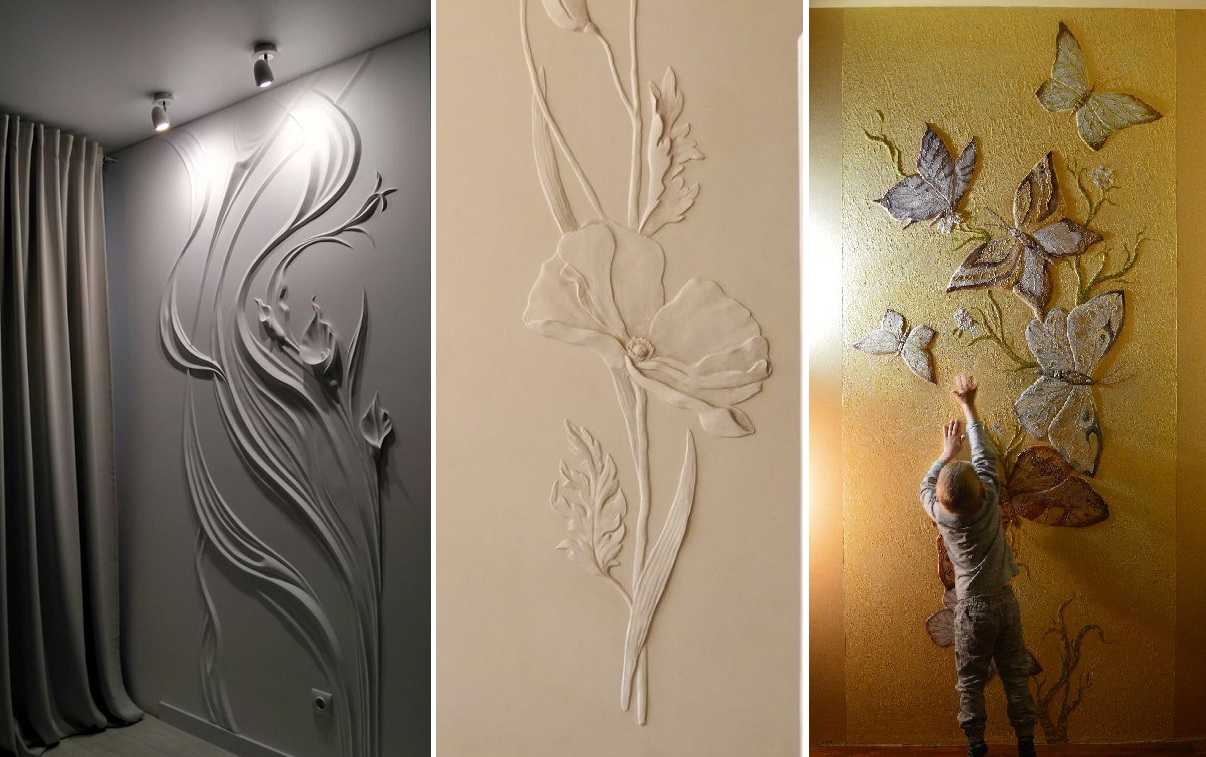
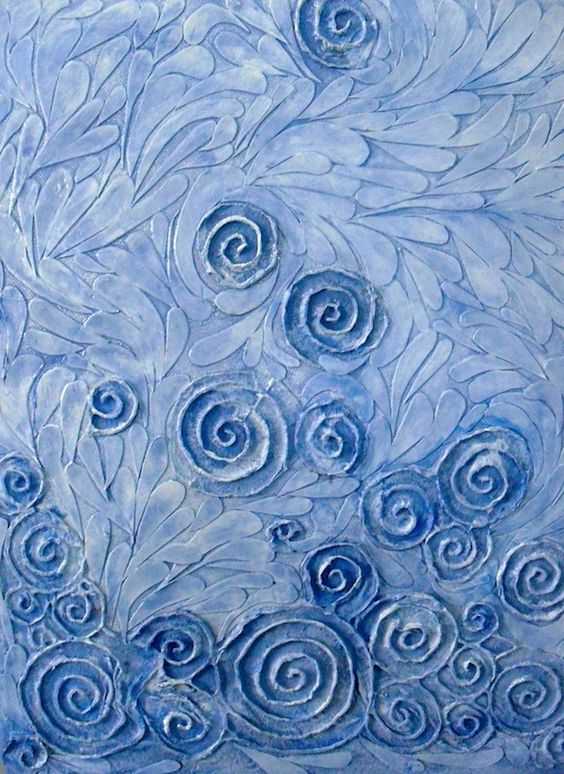
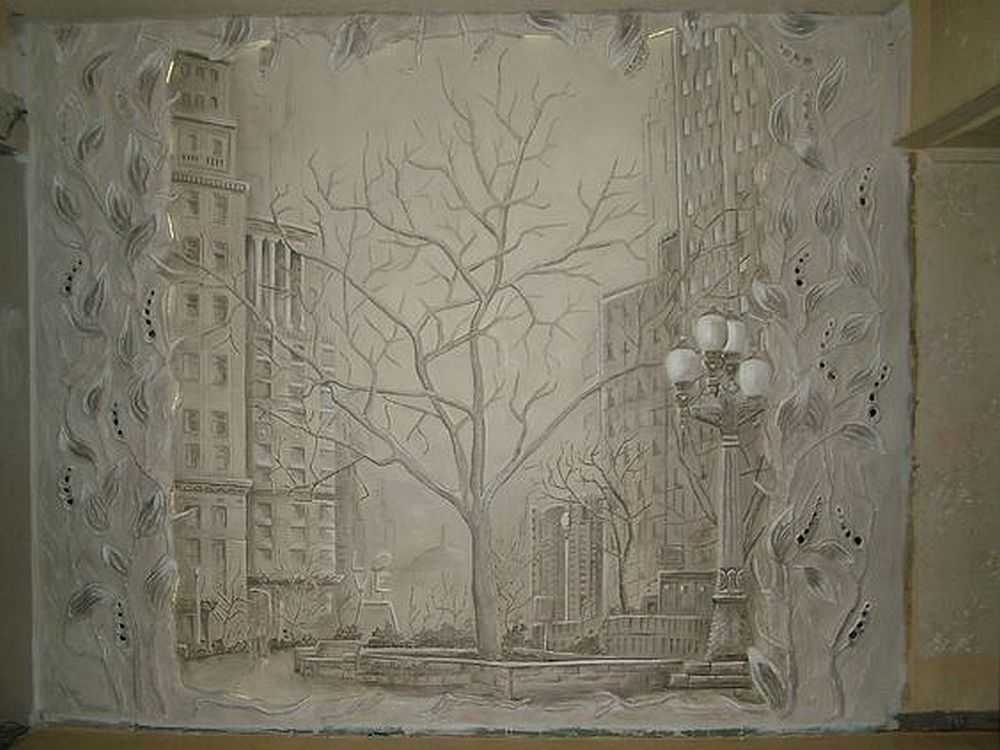
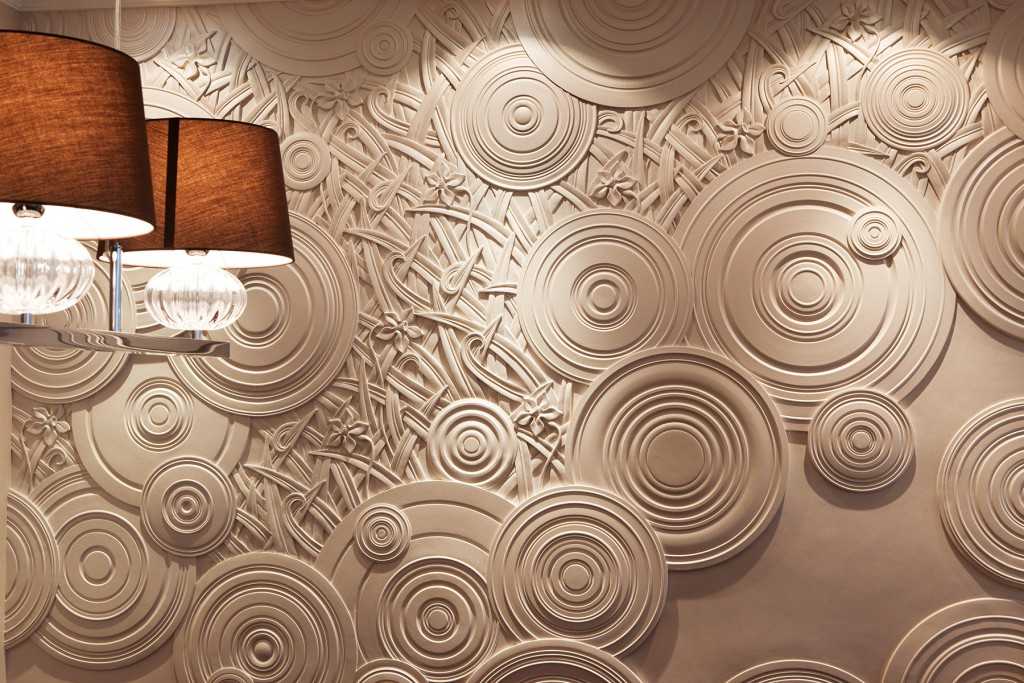
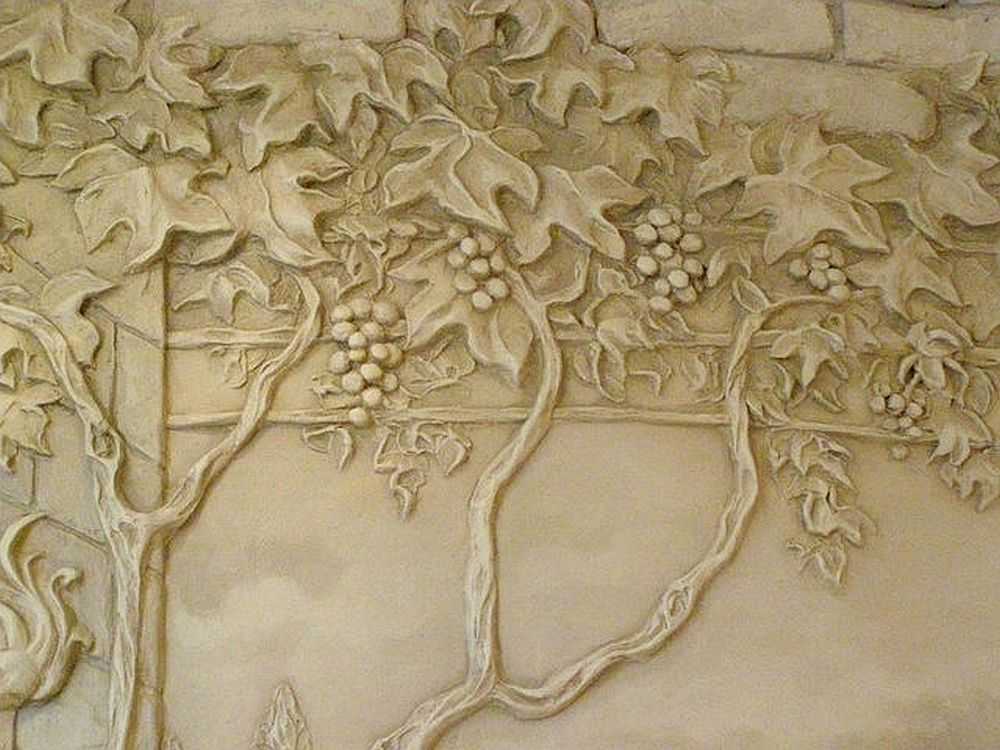
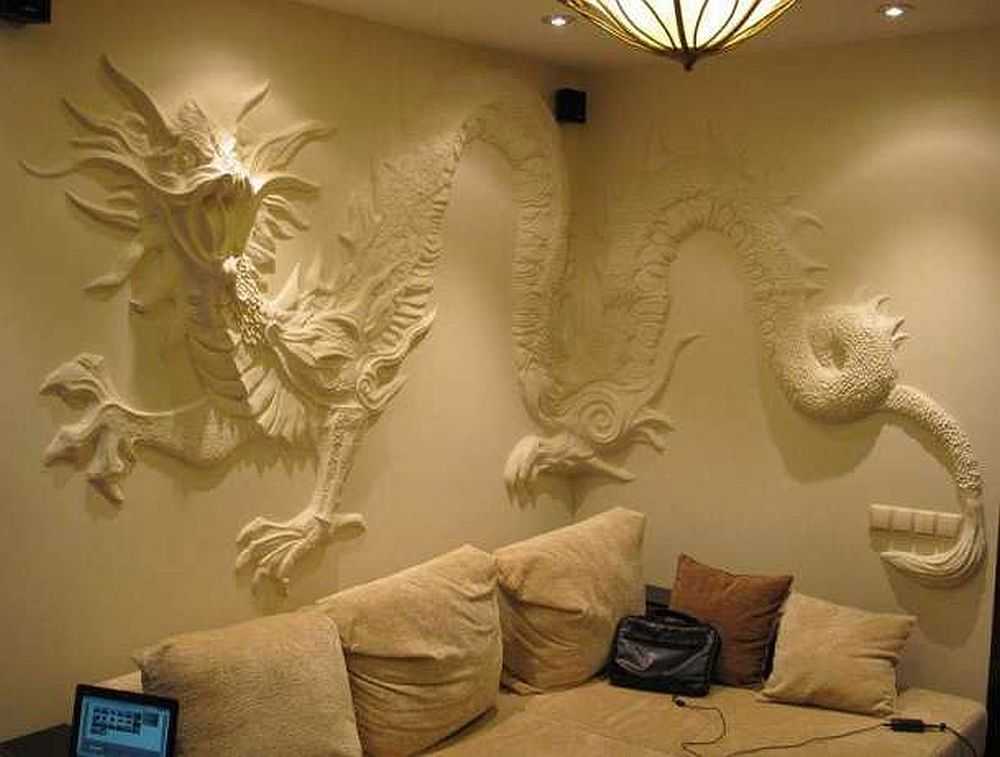
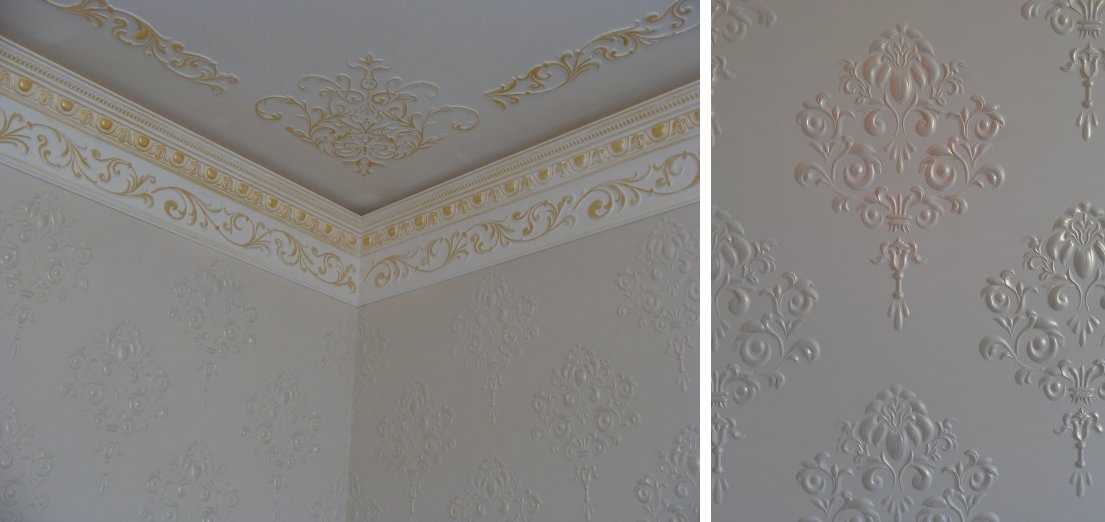
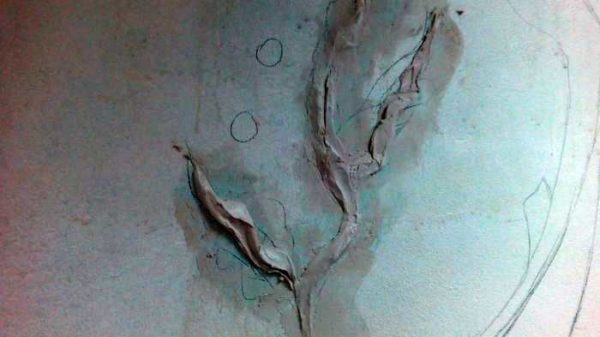
Without experience, it is very difficult to understand what and how can be done with ordinary gypsum plaster. In fact, three-dimensional plaster paintings can be of very different subjects, but the most common are flowers, trees and landscapes (urban, suburban). In this section, we have collected a number of the most diverse bas-reliefs on the wall. With their help, you can imagine yourself a theme for artistic sculpting on the walls. In essence, the process is similar to working with plasticine.