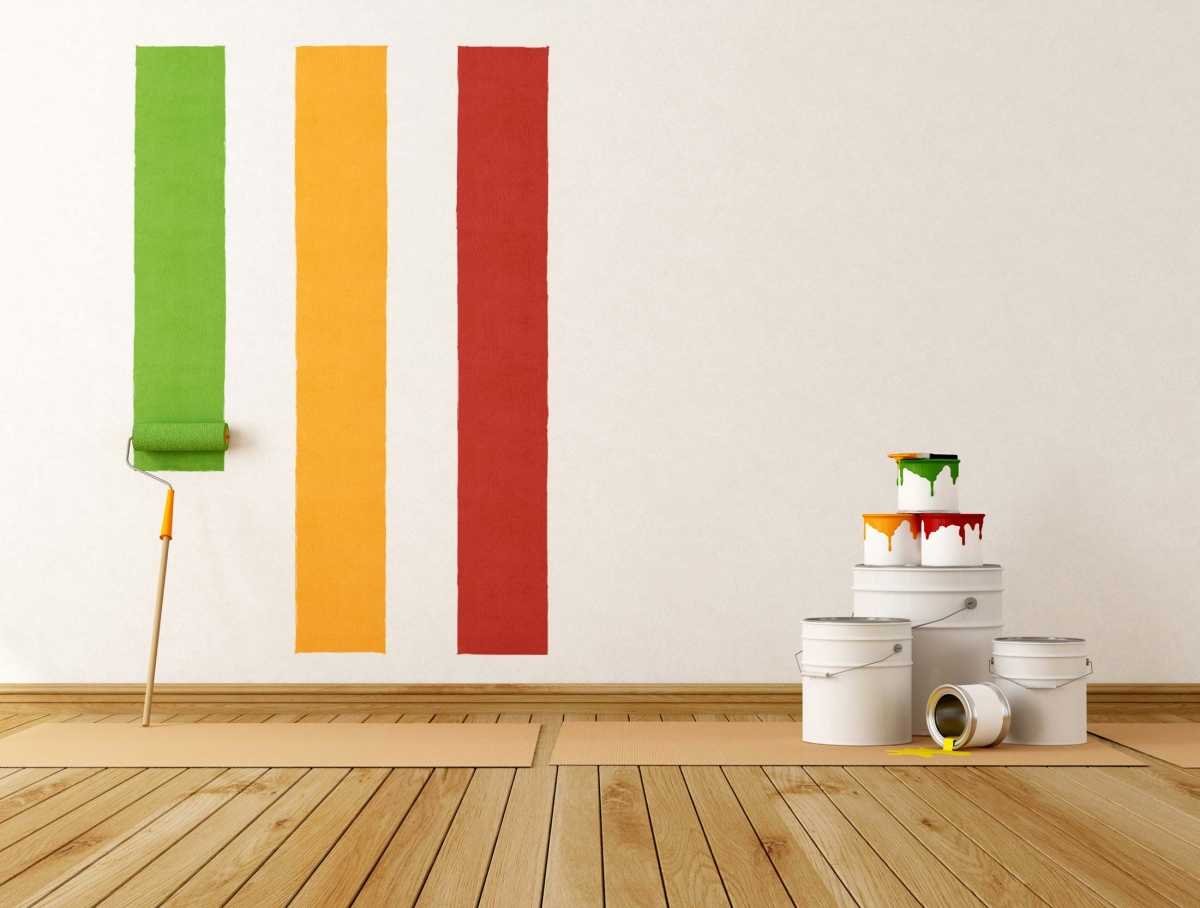
How to paint walls with water emulsion
One of the ways to decorate rooms is to paint with water-based compositions. Why is this option good? Walls painted with water emulsion are combined with all types of interiors. And with hi-tech and minimalism popular today, there are almost no options - the walls should only be smooth, without a pattern. This can be achieved by painting or pasting with plain wallpaper. The second plus is that you can choose any color, and by choosing the appropriate type of paint, you can get a matte or semi-matte surface. The third positive point is that painting the walls with water-based paint is a simple process. You can do everything yourself.
Painting the walls with water-based paint can be done independently, and the result will be at the proper level
The content of the article
What water emulsion to choose for walls
Under the name water-based paints, there are compositions with different properties - some can only be used indoors, and even then they quickly wear out and fade, others paint the outer walls and they do not lose their appearance for years. For this reason, it is necessary to choose a composition for specific tasks and goals.
The basis of water-based paints is water, which contains polymer or mineral particles. When dry after painting, the water evaporates, and polymers and minerals form a film on the surface. The properties of this film are determined by the type of polymer, therefore, when choosing, it is the composition of the water-based paint that is of key importance. And they are:
- Mineral water emulsions. Made with lime or white cement. They have a low price, adhere perfectly to any surface, but quickly fade and are easily damaged - they are wiped off when touched. Therefore, despite the low price, they are becoming less popular.
- Silicate. This paint is based on liquid glass, which gives the composition high resistance to weathering. At the same time, the walls remain vapor-permeable. It can be used indoors and outdoors, its service life is about 10 years.
Mineral and silicate water-based paints have different characteristics and purposes.
- Acrylic based water-based paint. Its positive property is that it lies flat, creating a smooth surface. Can heal small cracks (up to 1 mm), which means that surface preparation for painting may not be ideal. Without additives, the film is hygroscopic and such compositions are used in dry rooms (living rooms). If latex is added to the acrylic base, it becomes water-repellent. Such emulsions are called latex and are used in bathrooms and for painting walls in swimming pools. The disadvantage of this option is that it does not let in steam (condensation falls on it). The price range is average, so painting the walls with acrylic-based water-based paint is one of the best options today.
- Silicone water-based paints have recently appeared on the market. They create a dense film that bridges cracks up to 2 mm wide. At the same time, the surface can conduct water vapor, the paint does not change its appearance for a long time. The downside is the high price.

Acrylic and silicone water-based paints can heal small cracks

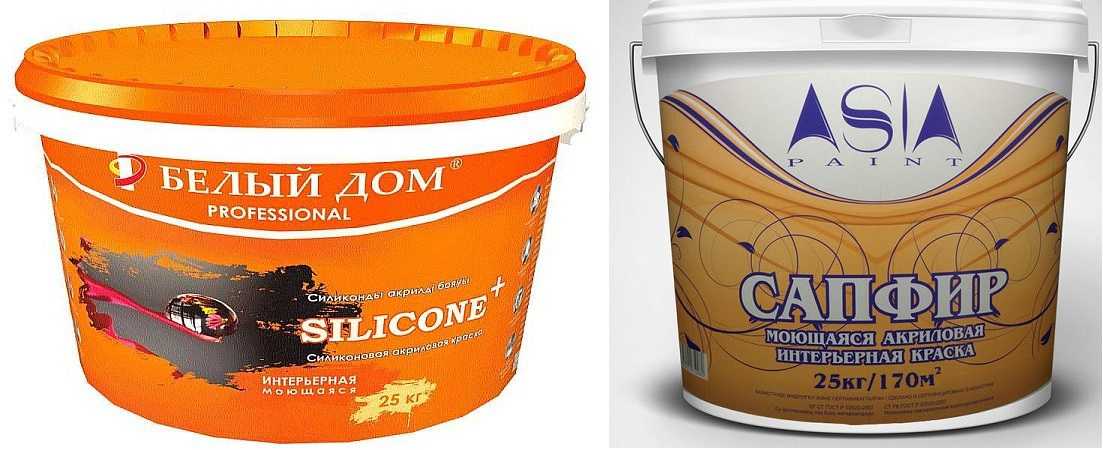
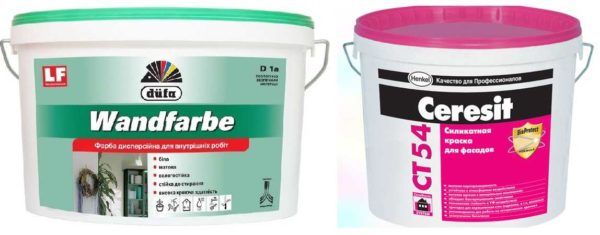
Having decided on the composition, you need to choose a manufacturer. There is no news here - it is better to pay a little more, but you get high-quality paint than to repaint everything again in a few months.When choosing, pay attention not only to the price and volume, but also to such an indicator as consumption. It is indicated in grams per square meter and sometimes differs significantly. Moreover, often expensive paints have a much lower consumption.
Characteristics of water-based wall paints
| Name | Application | Special properties | Consumption | Price for 1 liter | Painting price per square meter |
|---|---|---|---|---|---|
| Tikkurila Euro-7 A | Concrete, wood, brick, fiberglass (wallpaper), plaster | Water-repellent latex paint based on acrylic | 8-10 m2 / kg | 292 rub / l | 29.2 - 36.6 rubles / m² |
| Optimum (Leningrad paints) | Concrete, drywall, wood, brick, plaster | Waterproof vapor permeable | 6 - 8 m2 / kg | 42 rub / l | 5.25-7 rubles / m² |
| Dulux Diamond Matt BW | Concrete, brick, fiberglass (wallpaper), plaster | Increased wear resistance, stains are easily washed off | 12-17 m² / kg | 801 rub / l | 41-66 rubles / m² |
| Dufa Superweiss RD 4 | Concrete, fiberglass (wallpaper) | White acrylic moisture resistant paint | 6.5 m² / kg | 252 rub / l | 38.7 rubles / m² |
Preparing walls for painting
Painting the walls with water-based paint requires a flat surface. It can be a special wallpaper for painting or a plastered and primed wall. At the same time, it is impossible to paint over oil paint or whitewash with water-based emulsion. Previously applied coatings must be completely removed - before plastering, then the defects must be repaired, primed, and only after that can be painted.
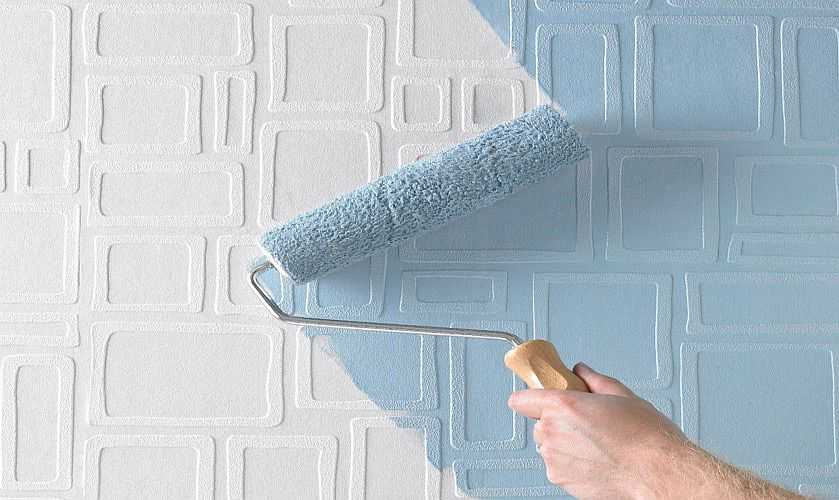
Special wallpapers can be painted with water-based paints.
Removing old paint
The method of removing the old layer of whitewash and water-based paint is somewhat similar. First, "dry", with a spatula, clean off everything that happens. To quickly remove the old emulsion from the walls, the surface is moistened with hot water. Just take a roller, dip it in hot water and roll it several times. Leave for 3-5 minutes, then repeat the procedure. Usually, after the second portion of hot water, the coating swells and is easy to clean with a spatula. Some particularly difficult areas need to be wetted again.
With the removal of whitewash from the walls, the situation is similar, but the water is used cold and it may be required more - lime has a high hygroscopicity. But when wet, it peels off well. Another feature is that after everything has been removed, the surface must be well saturated with a solution of soda. This neutralizes the lime remaining in the pores. After drying, it is already possible to prime and putty.
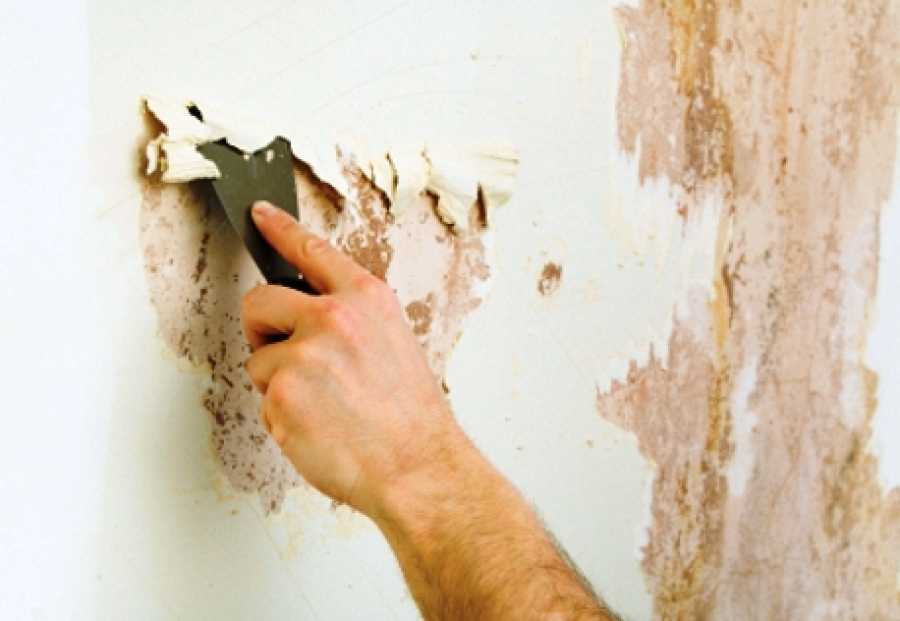
Scrubbing old paint off the walls most often with a spatula
The most difficult process is removing the oil paint from the walls. It is ineffective to heat the walls with a building hair dryer - they heat up very slowly. There are also chemical compositions - washes. But firstly, they are toxic, secondly, they are expensive, and thirdly, they remove one layer well, and all the layers below have to be smeared again. In general - not the best way for this situation.
Most often, mechanical methods are used to remove old oil paint from walls.A metal wire brush is put on a drill or grinder. Turning it on at low speed, they clean off the paint. The method is not bad, but it produces a lot of dust, which is not good. As it turned out, it is much more effective to use a drill with a crown for drilling outlets. Oil paint flies off in pieces, there is almost no dust, the process is fast.
Repair of defects and putty
In the case of water-based emulsions, you cannot gorge on the fact that the paint will hide the flaws of the walls. Quite the opposite - it will emphasize. Unless you use a silicone emulsion, but even with this paint we advise you to cover a small piece and see if the result suits you. If not, you will have to putty.
First of all, grooves and cracks are closed. First, the cracks widen with the angle of the trowel, removing anything that might fall off. Then they are covered with a primer (dip the brush into the composition and moisten well) and after it dries, putty is applied, aligning it with the plane of the wall.
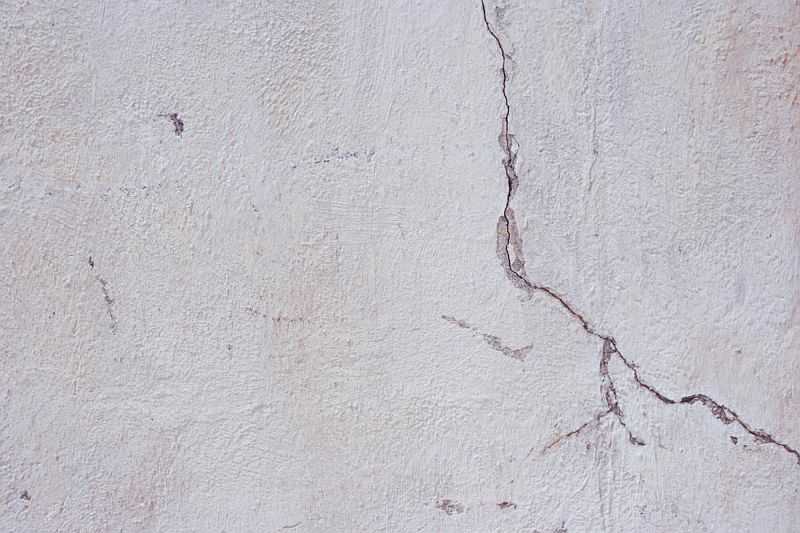
The crack is first embroidered, then primed and then covered with putty
If a significant piece of plaster has fallen off, it is better to restore it with a cement-sand mortar. The resulting hole is moistened with water, but it is also better to go through with a suitable primer (based on cement), fill it with a solution, and level it with the wall. The matter is complicated by the fact that further work can be carried out only after the solution has dried and turns light gray. But do not try to dry it forcibly - it will crumble and crumble.
When all defects are repaired, the remaining irregularities are smoothed out with a putty on the entire surface. The walls are pre-primed. It is easier to do this with a roller, pouring the composition into a tray.
The putty is sold in bags, it can be primary and finishing. The primary one is used if a layer of more than 5 mm is required to level the walls. If the wall is relatively flat, it is possible to smooth out small irregularities with a finishing compound (a layer of no more than 5 mm).
It is most convenient to seal the putty in a plastic container. Usually this is a 10-15 liter bucket. First, pour water - according to the recommendation on the package, then pour out the composition and mix thoroughly. For mixing, use a construction mixer or drill with a nozzle. Particular attention is paid to the bottom and walls - dry powder often remains here.
For further work, you will need two spatulas - one wide, the second - an ordinary small or medium size. They work like this:
- Take a putty with a small spatula and lay it with a roller along the blade of a large one.
- A large spatula is pressed with a blade against the wall, held in one direction, while maintaining the same degree of pressure. In this case, the composition is distributed along the wall, filling in the irregularities. The thickness of the applied layer depends on the degree of pressure: the more you press, the thinner the layer of putty remains on the wall.
- If stripes, grooves or other defects have formed, then a spatula is again carried over this place, correcting the defect.
- All these steps are repeated until all the walls are aligned.
The putty is left to dry for about a day (depending on the layer thickness, temperature and humidity). Then they take sandpaper or a special mesh, attach it to a grater (a construction tool - a platform with a handle). This platform is used to equalize the remaining strips, achieving a flat surface.
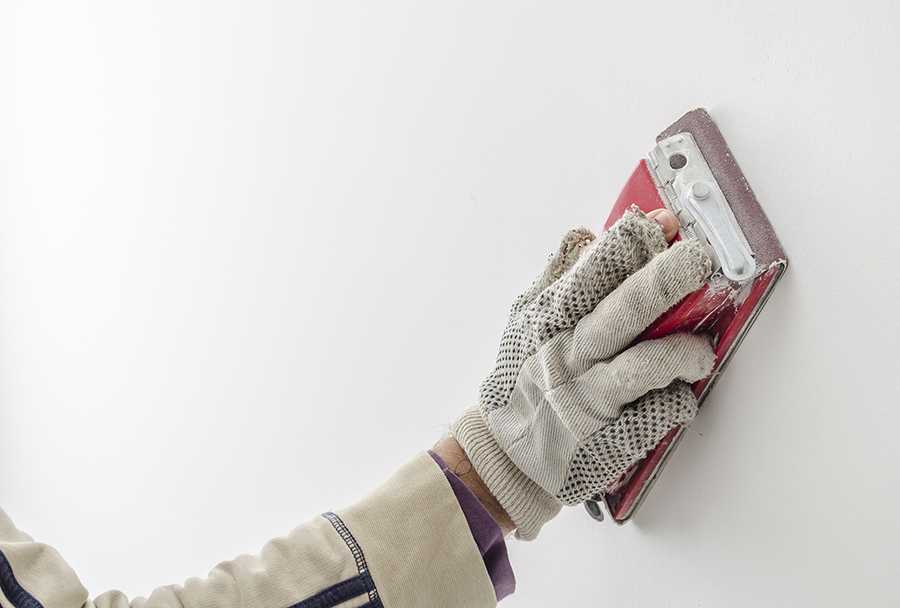
Each applied layer of putty is leveled with sandpaper or mesh
Usually, after the first leveling coat, there are still flaws. Close them up with a finishing type of putty. In it, the components are ground more finely, the composition of the mixture is more plastic, it is applied in a thinner layer. The sequence of actions is the same.
To understand if you have aligned the walls well, you need to highlight them from the side. Such lighting will reveal all the irregularities. They are usually leveled with a trowel with a stretched fine mesh. If this is not done, the imperfections will be revealed by the applied layer of paint.
Padding
The primer is selected depending on the base of the paint. An acrylic primer is used under an acrylic base, a silicate primer for a silicate base, etc. As a rule, it is sold in canisters of different capacities in the same stores where water emulsions are. Apply with a roller.
Wall priming
Why should the walls be primed for painting with water emulsion? Firstly, so that the paint holds better, does not crack and does not blow up with bubbles. Secondly, to reduce paint consumption. The primer slightly closes the pores, reducing the absorbency of the surface.
Painting walls with water-based paint: technology and rules
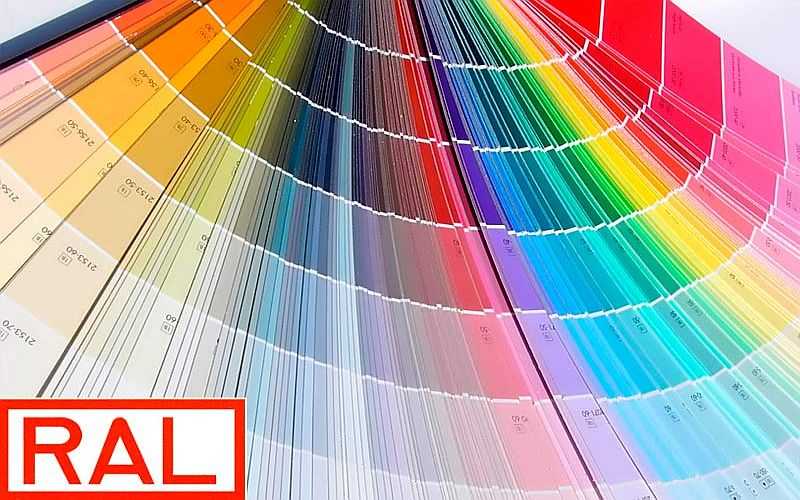
The base color of water-based paint is white, but many companies allow you to get any shade from the RAL palette, and this is just over 200 options. For this, a coloring pigment is added to the composition. You can order tinting in special machines, you can buy a color scheme separately and add it yourself.
When tinting a water emulsion with your own hands, you determine the color "by eye", but the machine has programs according to which it measures the required amount of dyes.In any case, at one time it is necessary to tint the entire volume of paint necessary for the walls and even with a small margin - for painting over spots or scratches. It will not be possible to repeat the same color for sure, and the cars give out slightly different shades.
You can choose any shade
When self-tinting, first the paint is diluted with purified water to the desired consistency (usually it is thick). Then they take a clean wooden stick or a clean nozzle for a drill, begin to stir the paint in a bucket (drill at the lowest speed). Having opened the color scheme, the color scheme is poured in a thin stream. Having received the desired shade, stir for another 2-3 minutes, then leave the water emulsion, wait until the foam settles.
Roller for water emulsion
You can apply water-based paint with rollers of several types:
- Foam rubber. There are in any store, they cost a little, but they absorb too much paint, which is why microscopic bubbles may appear on the surface of the wall. The surface will therefore be uneven and rough. High density foam is better, but harder to find.
- Velor. This type of roller is not so widespread and should be looked for in specialized stores. When using them, the paint lays down evenly, but velor is a very dense material and it has little twist. Because of this, during the work process, you will have to dip it in paint too often.
- Hairy. Painting walls with water-based paint with fleecy rollers is the best choice. The length of the pile can be different, depending on it, the paint layer is thinner or thinner. For painting smoothly plastered walls, the length of the pile is not important, but it is better not to take too shaggy walls - there may be splashes. There are fluffy rollers made of natural fur or felt, they last a long time, but they are expensive. Artificial materials are cheaper, but wear out faster. For water-based paints, polyamide bristles are best suited.
For wallpaper with water-based paint with a mild relief, it is better to use fleecy rollers made of polyamide fiber or natural fur. The length of the pile in this case is 6-14 mm.
Water-based emulsion application technology
Before the start of staining, masking tape is glued to the skirting boards (if not removed), platbands, window sills, along the edge. If it is necessary to mark the boundaries of painting on the wall, they are also marked with masking tape - draw a line, stick adhesive tape along it. If the ceilings are already painted, it will not hurt to stick the tape on the ceiling. This will ensure you don't get it dirty. Please note that the tape is removed immediately after this area is painted over. If the paint on the scotch tape hardens, then it is unrealistic to tear it off without damaging the wall.
The paint ready for application (diluted and tinted to the desired color) is poured into the paint tray. To be able to paint the wall up to the ceiling, a long handle is attached to the roller. Usually it is a plastic pipe or a thin well-processed wooden grip (thinner for a rake and more comfortable to hold).
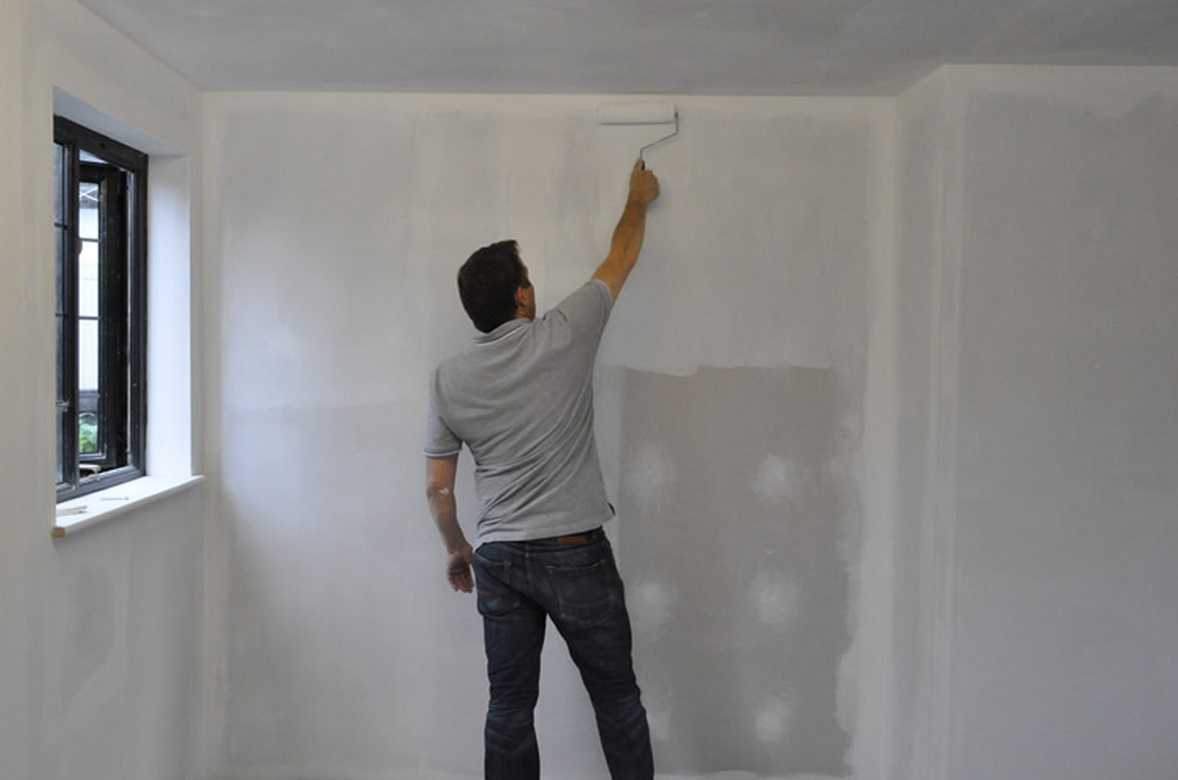
Roller movement up and down
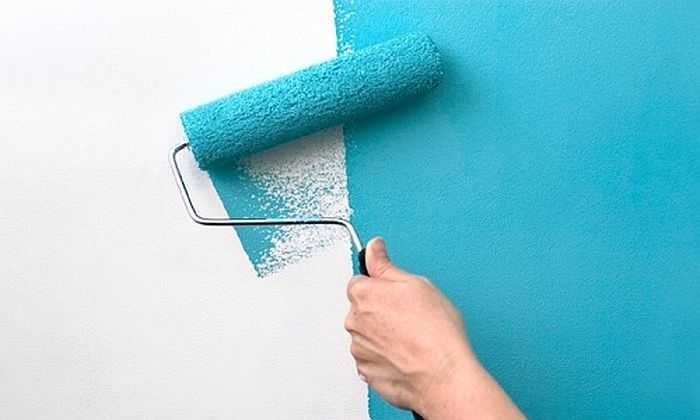
The painting starts from one of the corners. The corner itself is passed with a brush, painting over about 5 cm on the wall. With a brush, paint over the corner under the ceiling (if paint to the very top). Then they take a roller, dip it in paint, squeeze it on the platform and, starting from the top, roll the paint down. Moving the roller up and down, paint over a continuous strip of paint, going 5-8 cm onto the already painted surface. This avoids the appearance of paint boundaries.
Water emulsions on the wall "grasp" in 10-15 minutes. Therefore, you need to act quickly, without smoke breaks and breaks. If the border of the strip dries up, it will then be visible. To avoid this, it is necessary to maintain a high rate of painting.
Paint over the second corner when one roller width remains to it. If you immediately paint the second adjoining wall, you can paint over it with a brush.
It is recommended to apply three layers of water-based emulsion to the plastered walls. After each, you need to wait until the paint dries. The exact waiting time between coats is indicated on the can and is usually 2-4 hours. If the water-based paint is applied to the wallpaper, one coat is sufficient.
Note! When buying and tinting - the plastered wall surface requires three times more paint than the wallpaper pasted over.