How to putty walls - step by step instructions
Smooth walls are an attribute of good repair, but it is expensive to hire a team. Plastering the walls with your own hands is not so difficult that it cannot be dealt with. It is important to follow all steps consistently. It is unlikely that you will be able to immediately get the perfect wall for painting, but you can putty under the wallpaper without much difficulty. And to help you, a description of the process, photos and videos.
The content of the article
What are and when to use
Putty is the preparation of surfaces for the final finishing. With its help, they ensure that the wall is (or looks) perfectly flat. It is applied on relatively flat surfaces. If you need align the walls, bring out the corners 90 °, do this with plaster or drywall... The putty is not intended for this.
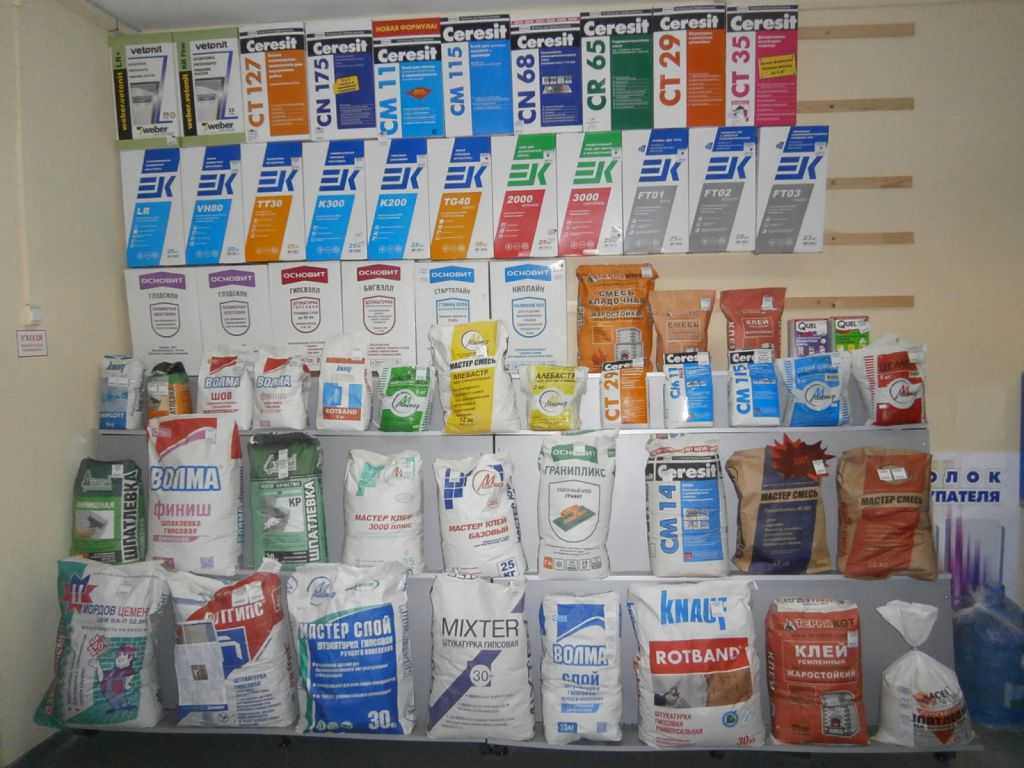
Putty is sold in a wide range
Like plasters, putties are composed of a binder, filler and additives that give them special properties. They are distinguished from plasters by the use of aggregates - sand - fine fractions. The binder is used of two types - cement or gypsum, sometimes lime and polymer additives are added to them. Accordingly, there are gypsum and cement putties.
There are also polymer putties - acrylic and latex. They are based on synthetic substances, the properties of which change depending on the additives. They are not natural, but they have a longer service life, and also withstand more freeze / thaw cycles. For facade work, it is better to choose them. Indoors, they are not the best choice, as they have low vapor permeability, which can cause dampness of the walls, the appearance of fungus and mold. They are convenient because they can be used on wooden and metal surfaces.

Brief description of the properties of polymer plasters
According to the type of application, all putties are divided into two types: starting and finishing. In the starting ones, grains of sand of a larger size are used - 0.3-0.8 mm. As a result, the surface is slightly rough. They are used at the first stage to seal cavities and cracks. In finishing compositions, sand is practically dust with a very fine grain of 0.1-0.3 mm. This results in a smooth surface.
Cement plasters - scope, advantages and disadvantages
Cement plasters are cheaper than gypsum plasters, they can be applied in a thicker layer - some compositions are up to 10 mm. After mixing (stirring with water), they can be used for about 3 hours. The plasticity of the composition is influenced by temperature and humidity. Usually it is indicated for + 20 ° C and humidity 60-65%.
Cement plasters are versatile. They are used for both interior and exterior decoration. Moreover, most of the facade compositions are made on the basis of cement, as they withstand more defrost / freeze cycles and create a more durable surface. They also feel better in damp rooms. If you need to plaster a bathroom or kitchen, it is better to use a cement-based compound.
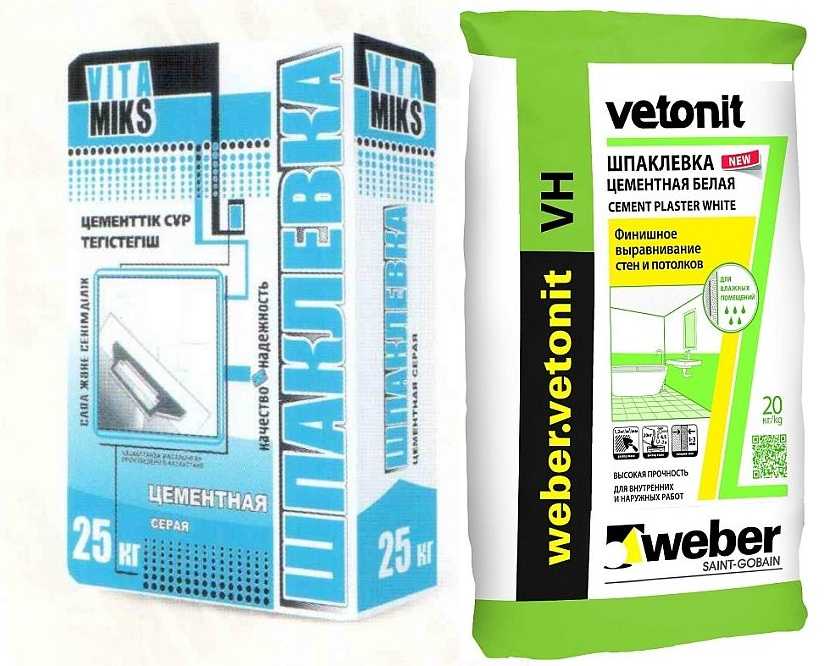
Cement plaster can be white, can be gray
Cement renders can be gray, white and ultra-white in color. It depends on the type of cement used. White compositions are more expensive, since more expensive brands are used, therefore finishing compositions are more often made white.
The disadvantage of cement plasters is a long setting time - several days for complete drying - this is the norm. Several hours should pass before applying the next layer.From 2-3 hours at a layer of 1 mm, up to 24 at a thickness of 6 mm. Since it is rarely possible to achieve an even surface in one layer - there can be three or more of them - the filling with cement plasters takes a long time. For this reason, their popularity is quite low.
Gypsum putties, their features
The layer of plaster putty is 0.5-10 mm, depending on the type. They dry much faster, which has a positive effect on the speed of finishing work. On the other hand, the mixed composition must be used within 30-60 minutes, so such putties are kneaded in small portions. This is not very convenient. If you are going to putty the walls with your own hands for the first time, start with small batches. Gradually determine how much you can work out at a time. Also note that the consumption of the starting plaster is greater than that of the finishing plaster - the layer thickness is different and do not be mistaken in the volume.
Gypsum plasters without modifying additives are intended for dry rooms. There are formulations for wet ones, but this must be indicated on the packaging, since they contain hydrophobic additives.
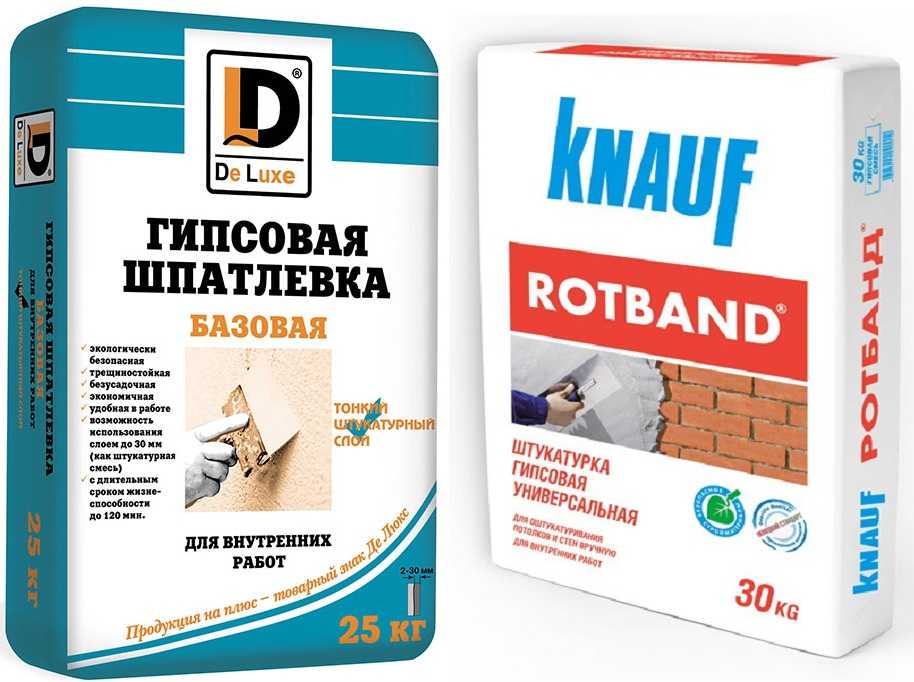
Gypsum plasters are easy to apply
Despite the higher price and short shelf life of the mixed batch, gypsum-based plasters are now more popular. They are more plastic, with their use it is easier to achieve the required surface smoothness, it is easier to work with them for beginners and professionals. If the putty of the walls is still unfamiliar to you, use gypsum compounds.
Technology
The method of applying plasters is the same for any composition. The only thing that matters is compliance with the recipe indicated on the package (the ratio of water to dry mass) and the time during which it must be used. Otherwise, the plastering technique is the same.
Foundation preparation
Work begins on a dry and clean surface. If there is an old coating, everything that can fall is cleaned off, cracks are sewn up, screws and nails, the remains of wallpaper and other coatings are removed.
Sadly, both paint and whitewash must be removed. The paint is due to the fact that the putty does not adhere well to it, and if it does, it may subsequently fall off. The whitewash is removed because it is loose. With it, after the primer, the adhesion is normal, but after a while the finish begins to crack and flake off. If you do not want to redo the ceiling or wall in a year and a half, the lime must be cleaned off.

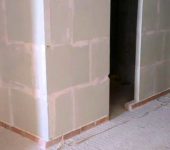
This is what the prepared surface looks like
After the old coating is removed, dust is removed. If you have an industrial vacuum cleaner, you can use it (a household one cannot - it will break). If there is no such equipment, you can first walk with a dry broom, then with a brush, and finally - collect the remains with a slightly damp cloth.
Primer
The priming of the walls under the plaster is used so that the materials adhere better. Its second task is to reduce the amount of moisture absorbed by the base. This is very important on porous surfaces such as brick, dry plastered wall, etc. On loose and prone to crumbling walls, special compositions of deep penetration are used. They bind particles of material to honey, increasing the overall strength of the base.

It is better not to skip the primer
To obtain a guaranteed good result, it is better not to skip this stage. Even though primers cost a lot.
Primers are sold either in the form of ready-to-use mixtures or in the form of liquid concentrates. The second type requires additional dilution with water. In any case, carefully read the instructions before use and strictly follow them.
Usually, the technology is as follows: the composition is poured into the container, distributed over the surface with a brush or roller. In difficult places - corners and bends, thoroughly pass with a brush. If two or more coats are needed, they are applied after the previous one has completely dried.
Tools
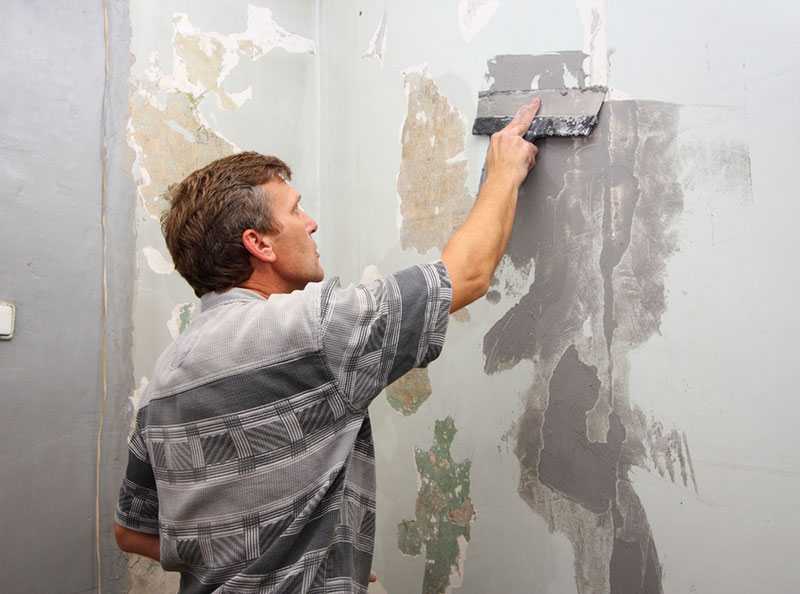
Only two spatulas are needed directly to putty the walls.One large, with a long blade (300-600 mm) and one small. The small composition is taken out of the container and distributed over the blade of the large one. They also remove the remnants from the blade and distribute them again along the edge. A large spatula is needed directly for distributing the composition along the wall.
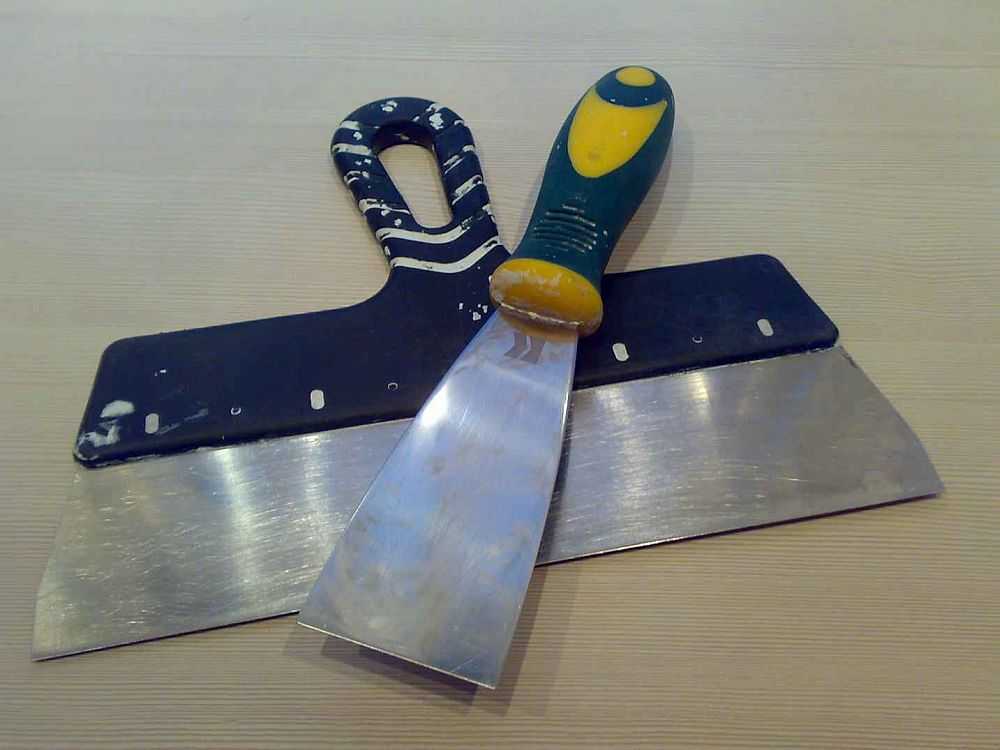
Need two spatulas
The blade of a large spatula should be made of stainless steel. It should be flexible, free from nicks or scratches. If you look at it "in profile", you can see that its ends are slightly bent to one side. This was done on purpose so that when filling the walls or ceiling, stripes from the edges of the blade do not appear on the surface. You can work with a straight spatula, but at the same time you cannot get rid of the stripes, as a result - after drying, you will have to compare them, and this is a long and dusty work.
You will also need a container in which the putty and a construction mixer or a drill with a stirring attachment are diluted. It is better to take a plastic container - a bucket or bowl with high sides. Pay attention to the shape of the bottom. The transition from the bottom to the walls should be smooth. Then it is possible to mix the entire composition without residue and lumps.
Wall plastering technique
In general, everything has already been said, but we will focus on the process and sequence of work. First, the putty is kneaded. Water is poured into a bucket, a dry composition is added to it, making sure that there are no lumps. You have to wait for some time until the whole mass gets wet, then you can stir. Kneading can be mechanical or manual. This is indicated on the package with putty. When you have achieved a homogeneous composition without lumps, you can start working.
First, cover up large irregularities
Apply the putty to the wall with a large spatula. The composition is superimposed on it small, forming a roller two to three centimeters wide and about a centimeter high on the edge of the blade. If the composition is thick, you can take more solution, if it is liquid, it can flow, because the roller is made small.
Step 1. Starting putty... If there are large irregularities - more than 3 mm, they are first covered with starting putty. If the irregularities are only in places, they are closed only, bringing them to the same level with the surface. If there are many of them, you will have to putty the entire surface.When workit is advisable not to exceed the maximum permissible layer thickness, otherwise cracks may appear or the finish will fall off. If there are no significant irregularities, you can do without this layer. But in this case, the consumption of the finishing line will be higher, and it costs more than the starting line.
The thickness of the putty layer, which remains on the wall, is regulated by the angle of inclination of the trowel. If it is strongly inclined to the wall, the layer remains thicker, if the angle is closer to a straight line (60-70 °) - it can be 1 mm.
There is one more technique for applying putty. It is called "the sdir". In this case, the spatula is placed perpendicular to the wall. As a result, only pores, stripes and other defects are smeared, the consumption is minimal. But this technique works only on smooth walls, without deviations in geometry. Putty on uneven walls with differences of more than 1-2 mm using this technique is impossible.
Step 2. Align the first layer... After the starting layer has dried (the time is indicated on the package), sandpaper is taken for grinding and the most protruding irregularities are leveled with it. Most often these are stripes, but due to inexperience, bumps may appear. After sanding is completed, dust from the walls is swept away with a broom, then passed with a dry brush.
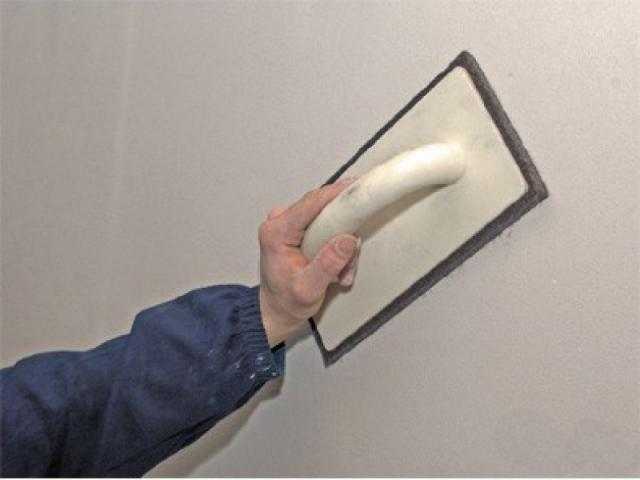
It is necessary to clean the irregularities with sandpaper
Step 3. Finishing plaster of the walls. On the cleaned walls, a layer of finishing putty is applied, no more than a few millimeters thick. At this stage, it is already necessary to try to get a flat surface, carefully leveling the composition. Leave to dry.
Step 4. Align the finishing layers... For this stage, a mesh with a finer mesh is taken. They try to get an already flat surface. Good lighting is necessary for a good result.Also, the absence of defects is checked with the palm of your hand.
That's all. Then steps 3 and 4 are repeated until the result is satisfactory. A little about to what extent it is necessary to level the walls. It all depends on the type of finish you choose. If the walls are putty under the wallpaper, there is no need to achieve perfect smoothness. Even the thinnest wallpapers hide small differences. Multilayer paper wallpaper - duplex or triplex - is less demanding on the surface. A smoother base is necessary for a non-woven base, as well as for all vinyl, except for foamed and textured ones.
The requirements for paintable putty are higher. The paint does not hide even the most insignificant flaws, therefore it is necessary to level it to an ideal state. Up to six very thin layers may be needed.
How to make even corners with putty
You saw a couple of ways in the video - it's just good to shoot mass from the very corner. Everything seems to be simple, but in practice it turns out with difficulty and not very smoothly. For beginner plasterers, there are special corner spatulas for the outer and inner corner.
After applying a certain amount of putty to the corner, they are carried out, removing the excess and forming an ideal line. It's easier to work with them.
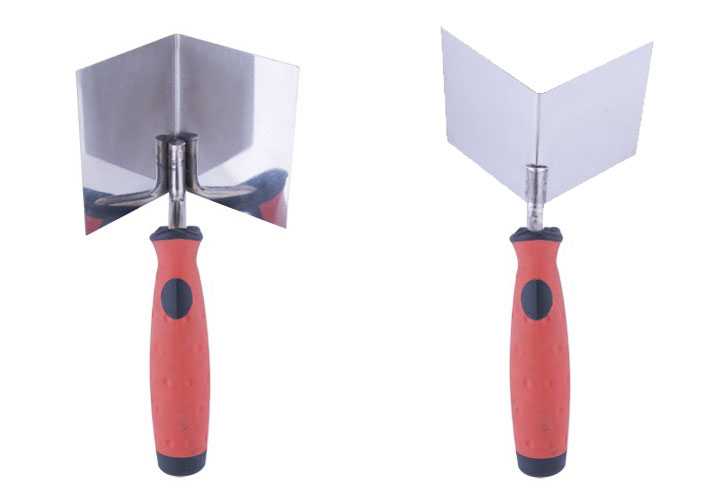
Spatulas for removing even corners with putty