How to apply decorative plaster
There are many ways to decorate a house, but decorative plasters have become increasingly popular lately. They are very diverse, allow you to create walls and ceilings that are unique in appearance. Different types give different effects, plus the application of decorative plaster can also be different. The result is a huge number of variations for any interior in any style.
The content of the article
Types of decorative plaster
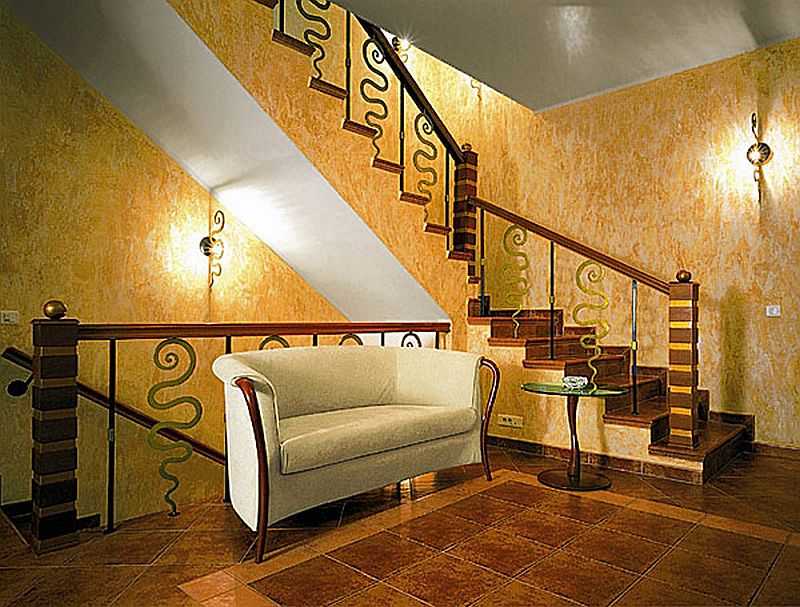
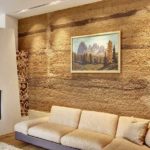
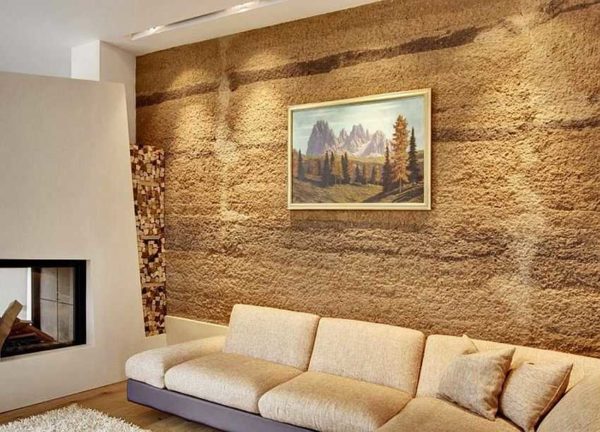
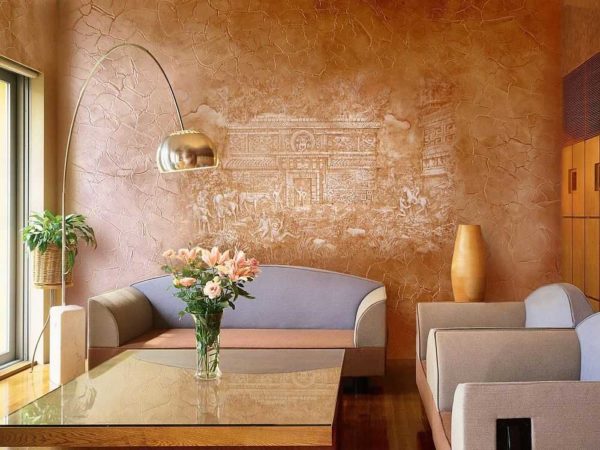
Decorative plaster - a marvelous interior decoration
Decorative plaster is used for finishing walls and ceilings indoors, building facades. The basis can be various substances of both natural (gypsum, cement, marble dust) and artificial (acrylic, silicone, silicate) origin. It is called so because it forms an attractive surface with a different texture - from smooth as marble Venetian plaster to embossed stone or "under a fur coat". The number of options is endless - the application of decorative plaster is a creative process and it is unlikely to be repeated exactly. This is another plus of this type of finish.
By the type of surface formed, the following types of decorative plaster are distinguished:
- Embossed. After applying such compositions, some inhomogeneities and irregularities are often formed on the surface, that is, they create a relief. Their plus is the low requirements for the preparation of the base. It must be strong, must not crumble. Also, there should be no significant differences, but perfect smoothness is not required.
- Textured. The relief is formed due to various inclusions - sand of different grain size, stone chips, mica plates, etc. Application of this type of decorative plaster - spatulas (metal, plastic, rubber - depending on the composition). Usually no other special tools are used.
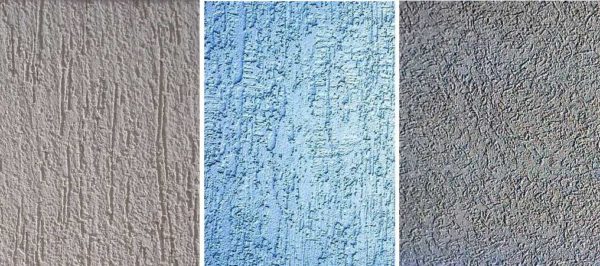
In textured plaster, the relief is created by inclusions of different sizes. More variety can be added by changing the direction of movement of the spatula
- Structural. Plastic, usually homogeneous plaster. The relief is created using all sorts of devices - rollers, special floats, using various techniques. It takes a lot of skill and artistic flair to make structural plaster look organic.

Structural plaster options. Here the whole zest is in the application technique. The same composition can have an infinite number of appearance options
- Textured. The relief is formed due to various inclusions - sand of different grain size, stone chips, mica plates, etc. Application of this type of decorative plaster - spatulas (metal, plastic, rubber - depending on the composition). Usually no other special tools are used.
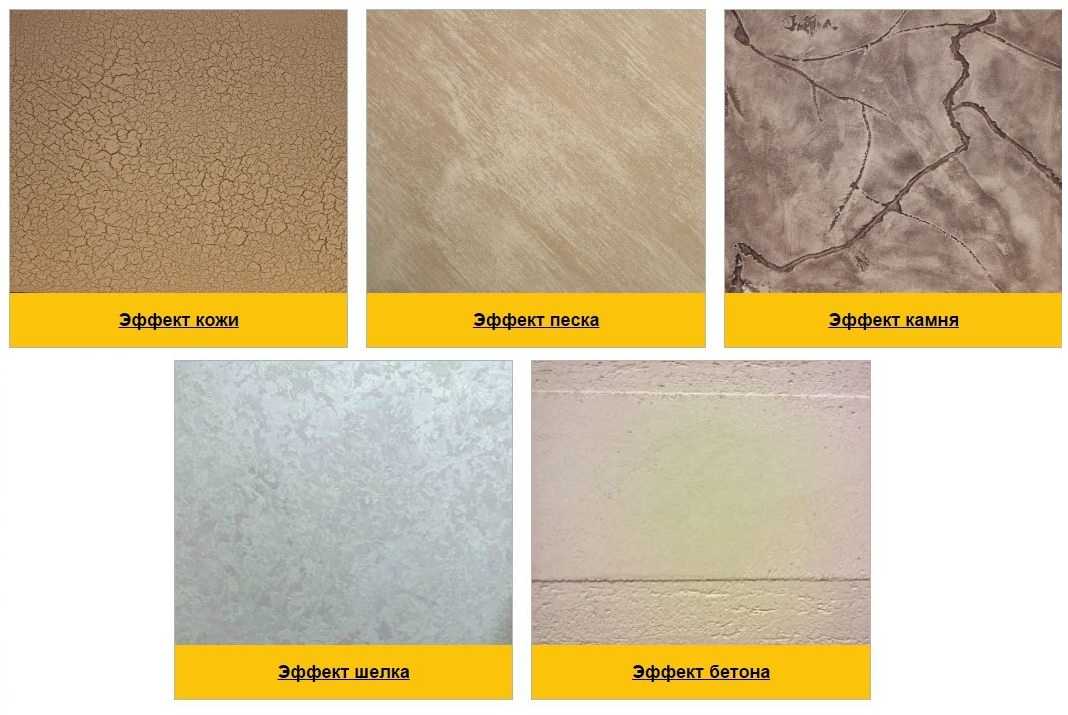
- Smooth. In this category, there is only one subspecies - Venetian plaster, but they allow them to create surfaces with a different appearance. It is a plastic mass, often translucent. It contains dust of marble, malachite and other natural materials. It can be used to imitate marble, cork, leather, silk, precious woods, various metals, malachite and granite finishing.
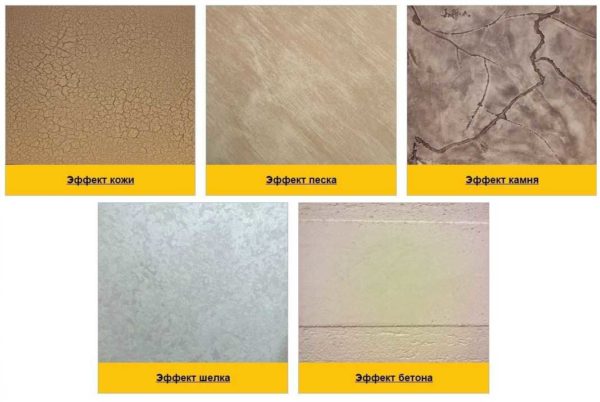
Effects that can be achieved with Venetian plaster

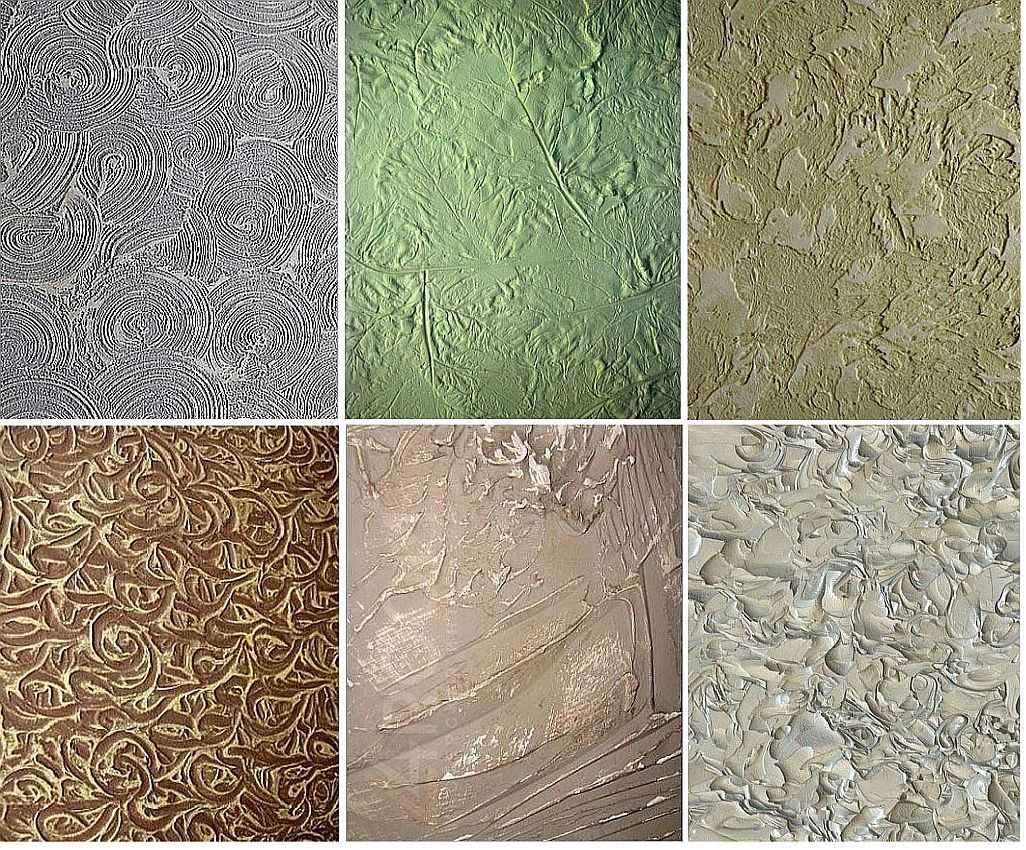
It must be said right away that textured and plastic plasters are often difficult to separate, since different techniques can be used on the same composition. The photo below shows options for only one type of plaster - different techniques for applying decorative plaster allow you to get very different surfaces.
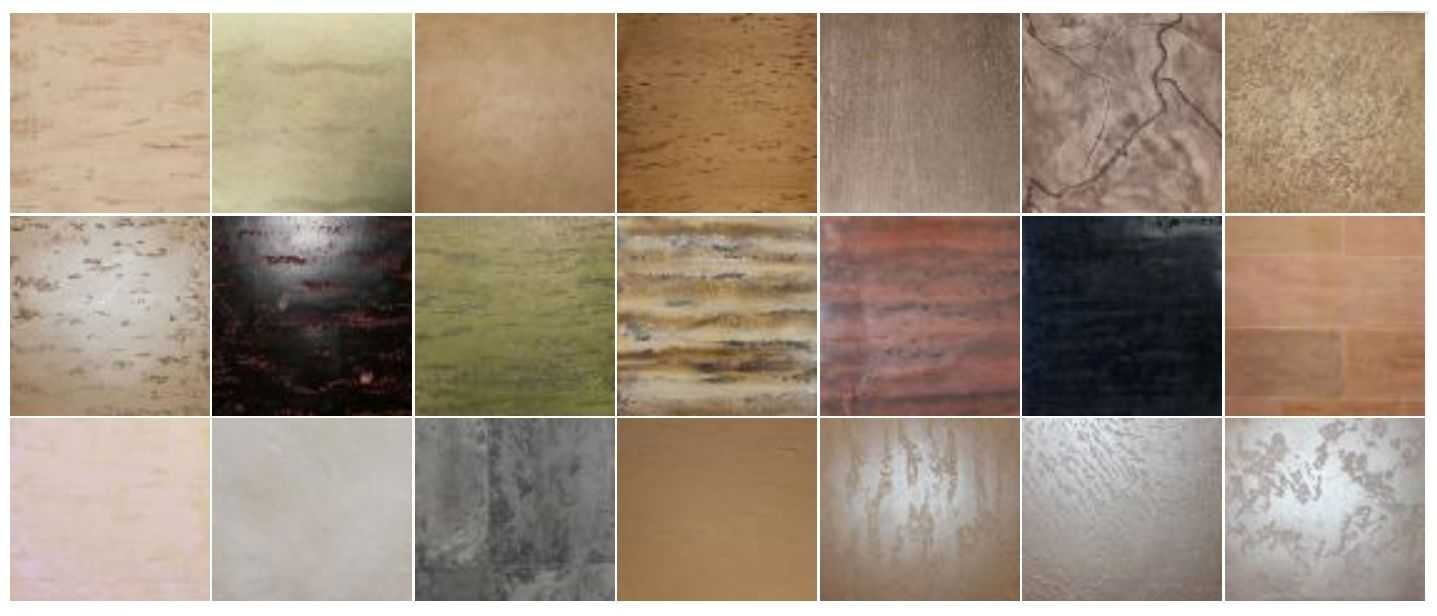
Surface options that can be made with ONE compound using different application techniques
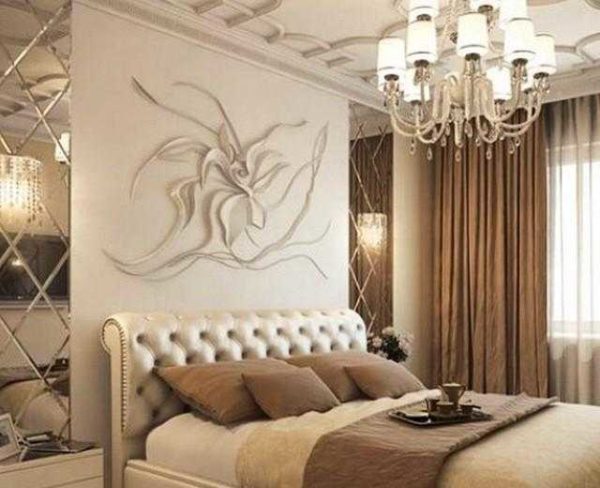
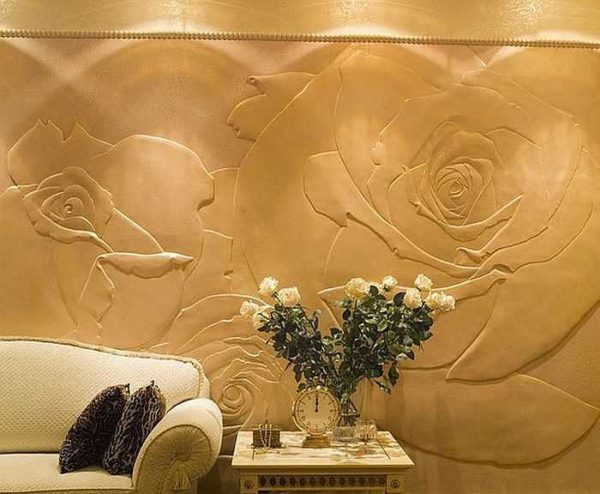
Some decorative plasters are so flexible that they can be used to create artwork. Very beautiful and original panels are obtained.
-
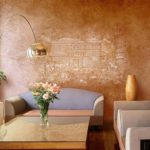
- Not quite a panel, but beautiful
-

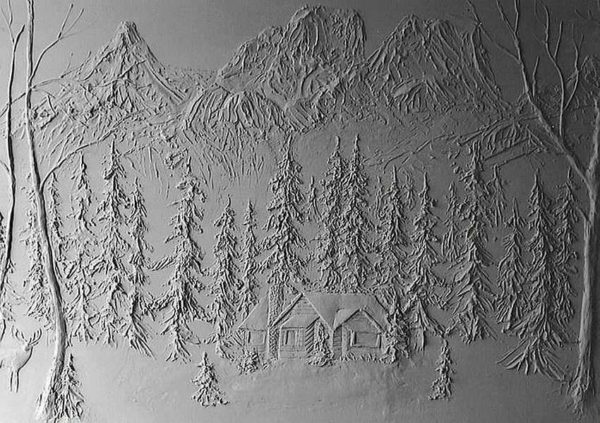
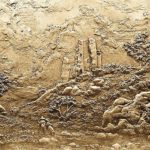
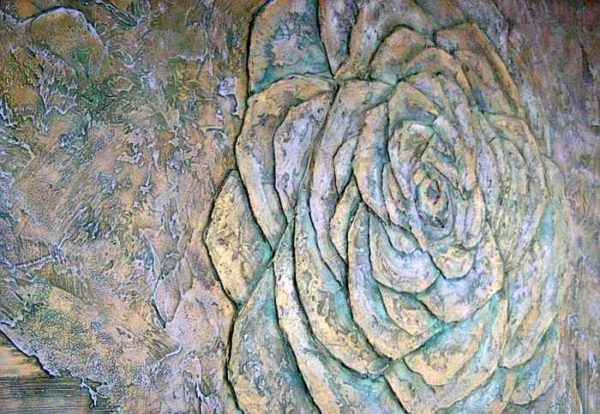
- Volumetric drawing from textured plaster
-

- This requires a lot of skill.

-
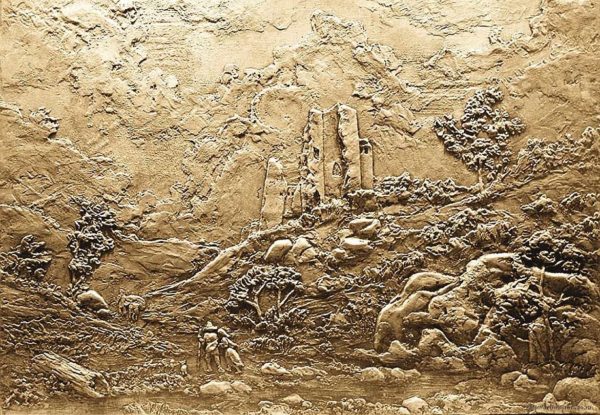
- Decorative panel made of textured plaster
-
- Venetian plaster can also be the main wall panel.
-
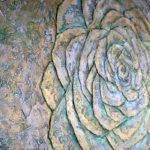
- Structural plaster produces expressive designs
-
- Different styles, different images
-
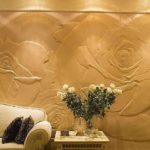
- Rose from plaster
-

- A few touches ...

By changing the application of decorative plaster, all these various reliefs are obtained - from simple to complex.
It is worth considering also dividing them by field of application. There are two large groups - for outdoor and indoor use. There are also universal formulations, but rarely. Almost all the compositions mentioned above are for interior work. These are more interior solutions. Some are resistant to abrasion, some can be washed with detergents and even brushes, but they will not withstand the harsh outdoor conditions.
Some types of textured plaster are suitable for external use - bark beetle, for example. This type of finishing material is just one of the universal. It can also be seen on the facade, indoors. In apartments, these are usually corridors and hallways, in offices and institutions, corridors or office premises can be decorated in this way.
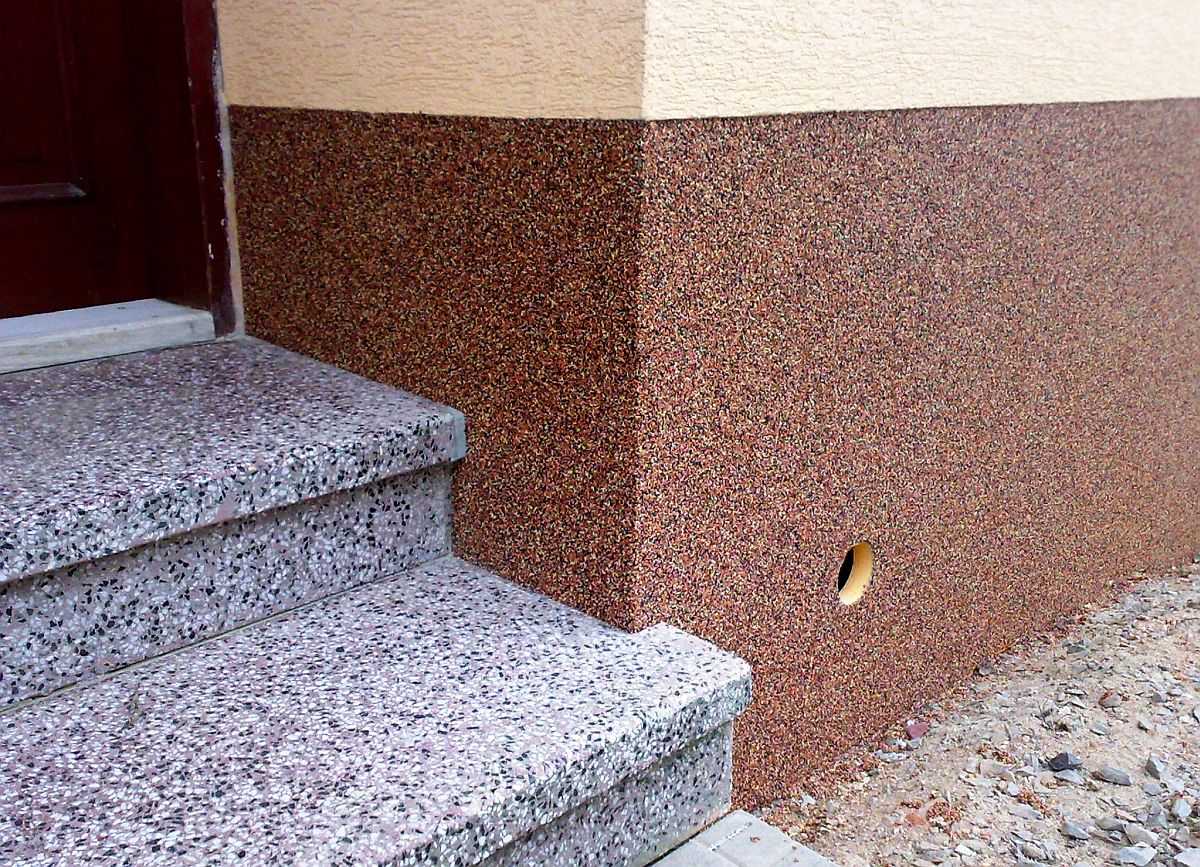
An example of decorating a house with decorative plaster from the outside: stone plaster on the basement, above - on the walls - bark beetle
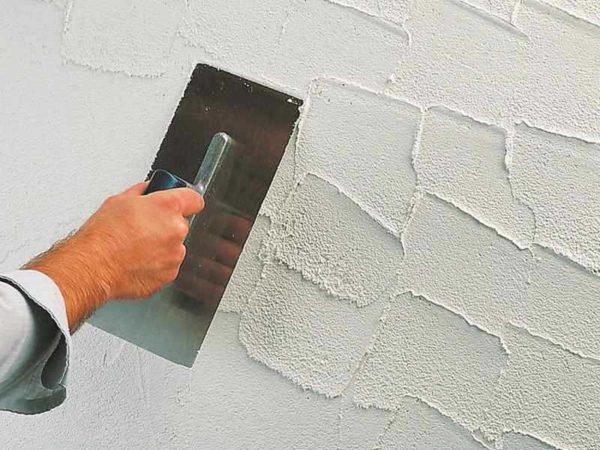
Putties for outdoor use generally have a rougher structure, contain components that increase resistance to UV and other climatic influences. In this category there are specific plasters - stone. They consist of small fractions of natural stones in a binder solution. The application of this type of decorative plaster is simply a trowel or a stainless float. Other elements are rarely used. On facades and fences, creating reliefs is not a good idea - dust will clog and spoil the appearance, and it is not easy to wash it out.
Surface preparation
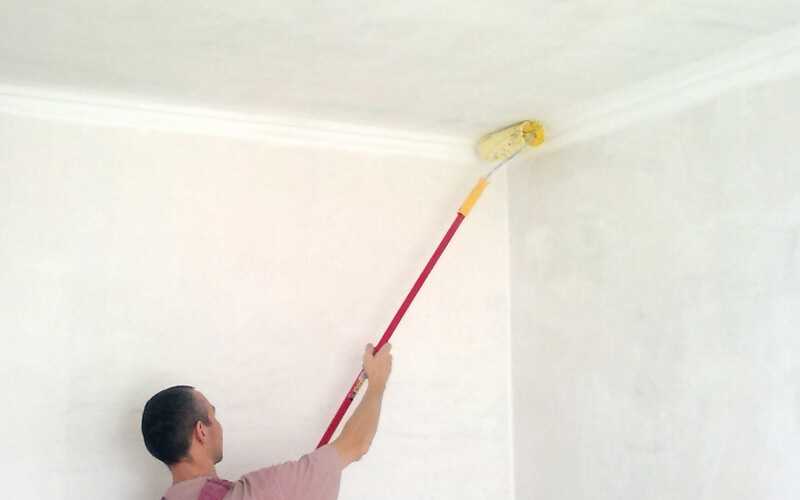
Different types of decorative plaster require different degrees of surface preparation. But we can definitely say that it is necessary to remove everything that can fall off. The surface must be solid, dry and clean, and must not peel off. Also a mandatory step is a primer. And not with any composition, but with a special one, which creates a rough coating. It increases adhesion (adhesion).
For embossed (structural and textured)
For all embossed walls or ceiling, you can especially not level. The composition is applied in a fairly decent layer - up to 1 cm, so it hides drops of up to 8-9 mm. But, in order to reduce the consumption of an expensive composition, it is still recommended to remove large irregularities. The protrusions are constrained, the pits are covered with suitable plaster. Next, a mandatory step is coating with a primer. After drying, you can start applying decorative plaster.

Ideal smoothness is not needed for embossed plasters, but a primer must be required
Structural plaster is usually applied in two layers. The first - basic - fits exactly and dries. The thickness of the layer is indicated by the manufacturer, it is usually set with some kind of tolerance. This layer also serves as a leveling layer, but again, in order to reduce costs, it is better to level the surface first. The second layer is already applied a little thinner, and a relief begins to form on it.
But not all structural plasters are two-layer. On many, you can form a relief immediately after application, without a base coat. Usually the recommended layer is somewhat thicker in this case.
Venetian plaster
Compositions of this group require a perfectly flat surface. Not as smooth as paintable, but almost as smooth.Small differences are allowed - no more than 2-3 mm per square meter. Wall alignment technology standard - first, a layer of plaster (ordinary) is applied to the walls, a paint net is recessed into it. After drying, an equalizing layer is applied - until a perfectly even state. Next - the primer, and after this layer has dried - the application of Venetian plaster.
A perfect surface + obligatory primer is required under Venetian
Application techniques
It is impossible to tell about each method of applying decorative plaster - there are a lot of different details and nuances. The simplest case is with textured plasters. They are simply applied with a spatula. The only difference is in the direction of movement of the spatula, in the depth of the barbs that leave blotches, and in color. But this is in the basic version. Nobody bothers to experiment with these compositions. Another thing is that the structural effect of the same actions is more impressive - more plastic compositions.
What can be used to create a decorative effect
The application of decorative plaster is possible with many tools and common household materials and devices made of them:
- Metal trowels and floats. They are used not only to apply the composition in an even layer, but also to form geometrically chaotic patterns on it.
One example of using a grater
- Construction graters made of plastic, polystyrene. They level out the freshly formed overly protruding relief.
- Fine grit sandpaper. Also for leveling the relief, but on already dried material. Compared to the previous method, the effects are different.
- Foam sponges. They are multifunctional. They can:
- Create surfaces of various types. Waves, needles (if you apply putty to the surface and tear off sharply), some kind of balls or flowers (turn the sponge 180 °), etc.
- Remove paint from protruding parts, making the texture clearer and more voluminous.
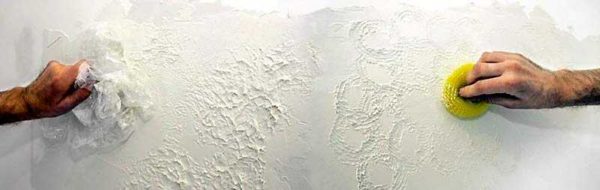
Sponge and paper will work too
- Cellophane films and bags. Also a multifunctional tool:
- By spreading a thin soft plastic wrap on freshly applied decorative plaster, you can form a relief with your hands. It can be some kind of abstraction or something with some motive. When the relief is ready, the film is carefully removed, the relief is left to dry.
- Crumpled paper is wrapped in film. A simple but effective tool for the formation of a non-uniform and chaotic pattern is obtained. Different application techniques can be used - circular movements, short "pokes", waves, strokes, comets, tails, etc.
- Simply crumpling the cellophane, but already more rigid and "poking" it into the plaster, we get a surface that is somewhat reminiscent of the moon.
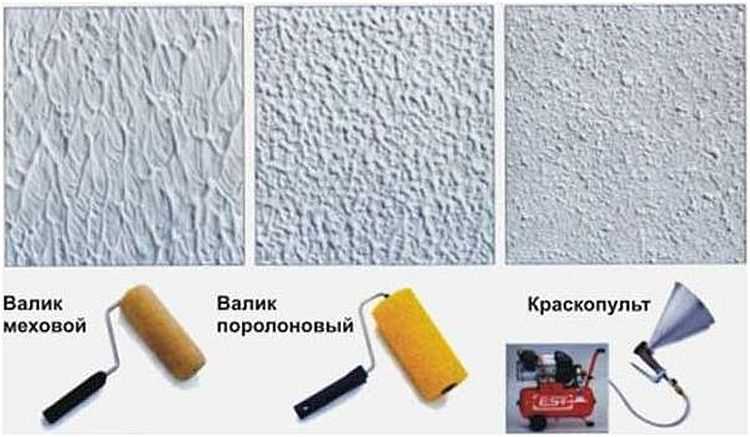
- Rollers. Usual foam or fur rollers are used, as well as special ones with any pattern. Regular are used to create a base relief, over which more pronounced strokes are then applied. The type and shape of the "basic" relief depends on the length of the pile. When rolling with a foam rubber roller, small protrusions-depressions are obtained. When rolling, shaggy - more pronounced. The longer the pile, the greater the differences.

Different rollers - different surfaces
- Hands in rubber gloves. any pattern can be made. The task is to repeat more or less similar on the rest of the plane.
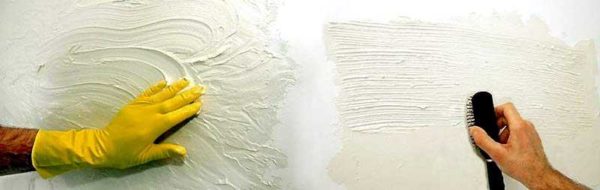
Rubber gloves and stiff bristled brushes
- Brushes. You can get stripes, waves and a bunch of other appearance options.


Principles of relief formation
Decorative plaster is attractive in that it allows you to create a unique pattern - you can use your own imagination. In order for this drawing to look harmonious, you need to know some general rules. Good manufacturers in the description of each composition have rules for working with it. It describes the procedure, methods of application, techniques for forming decorative surfaces.
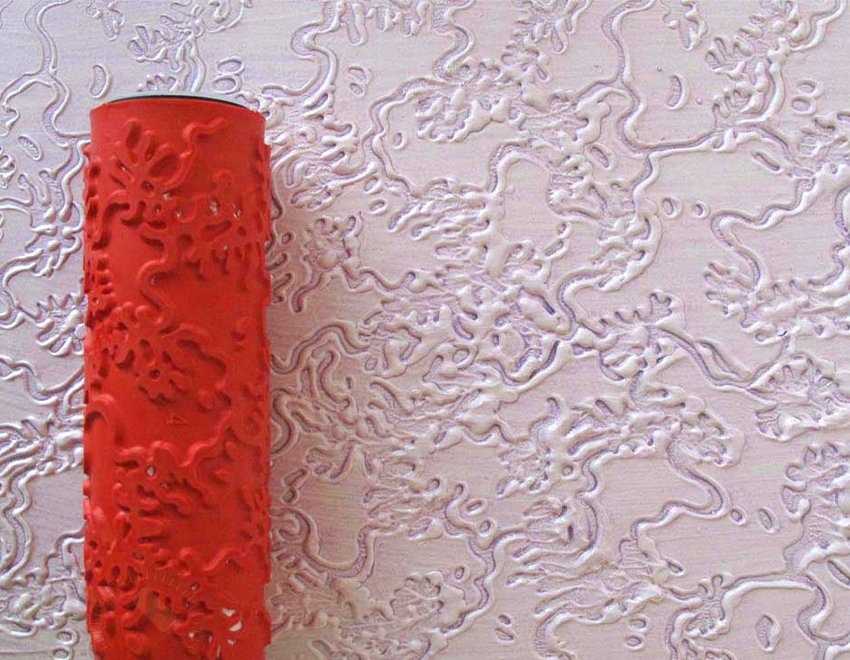
A simple way - rolling with a roller with a pattern formed on it
Large firms (manufacturers or shopping centers) hold master classes, where everyone can try to work with a specific decorative plaster, which is also provided there, and not experiment "on the spot." Therefore, before buying, be sure to read all the available material, watch the videos, which are also often available, and in large numbers - there are really many working methods. Describing in words is difficult and often incomprehensible. It's much easier to do everything in video format. We will try to briefly summarize the techniques.
-
- When working with structured plasters, painted in the mass (color is added to the composition), a thin base coat is first applied. It can be smooth, maybe - slightly textured - rolled with one of the rollers. This layer is allowed to dry (6-24 hours depending on the manufacturer). Then one of the reliefs is formed with the same or clarified composition (an unpainted composition is added, receiving a mass several tones lighter). Further options:
-
- Immediately after shaping, while the plaster has not dried, lightly smoothen over protruding parts with a stainless or plastic trowel.
- Wait until the layer is dry. Emery paper attached to a holder or a wooden block is used to clean off some part of the relief.
-
- Working with textured plasters, apply one layer. Without waiting for drying, they immediately take the grout and form the desired relief. An example is working with bark beetle plaster. This composition is widespread, but basically all surfaces are made the same - with vertical strokes formed by blotches. There are some very interesting techniques in the video.
- When working with structured plasters, painted in the mass (color is added to the composition), a thin base coat is first applied. It can be smooth, maybe - slightly textured - rolled with one of the rollers. This layer is allowed to dry (6-24 hours depending on the manufacturer). Then one of the reliefs is formed with the same or clarified composition (an unpainted composition is added, receiving a mass several tones lighter). Further options:
- The hardest part is the technique of applying Venetian plaster. The layers are very thin, translucent, there are many of them and are applied in different ways:
-
- Apply an even, thin base coat first. It dries up.
- Thin chaotic strokes are applied, which gradually fill the surface. In this case, a certain, not very pronounced relief is obtained - strokes of different thickness are obtained, different directions.
- The layer is left to dry for 4-5 hours.
- Take a large stainless steel spatula or grater and rub (iron) the surface. In this case, the sharp edges are slightly erased, the surface becomes smooth in places, velvety-looking in places. The "marble effect" begins to appear.
- The next layer is almost the same, but you just need to level the surface as much as possible.
- The layer is left to dry for 1.5-2 hours.
- Smooth it with a smooth, burr-free spatula with rounded ends (so as not to damage it accidentally). At this stage, the surface acquires a glossy sheen.
- The finishing stage is decorative wax coating. This layer increases the moisture resistance of the coating, and the glossy shine becomes more pronounced.
-
Applying decorative plaster: video tutorials
Not all the nuances of finishing work can be clearly described in words. Previously, everything was passed from master to apprentice through an internship. Modern technologies make it possible to make the process more widespread - video lessons and master classes give an idea of how to move, which is very difficult to describe in words. This section contains several interesting ideas for decorating walls with embossed plaster.
As you understand, applying decorative plaster is a creative business. But without experience it is difficult to imagine the results of your actions. We look closely, trying to copy the movements. First, it is advisable to practice on a piece of putty drywall - to work out the technique. When the result suits you, you can start decorating the walls.
-
 Modular houses from block containers: types, manufacturing features and layout options
-
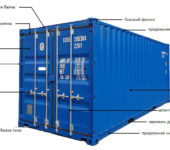 Houses from shipping containers: construction options, layout
-
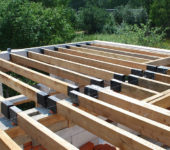 Types of wooden beams for floors, length calculation, installation
-
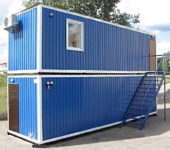
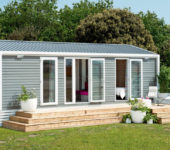 Mobile homes for year-round use
-
 Polymer / composite decking (WPC decking): types, sizes, installation


Very informative