Children's play house for an apartment
Keeping kids busy on long winter evenings is not easy. An excellent way out is houses for children. They can "hang" in them for hours, rearranging something, dragging and changing toys. Most importantly, they are busy.
The content of the article
What children's houses in the apartment are in stores
If we talk specifically about indoor playhouses, then they are mainly represented by plastic products (namely, houses) or fabric (these are rather play tents). There is still a not very common type - inflatable from a polymer film. For kids up to 4-5 years old, it's a good option: it's both warm (it doesn't play on the floor) and it's safe.
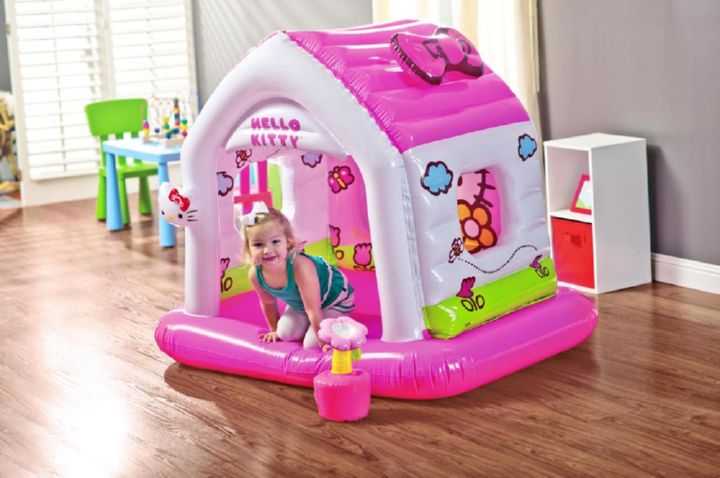
Inflatable is a great solution for babies
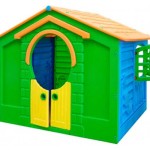
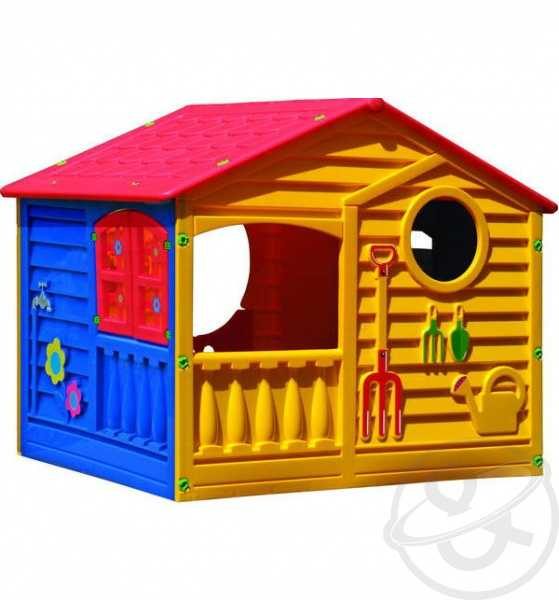
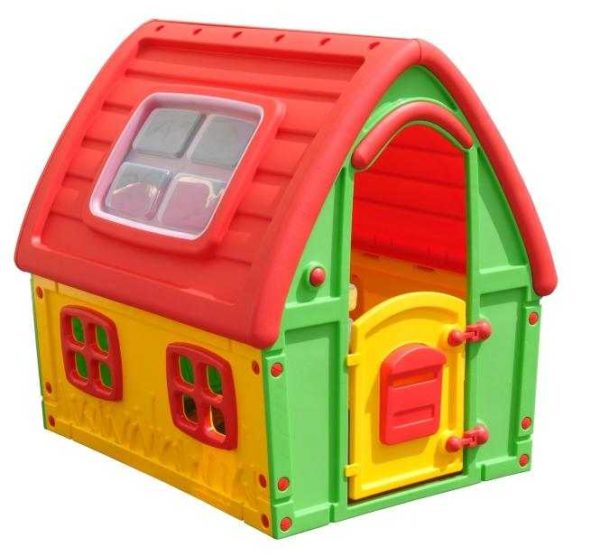
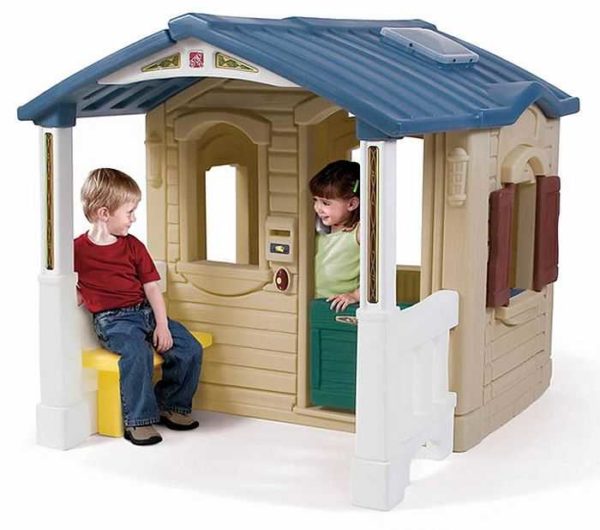
Plastic houses for children are much more common, they are often collapsible. If necessary, they can be disassembled into relatively small parts and hidden or transported to another location. The minimum height is from 110 cm, the maximum for two-story ones is about 2 meters. The smallest in area occupy somewhere between 1.2-1.3 square meters - it depends on the thickness of the walls. Material - PVC. With the proper quality, it is absolutely safe (there must be a SES certificate). Species and varieties - sea:
- Open, such as a summer kitchen or gazebo.
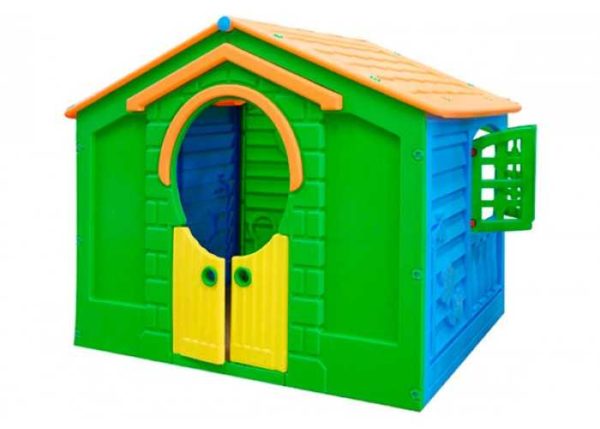
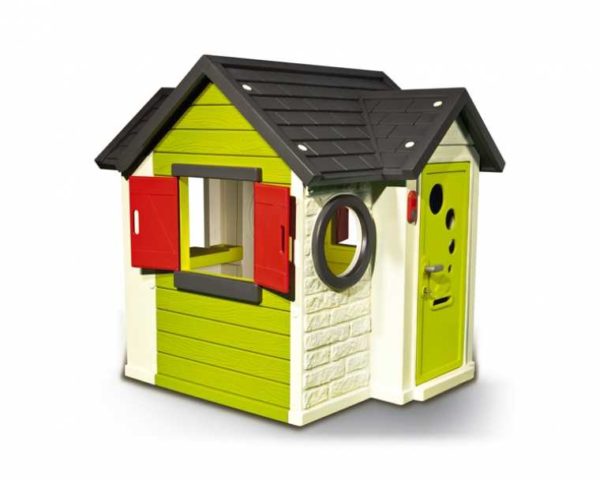
- With windows and doors, with and without shutters.
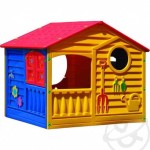
- There are houses with a veranda (the area may already be 2-3m2).
- Two-story - under 2 meters high.
-
- Functional doors and windows, like real ones, will appeal to kids
-
- Large area option
-
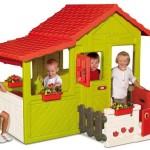
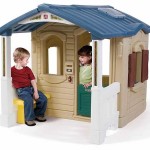
- Several children can play at once
-
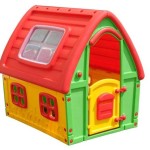
- This is a collapsible option
-
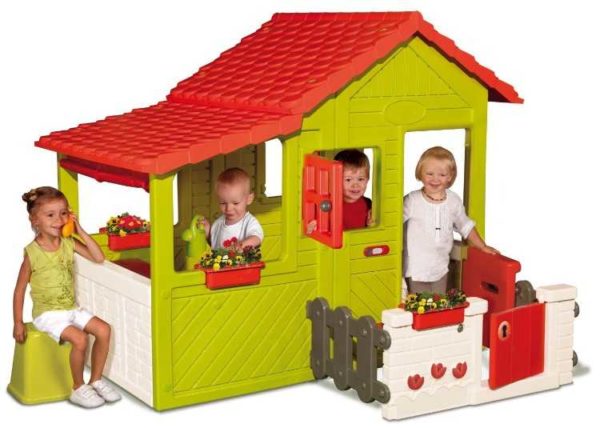
- Complex configuration
-
- You can relax on the veranda))
Playhouses made of plastic are good because they are easy to clean, you can safely take them with you to the country, for example. In winter it is a home playhouse, in summer it is a country house.
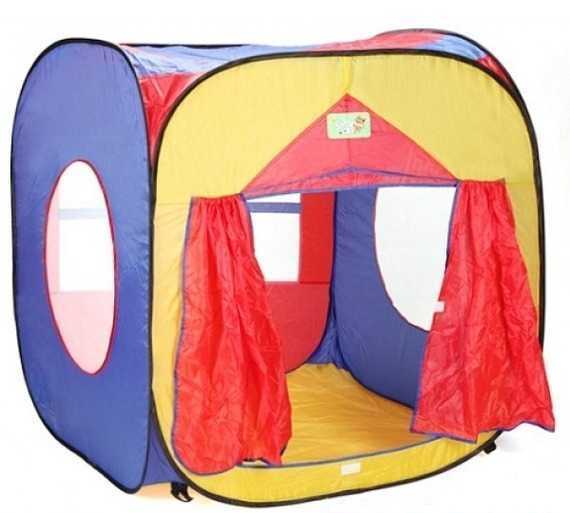
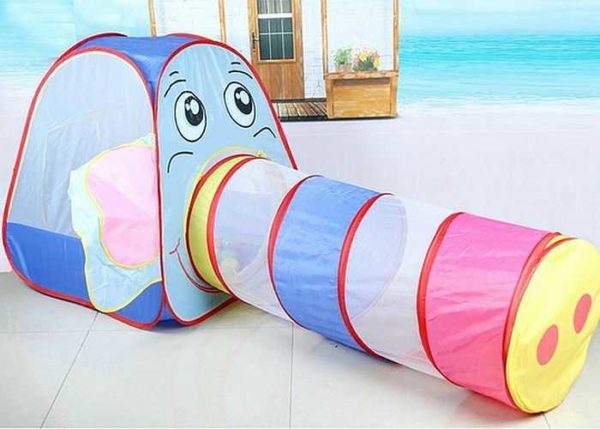
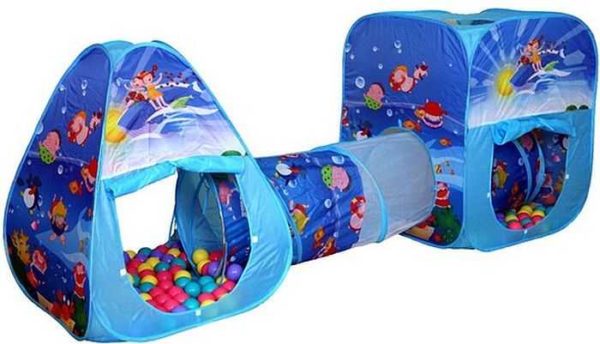
But not all rooms have the ability to leave the house overnight. In this case, the folding version of the "tent" type will be more convenient (they are also called "play tent"). A fabric is sewn onto a flexible steel wire frame. All this is twisted into a very small circle, which is placed in a box of 50 * 50 * 10 cm or even less - depending on the size of the "structure". Installation is even easier: take it out of the box and release it. Under the influence of the elastic force, the frame unfolds, the fabric is stretched on it. Everything takes a few seconds.
-
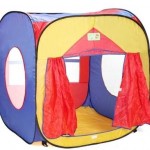
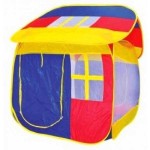
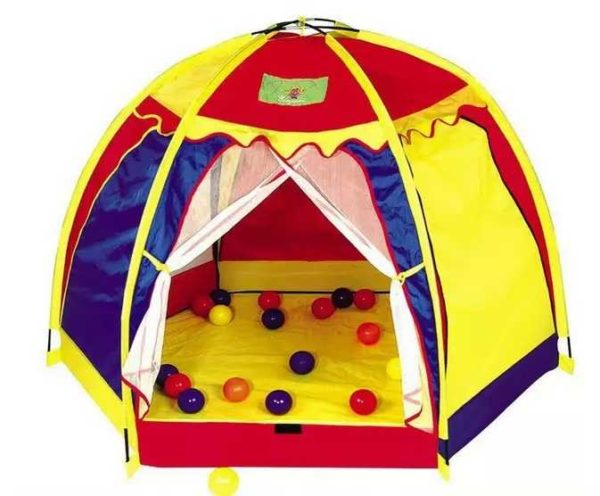
- Even with curtains
-
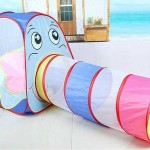
- Tunnel in the form of a trunk in a play tent
-
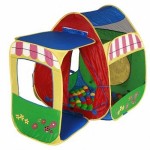
- With a vestibule

-
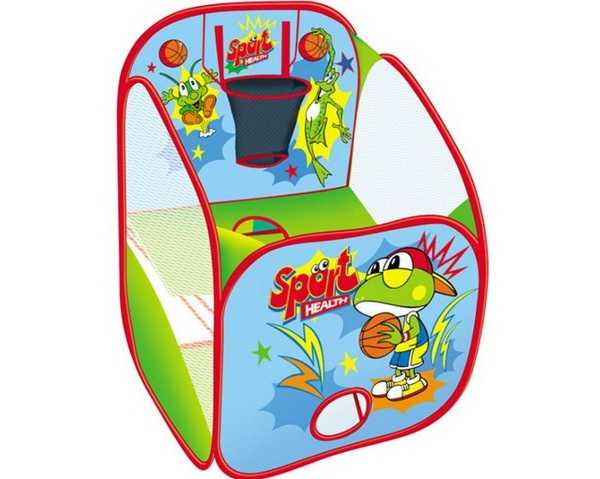
- With lighting grids

-
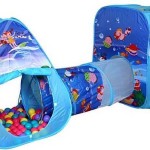
- House tent with a tunnel
-
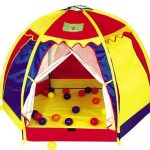
- In the form of a wigwam
This type of tent house is even easier to transport, but it simply cannot be set on the ground. It is advisable to make a platform from boards, plywood, etc., you can spread an old carpet, a piece of linoleum, carpet ... in general, the idea is understood.
The designs are approximately the same as in the photo above, but the colors can be very different: with cartoon characters, the dwelling of a princess, a berry, etc.
Small houses for children with favorite cartoon characters on the walls
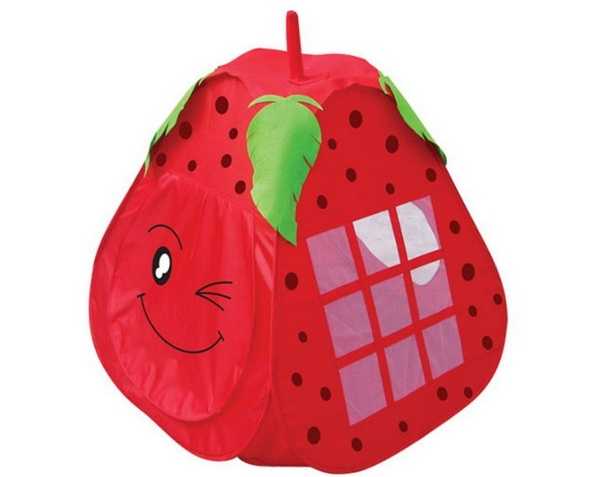
Little girls will like flower berries
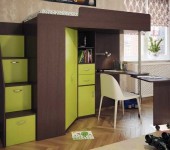
These are, perhaps, all the ready-made playhouses that can be installed in the apartment. Maybe a loft bed, but this applies more to furniture. But there is a decent number of options for homemade designs - different formats, from different materials.
Do-it-yourself houses for children in an apartment (photo reports)
What makes DIY things good - you customize them to your size and needs. So it is with children's houses - you can perfectly fit even a stationary building, and folding-folding models can be made quite inexpensively.
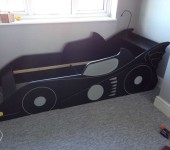
How to build an attic bed for a child yourself, read here... And in this article you can find description of the construction of a car bed (with step by step photos).
From a bar (sheathing fiberboard, plasterboard and plywood, you can also Chipboard, OSB)
For this personal dwelling, a place was found in the hall - the nursery is too small, and the sons really wanted to have their own "room". It was decided to allocate two or three squares in the corner near the door. For cladding, the remains from the construction site were used - a little fiberboard, drywall and plywood.
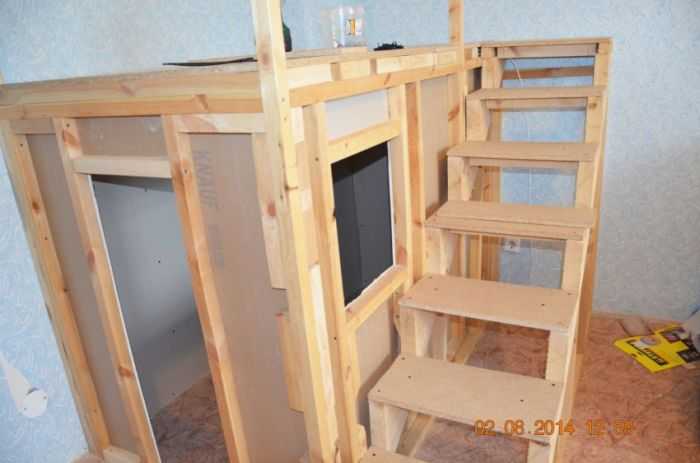
On the permitted area, we put a frame made of dry timber 50 * 50 mm. We fasten the racks to the floor and ceiling with corners and dowels. Between the uprights we put cross-members from the same timber, making the frame of the “door”. In general, we collect the frame of the house. We immediately sheathe the adjacent walls with plasterboard.
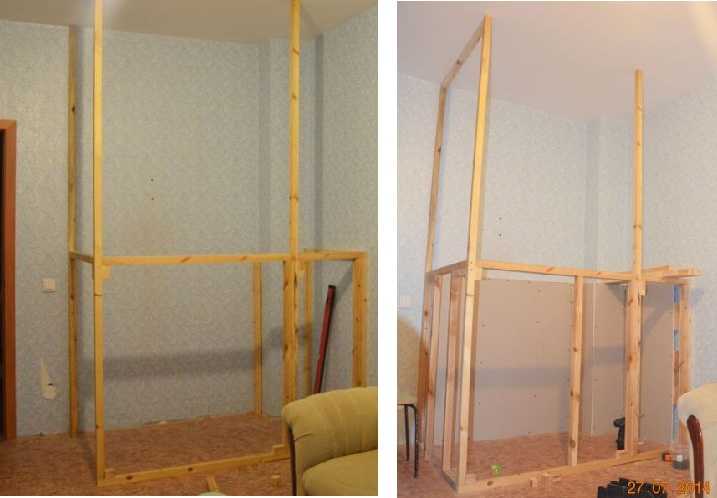
The first stage is the assembly of the frame
From a board 50 mm thick, we cut out two kosour - the bases for the steps. We make the steps 25 * 25 mm. It is difficult for young children to climb, but the eldest will be fine, and in a year the younger will grow up.
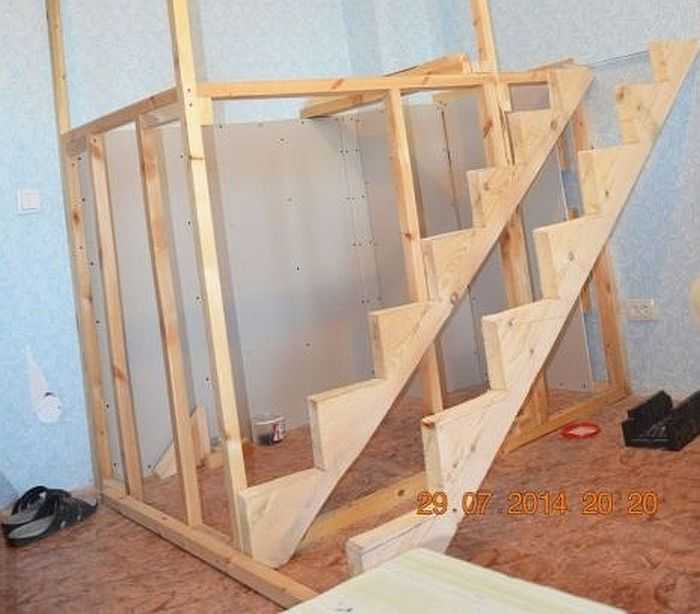
Stringers for stairs
We attach the stringers to the floor and wall, additionally install a powerful block on the floor, and fix it well. We also assemble the frame under the stringers on the wall (it is visible in the photo below). We put props under the stringers. The thickness of the board is, in principle, sufficient for adults, but additional insurance will not hurt anyone. At the same time, a crate is formed on the outside of the stairs for fastening the sheathing.
We start covering the frame from the inside (mainly gypsum cardboard is used). The technology is traditional: we cut off fragments, fasten them with self-tapping screws. We cover the roof with boards (25 mm), put a sheet of plywood on top.
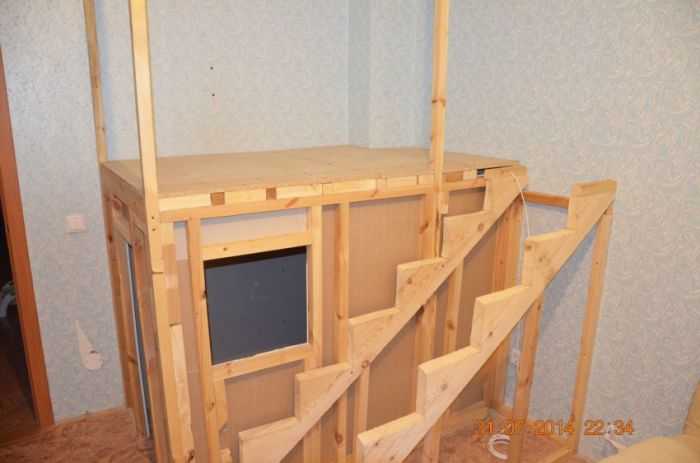
Sheathing of the frame from the inside
We start covering the stairs. For greater rigidity in the middle of the depth of the step, we nail the transverse bar. It should be in the same plane with the skin. We nail with three nails on each side, we fasten the sheathing on top (thin chipboard).
Sheathing of steps
What is a house without lighting? We draw a line from the switch located next to it, install a lamp inside, and then bring the switch to the side wall of the stairs. All wires are in a non-flammable corrugated hose. It may not be very beautiful, but safe.
We proceed to the outer skin. Nothing complicated here either. The main thing is a normally charged screwdriver.

Sheathing completed
Next, we begin to assemble the railing - the 60 * 20 mm board was first sanded, then went into action. The corners are covered with two boards, the doors and the window are decorated.
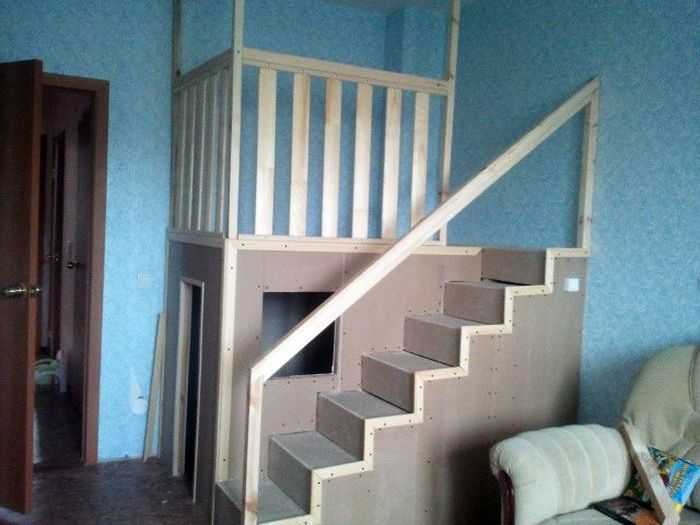
Sheathing of corners and railings
Little things remain - to install cross-members on the railing. And then paint it.
The railing is almost ready
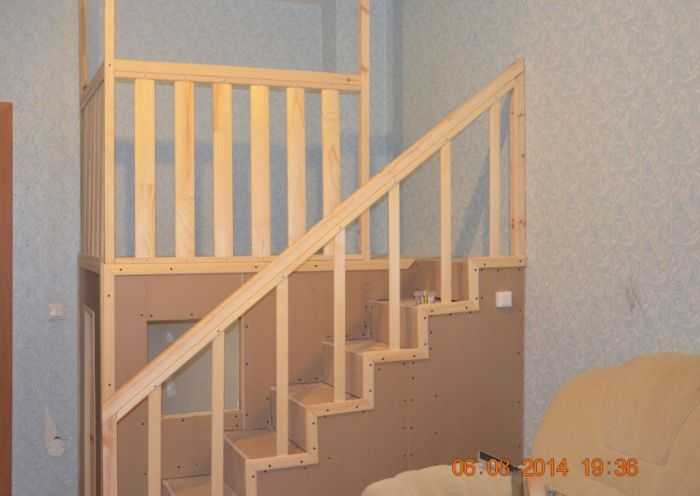
At first they decided to make the railings not very massive. Then they seemed very flimsy, and they nailed it to the edge of the step along the bar. It remains only to paint.

Ready-made children's house in the apartment
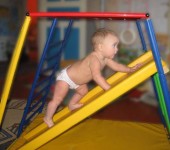
How to make a sports corner for children in a house or apartment with your own hands read here.
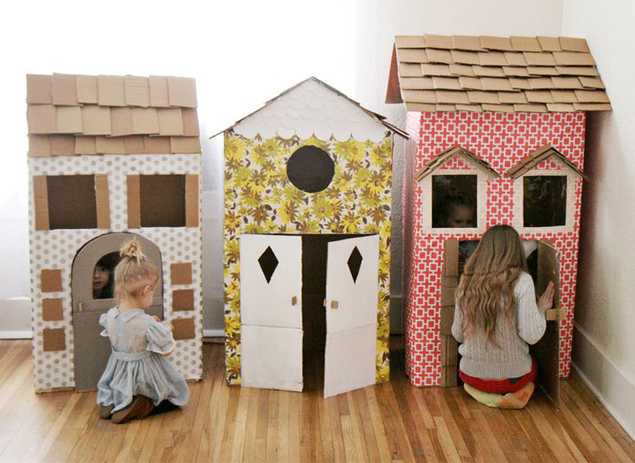
From cardboard
Not so monumental, but no less convenient for playing, a house can be made of cardboard. Only you need to take not a corrugated one (it quickly breaks and wrinkles), but a hard one, in which household appliances are also packed.
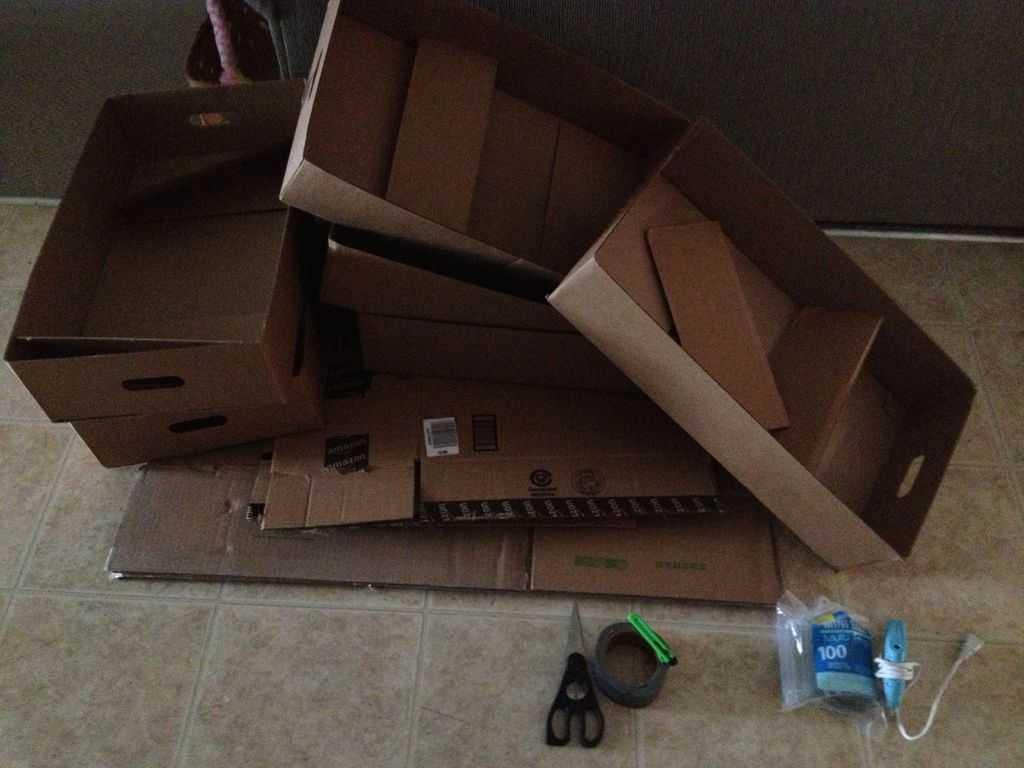
Cardboard from packaging, hot melt glue, a gun for it, tape measure, scissors, scotch tape or electrical tape, a sharp wallpaper knife - these are all the tools that are necessary for "construction"
Draw a project, add dimensions. For one child, an area of 1 sq. m., that is, the lengths of the walls should be about a meter. Height - preferably 110 cm or higher. The design is your own. It's simple: cut out the windows and doors, make the roof. Everything is ready.
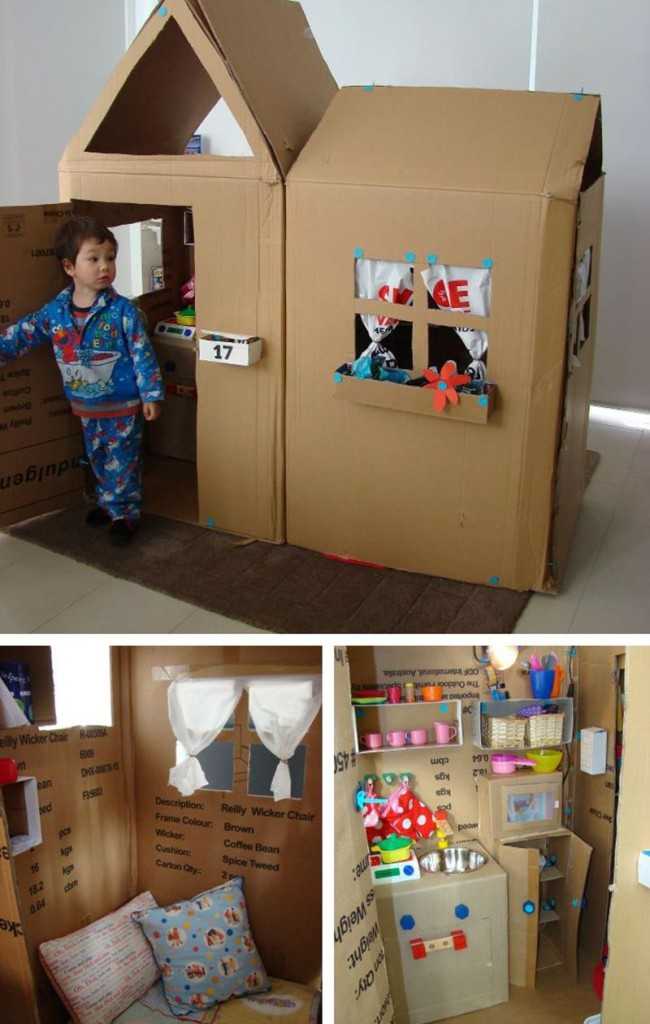
Ideally, there is a box from a refrigerator or washing machine, something just as large. If not, ask your friends and acquaintances. A condition for providing a warranty for the equipment is the presence of its packaging. So people are forced to keep boxes. The warranty period is passing, the container has long been forgotten and not thrown away. Lies, gathering dust, and you will be just right.
In such boxes, windows-doors are simply cut through, a roof is molded from something. Now you're done.

Draw windows-doors
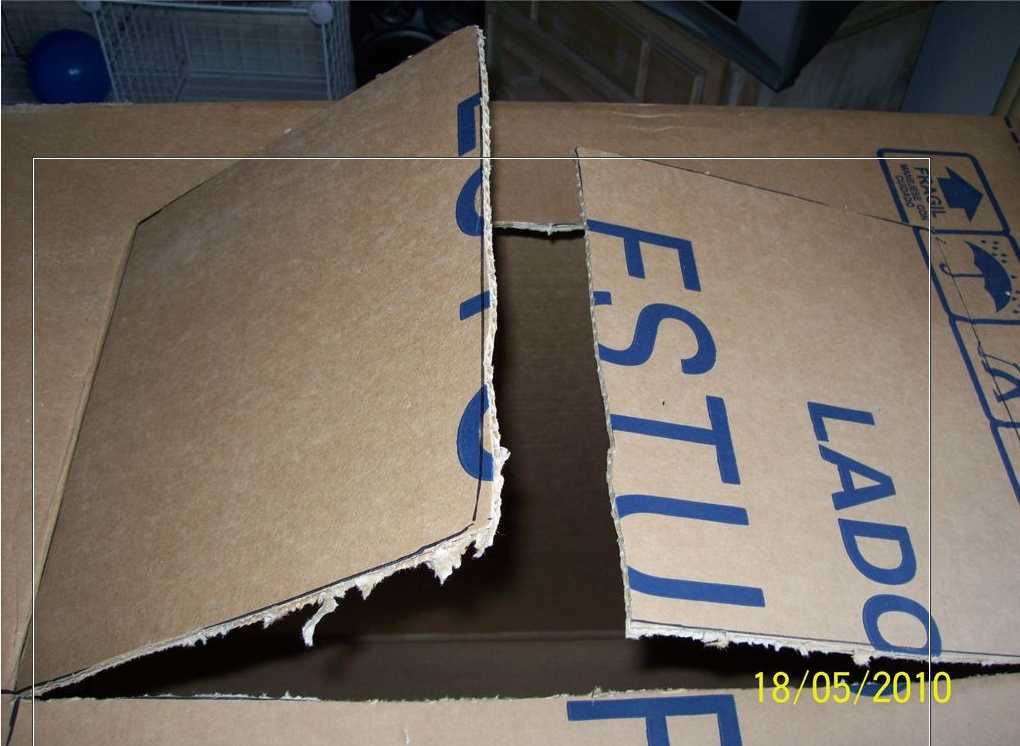
Cut out. You can be more careful)))
It is advisable to first inspect the inside of the box. They are held together with staples, and they can stick out somewhere. To prevent the child from getting hurt, check everything. It is necessary to glue the corners and joints of the cardboard with tape. He will hold the walls, and the dangerous braces will be closed.
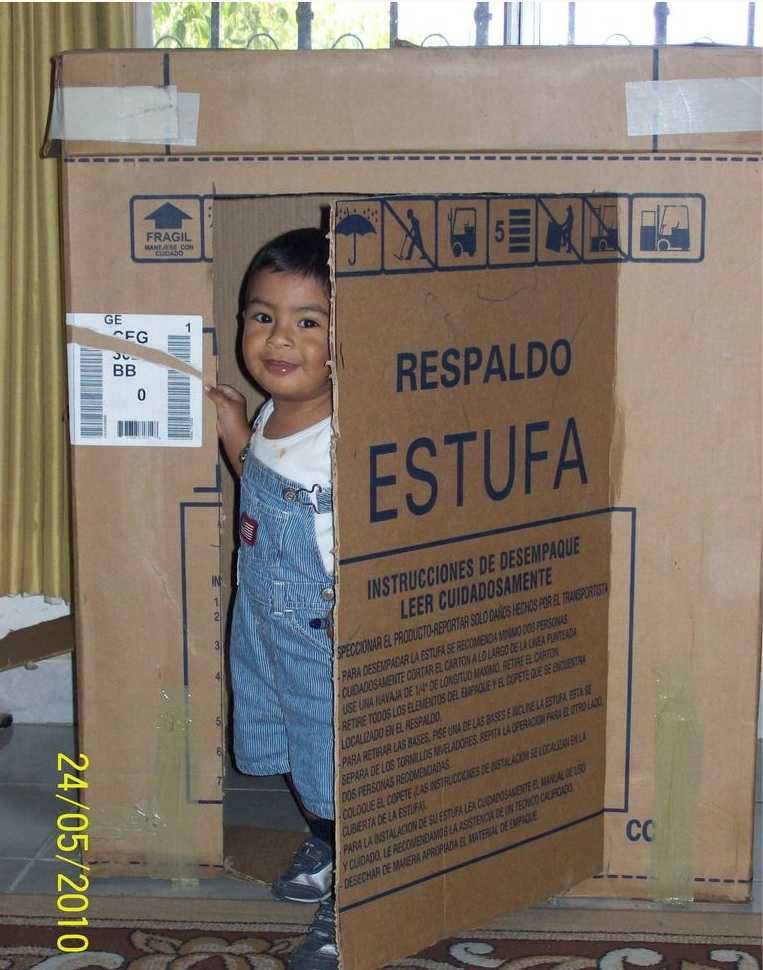
The house is ready to move in
If a flat roof does not fit, it is easy to build a gable roof from another box. You can simply put it on the corners of the walls, or you can cut out the “ears” in the upper part of the wall (or stick it so as not to lose height), make slots in the roof, thread the ears through them, bend and glue it.
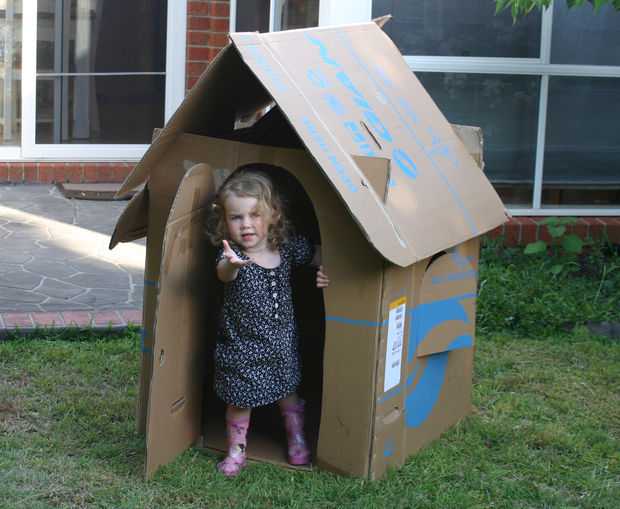
Children's house out of the box with a gable roof
If you want a more civilized look, you can take care of the decoration. For example, take thin polystyrene foam, cut into strips and plant on foam. And cover the roof with "tiles" - sheets of colored paper. It looks prettier that way.
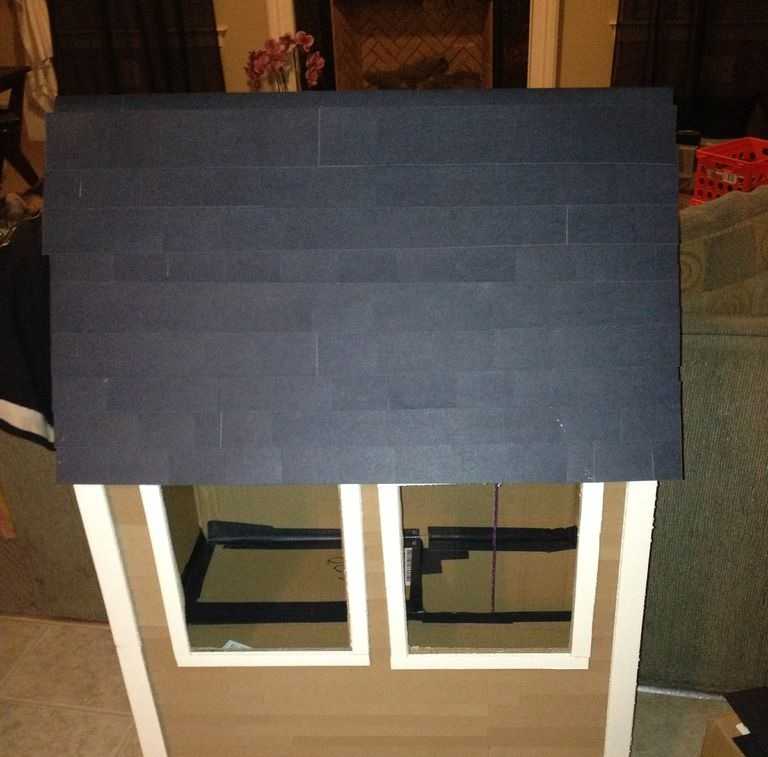
Decorating won't take long
Cardboard houses for children can be covered with cloth. It is easier to fix it with staples from a construction stapler. It turns out very well. Can be pasted over with paper - the remnants of wallpaper, for example.
Fabric-covered walls look much better
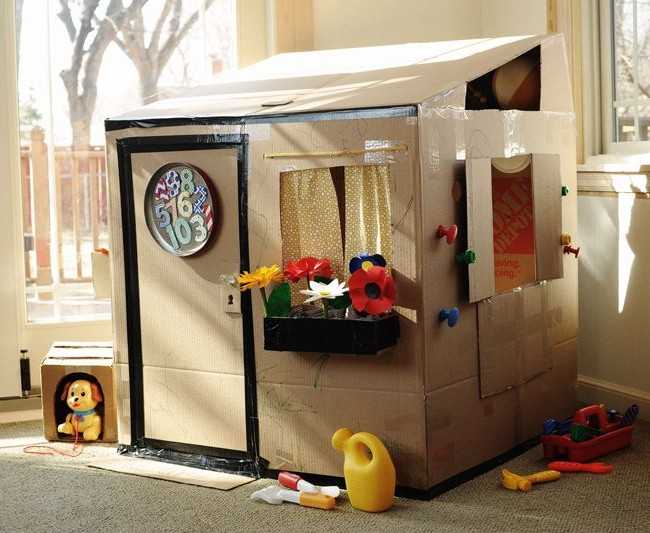
Almost complete housing
Another option for a two-room house for children's games
What to make a frame of a play tent
When making a tent, the main question is what to assemble the frame from. There are usually no problems with the "walls" - a piece of fabric is easy to find, but the base is a problem. There are two good options: wood and plastic pipes. What kind of plastic to use is up to you - on soldering, glue or on collapsible fittings (the best option, but also the most expensive). The design is at your discretion. Anything can be assembled from such pipes.
For example, such a tent
The same structure can be assembled from bars. Only they must be very well processed so that there are definitely no splinters.
Such a frame for a tent can be assembled in an hour.
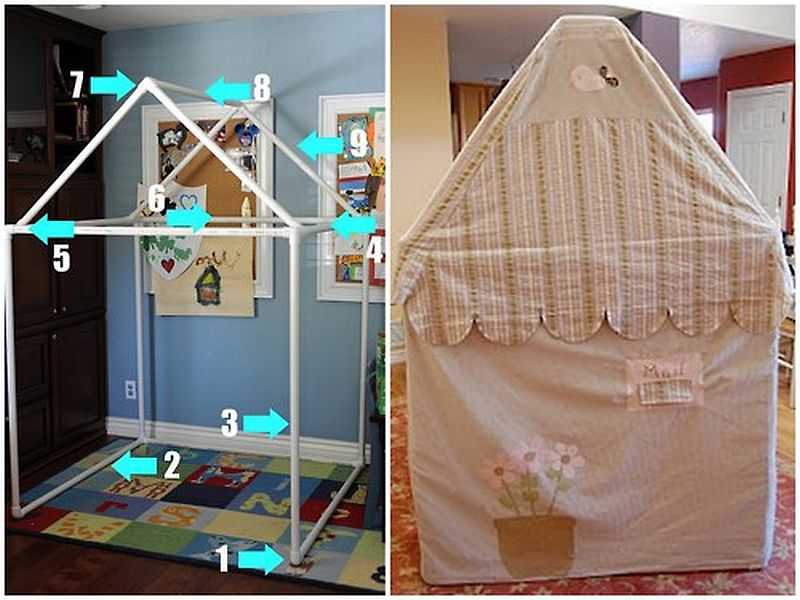
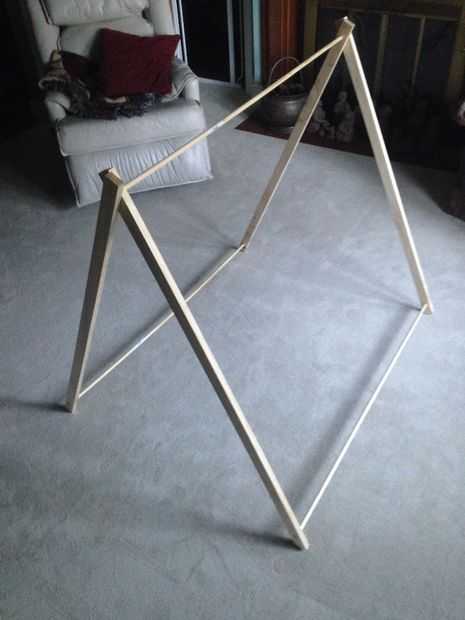
Another option is a triangular tent. Two rectangular frames are movably connected at the top. This option is convenient because it can be folded.
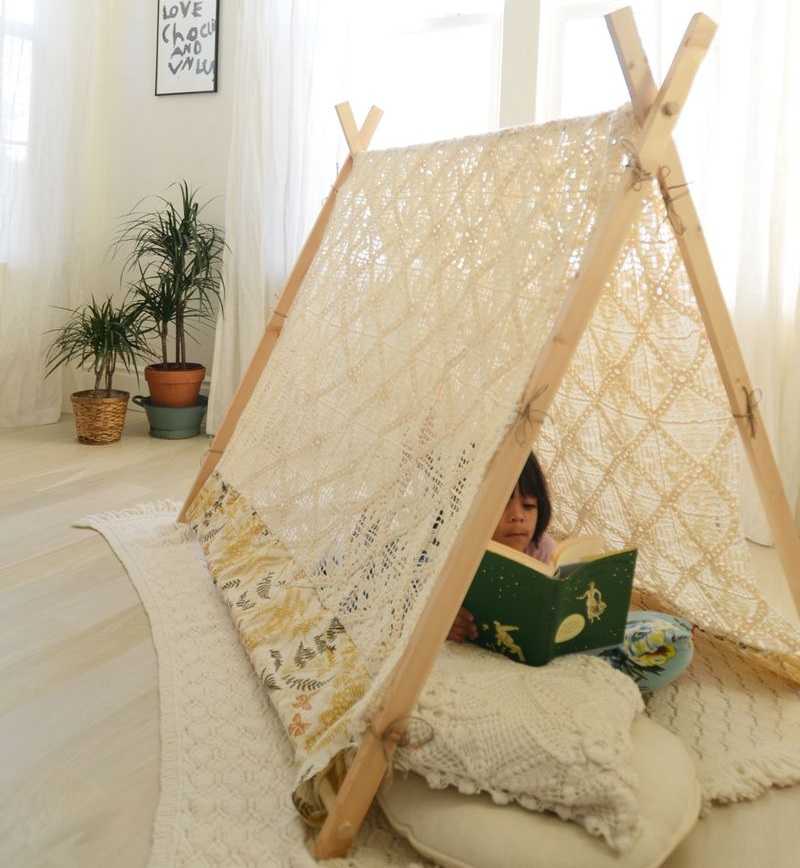
Triangle tent - 7 slats needed
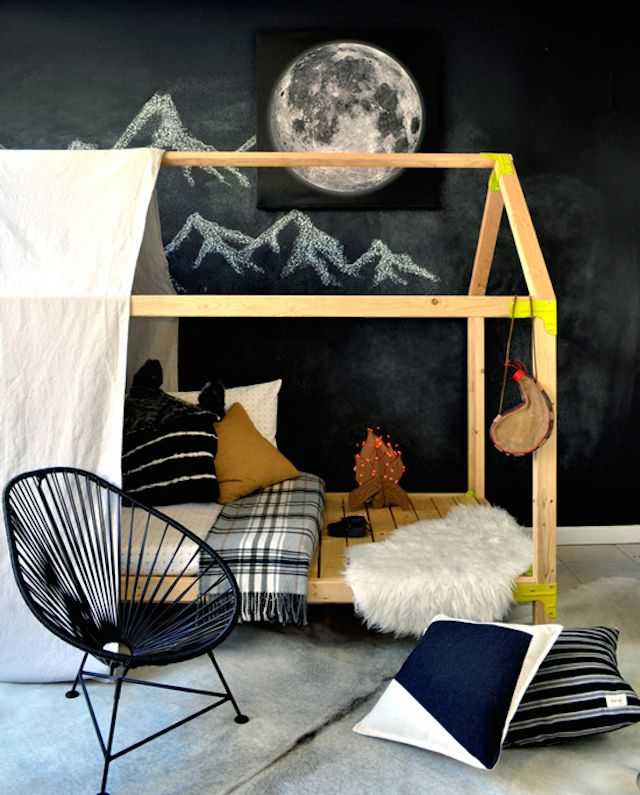
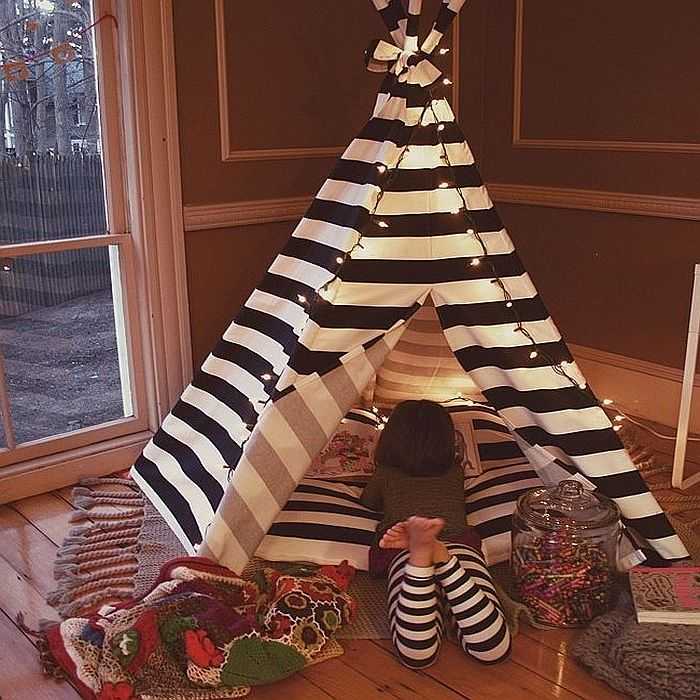
Another version of the same design in the male version in the photo below. From the options here "starry sky". Small holes are made in the dense fabric, which are not tightly pulled together with threads. When viewed from the inside, the vault resembles the night sky.
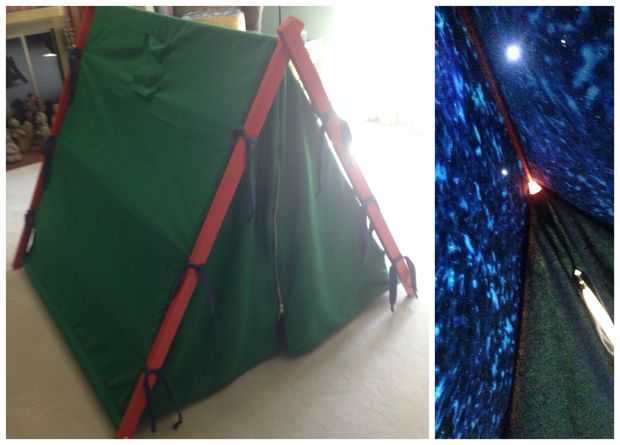
Starry sky effect tent
To assemble this tent, you need four planks and three wooden rods. Holes are drilled along the edges of the boards along the diameter of the rods.
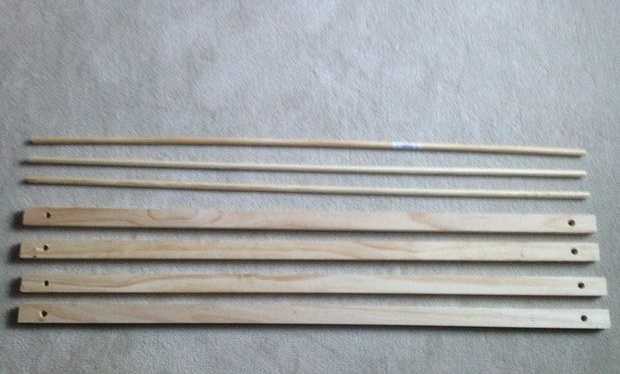
Four boards and three rods
The boards are connected in pairs by rods in the form of two letters "P". Then the unused edges are crossed so that the holes made coincide. A third rod is inserted into these holes. For reliability, all joints are glued with wood glue. All that's left is to sew and attach the cover.
Finished frame
Another option is a play tent in the form of a wigwam. There are several boards connected at the top. So that the "ribs" of the frame do not disperse, they can be tied 10 cm above the floor level, and another harness belt made approximately in the middle of the height. The structure will be rigid enough to withstand the onslaught of children.
Homemade wigwam-type play hut for children
And a very simple, frameless option - sheets or bedspreads suspended in the middle and tucked under the mattresses.

A very simple option