Plastic window slopes: self-installation - 2 ways
After installing plastic windows, the window opening looks far from the best: foam sticks out, pieces of plaster, the wall material is visible in places. All this "beauty" is closed in various ways, the most practical, quick and inexpensive of which is plastic slopes. It is better to make them from sandwich panels (two layers of plastic, between which there is expanded polypropylene). They are dense, durable, made of good material.
There are two main methods for installing plastic slopes: with and without a starting profile. Both are given with step by step instructions and photos. Decide how to fix the slopes on plastic windows. Both methods give good results.
Photo report 1: installation of sandwich panel slopes without starting profiles
This method is suitable when the window is installed so that the distance from the window frame to the wall of the opening is too small. In this case, installation with a starter profile (see below) is either very difficult or - usually from the hinge side - not possible at all.
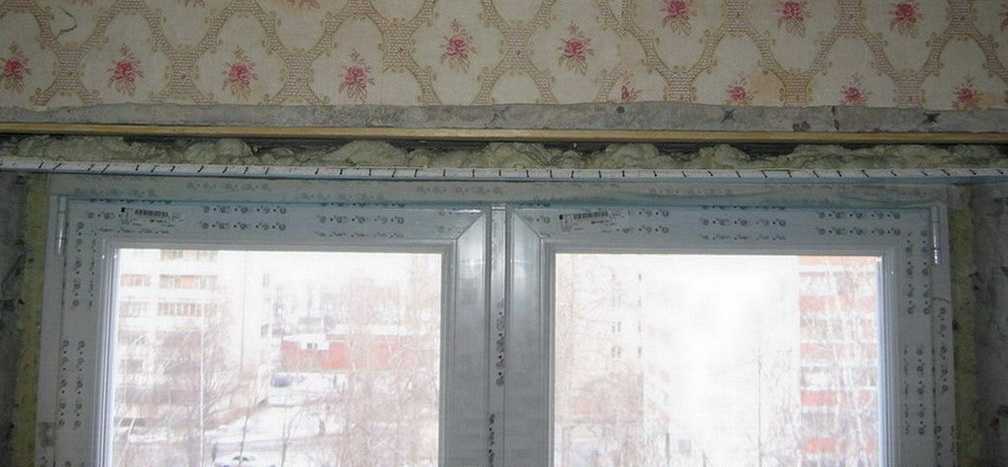
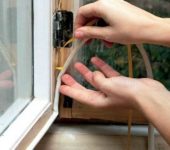
After installing the plastic window, the following picture was observed.
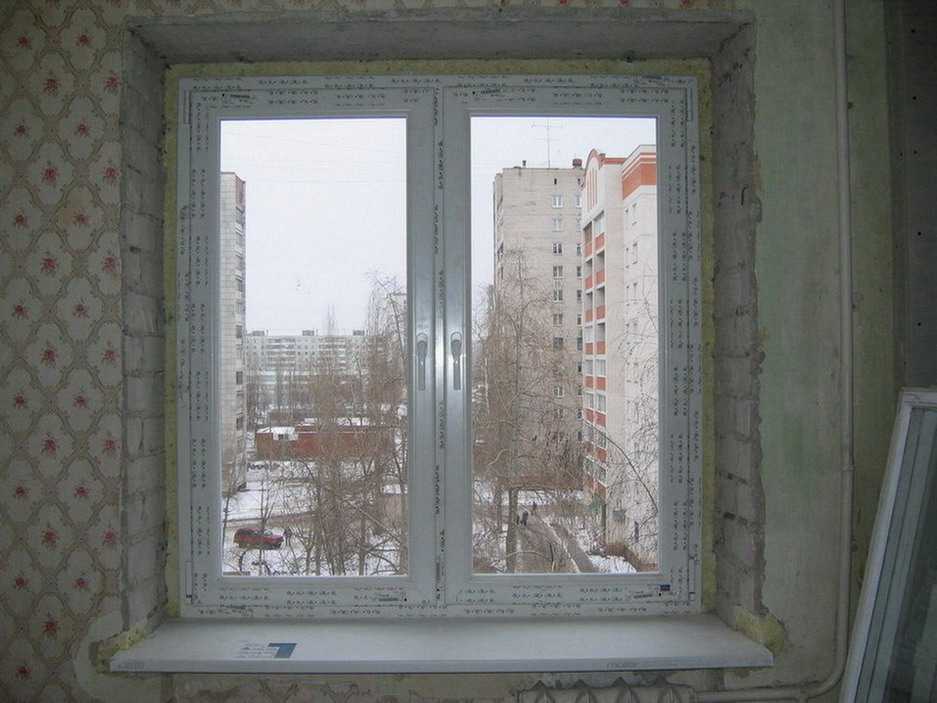
Picture after PVC window installations
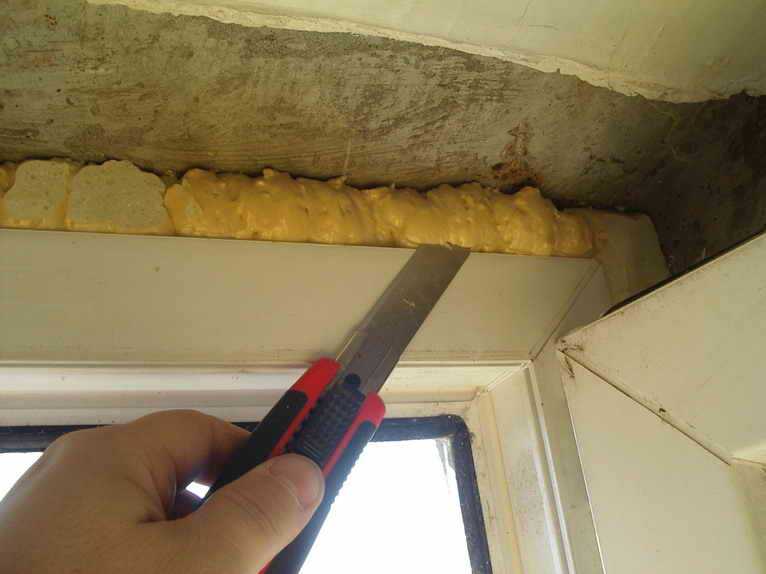
The device of the slopes of plastic windows begins with the preparation of the opening: we cut off the remaining foam with a clerical knife. It is easy to cut, just do not overdo it, cut it flush, and do not cut it out - the foam holds and insulates the frame. Chunks of plaster that get in the way and protrude are also removed. If they hold well and do not protrude beyond the plane of the future slope, you can leave them - less foam will slide.
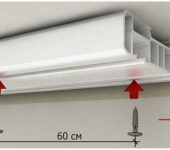
Then along the perimeter of the window we nail (we put on dowels, if the wall is concrete) a thin strip - 10 * 40 mm - with the wide side to the slope.
Nailed along the perimeter of the rail
Usually it is not leveled, it is nailed as it is, but if you want, you can set it straight by placing pieces of plywood, thin boards, etc. in the right places.
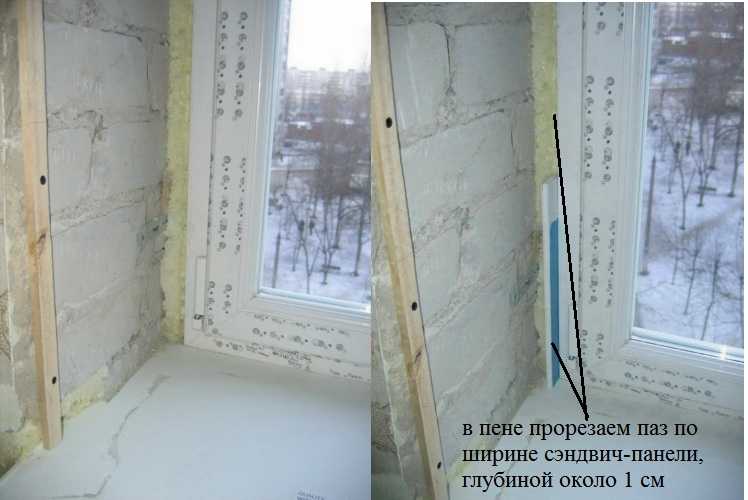
Plastic sandwich panel groove
Next, cut the foam around the perimeter of the frame so that the sandwich panel fits there. It should go in about 1 cm. We cut off the foam carefully so that there are no residues on the frame, but also without damaging the plastic.
Now you need to properly cut the plastic panels. You can do it in a standard way: using measurements, you can make a stencil. It seems easier with a stencil. Take a sheet of paper larger than your window (I had an old wallpaper). Apply to the slope, squeeze, bending over excess. Cut along the curved lines, try on, adjust as necessary.
It is more convenient to start from the upper part of the opening. Having made a paper stencil, we outline it on the plastic. Considering that about 1 cm will go into the foam groove, add this centimeter along the edge that will be inserted there. Cut out with a small margin - it is easier to cut off than to cover up later.
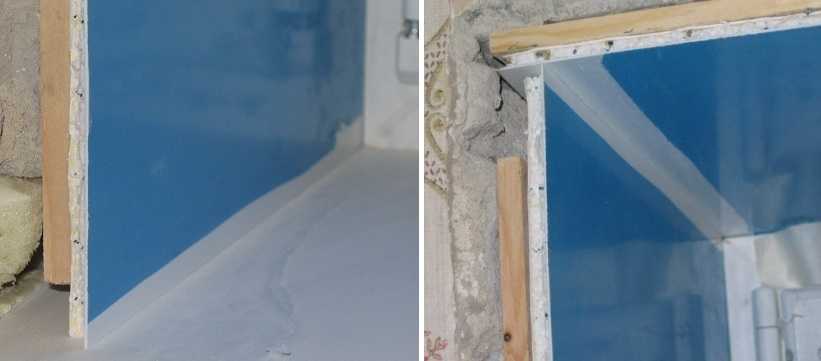
We cut it with a hacksaw with a cloth for metal, try it on, adjust it so that the plastic stands up evenly, without bending. We level it so that the panel is flush with the plaster. The edge turns out to be almost even, where necessary, we work part-time with a file.
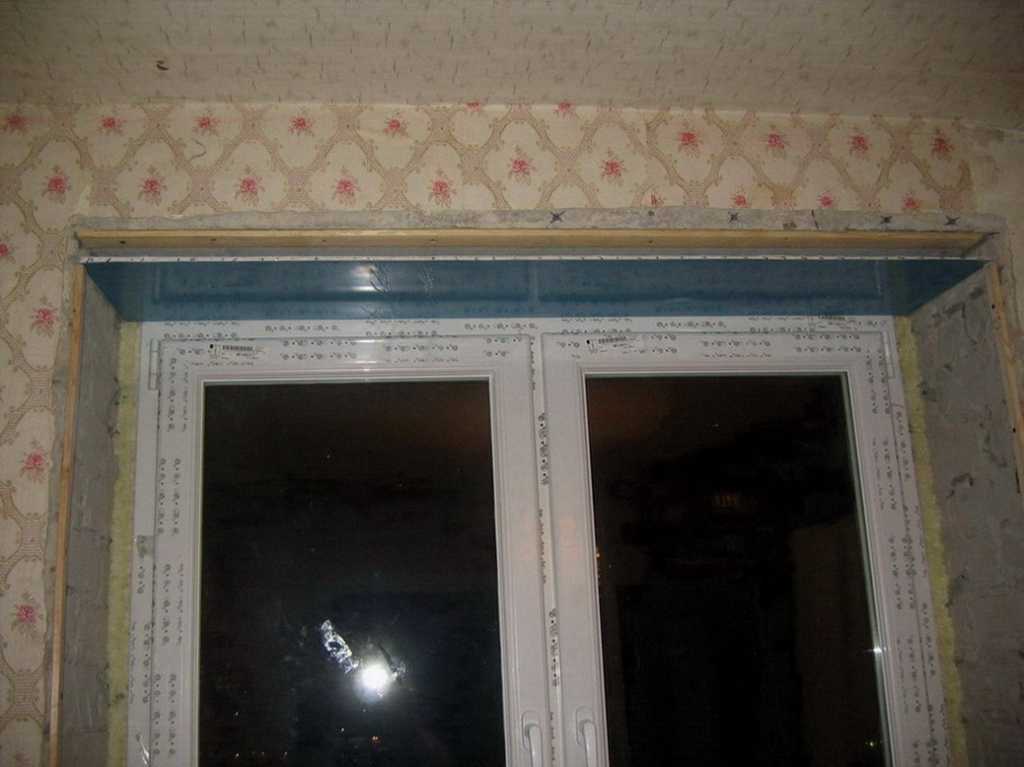
Inserted upper part of the plastic slope
Having removed the approximated and fitted strip, along the outer edge, which will be nailed to the bar, we drill holes along the thickness of the studs, stepping back about 0.5 cm from the edge. This will make it easier to fix and not damage the plastic.
We put it back in place, take a can of polyurethane foam and fill the gap with foam with short "pips". We try to get as deep as possible, but we don’t pour much: swollen, it can twist the plastic.
We fill in something like this
There are several points about working with polyurethane foam. If the plastic is smooth, the foam does not adhere very well to it. To improve it or treat the surface that faces the wall with sandpaper and / or primed with something to improve adhesion.The second nuance: moisture is needed for normal foam polymerization. Therefore, before installing the plastic, the slope is sprayed with water from a spray bottle. Naturally, there should be no dust on the wall - it is swept away with a brush or removed with a vacuum cleaner. If the plaster or mortar is loose, the opening is preliminarily treated with a penetrating primer, which will bind the concrete particles together.
Then we raise the panel, pressing down the foam, insert the nails into the holes and fasten the outer edge to the bar. The inner one rests against the window frame.
Fixed top plastic panel on the window slope
Using the same technology - we cut out the paper template, try it on, transfer it to plastic - cut out the plastic side. Here you need to be especially precise so that the gap between the slope panel and the window sill (upper slope) is minimal. To do this, the edge will have to be sanded. To make the edge even easier, it is more convenient to process it with sandpaper attached to a flat bar, a file or a sharpening bar (half a circle, as in the photo).
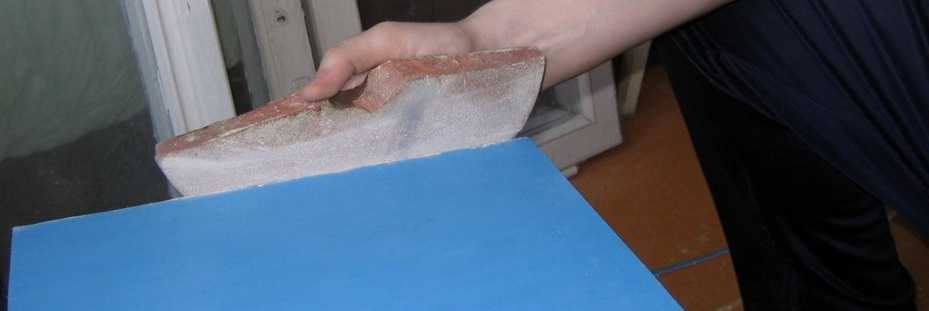
Processing the edge of a plastic panel
We adjust to the perfect (as far as possible) match at the top and bottom, set in place, driving one edge into the groove near the window. When the result is satisfactory, we level the outer vertical edge on the same level as the plaster of the wall. You can do this with a clerical knife on the spot, or you can draw a line on the panel (with a pencil, a thin marker, scratch with something sharp) and then modify it with whatever is convenient.
Having removed, along the outer edge, we also drill holes for the studs. We put the panel in place, take the foam, and fill the gap from the bottom up. Too much foam and this is not good, as plastic can bend. Therefore, we fill in short portions, trying to fill as deeply as possible.
On the vertical parts of the slopes, you can do it differently: on the panel ready for installation along the far edge, which starts under the frame, apply foam before installation. The strip is made solid or applied with a small snake. Only this should be done not from the very edge, but stepping back a little. Then the plastic part is inserted into the cut-out groove, positioned as needed, the rest of the gap is filled with foam (do not forget to moisten the wall before installing). After filling, press, align, fix with carnations in the bar.
The upper and lower joints are fixed with masking tape until the foam polymerizes.
So that during polymerization the foam does not move the edges of the slope, the joint is glued at the top and bottom with masking tape. No matter how hard they try to fit exactly the plastic, the gaps, albeit small, remain. They can be covered with acrylic. It is sold in polyurethane foam tubes, put into the same assembly gun.
Squeeze the strip into the slot, rub, level, remove excess with a damp soft cloth or sponge. This operation needs to be done in small areas and wipe gently - clean. As long as the acrylic has not hardened, it cleans well. Then - with great difficulty. It is more convenient to start sealing the cracks from above - immediately - the horizontal panel of the slope, then the joints, then move down first along one side, then along the other. The last to cover up the joints with the windowsill.
After drying - 12-24 hours, depending on the sealant (written on the tube), acrylic can be pulled into the seam - if the gaps are large. Pass all these places a second time using the same method. After the second layer has dried, if there are any roughness and irregularities, they can be smoothed with sandpaper with a fine grain by folding it in half. In general, it is best to carefully level it while it is wet, otherwise the plastic may be scratched.

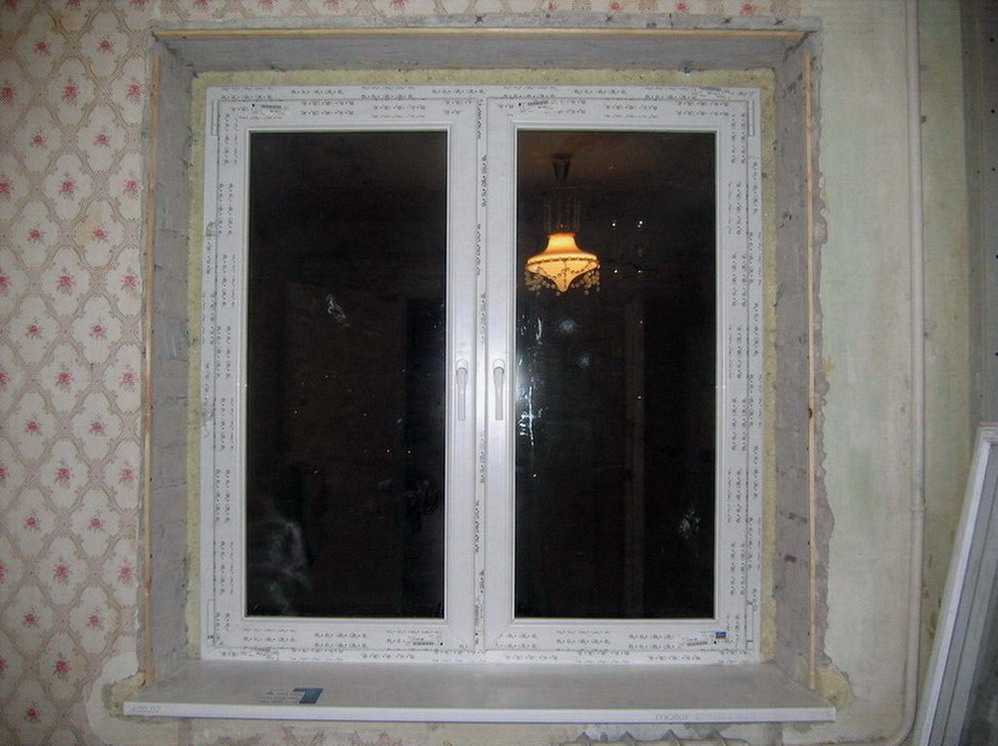
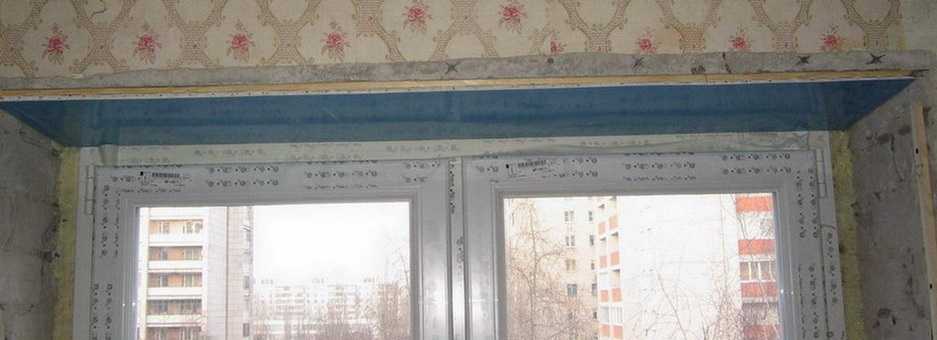
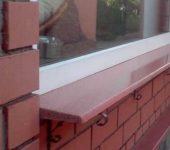
Installed plastic slopes
Everything, plastic slopes are installed. After the final polymerization of the foam, the bevels must be putty, leveling with the surface of the walls. The protective blue film can then be removed. As a result, the window will look something like this.
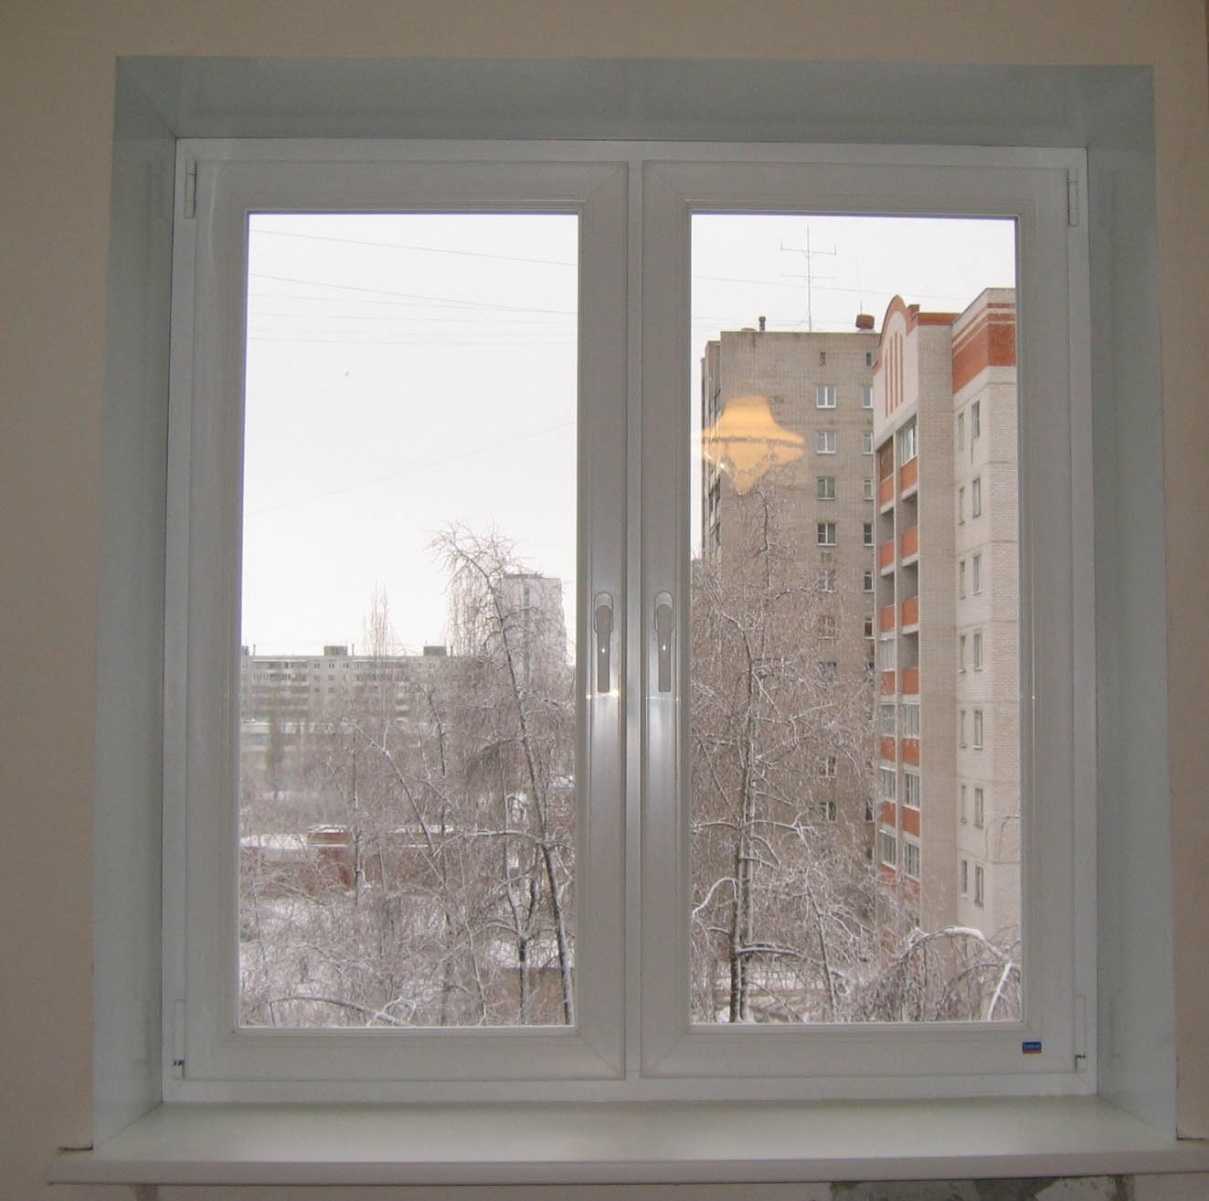
Window with plastic slopes (sandwich panels)
When installing these plastic slopes, sandwich panels were used. These are two layers of plastic, between which there is a layer of expanded polypropylene foam. Using the same technology, you can make a window frame from inexpensive plastic window sills or white PVC wall panels. The most unreliable material is panels: even wall panels can be pressed through quite easily, besides, if the front layer of plastic is thin (cheap), then jumpers are visible in the light. There is no such thing in sandwich panels and plastic window sills. And it takes a lot of effort to push through, and there are no jumpers even to the lumen.
Installation of plastic windows is described here.
Photo report 2: we mount plastic slopes with a starting profile
The installation of plastic slopes begins using this technology with the preparation of the window opening. We cut off the foam exactly, remove everything that does not hold well, clean off the dust, if necessary, walk along the opening with a primer that improves adhesion.
Preparation of a window opening
A wooden block is attached along the perimeter of the opening, but already near the frame. Choose the thickness depending on the distance: it should almost go over the frame. One side of the bar must be earned with a plane, making a tilt. The angle of inclination of this face is equal to the angle of installation of the slope. You can saw it off, but it is even more difficult to do it, unless there is a circular saw with an adjustable angle.
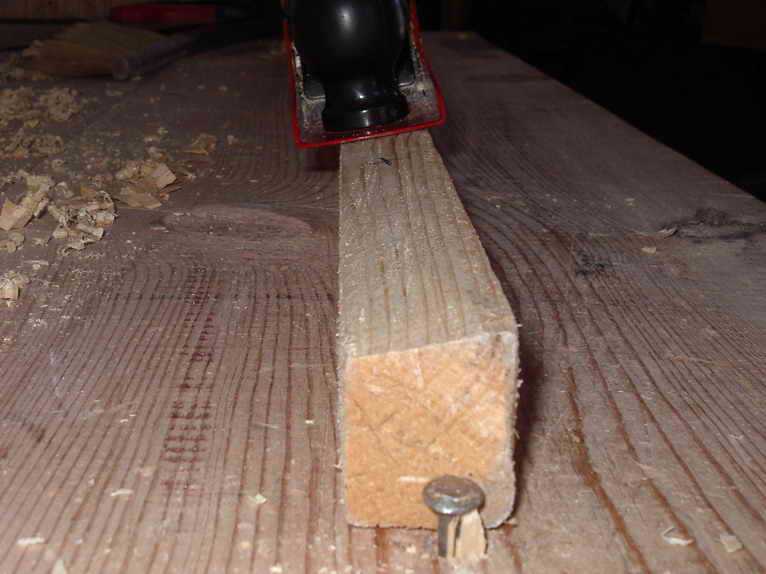
We make a slope on one of the edges of the bar
We fasten the processed block to the walls along the perimeter of the opening. The mounting method depends on the wall material. If the wall is brick, you can try with self-tapping screws, you need to put dowels in concrete.
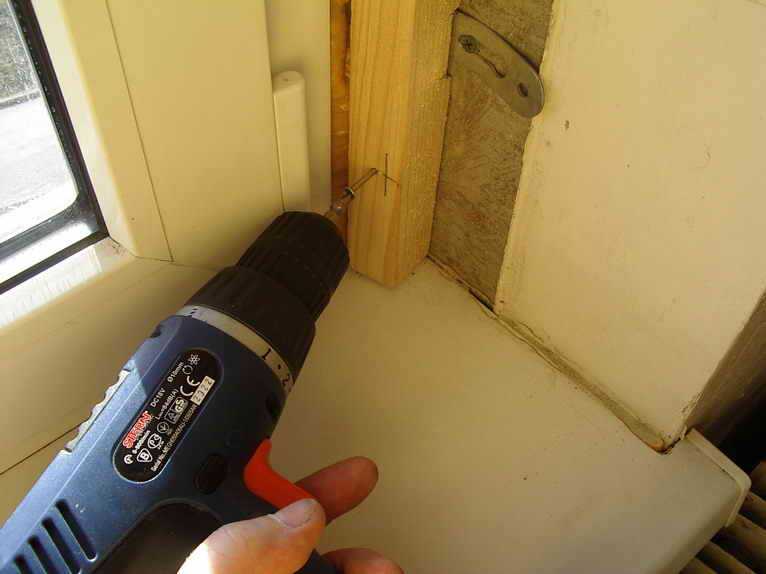
We fasten the bar
Buy a starting profile in the store, set it with the long side to the bar, fasten it. It is more convenient and faster to fix it with staples from a construction stapler to the bar, if there is none, you can use small nails or self-tapping screws with flat heads.
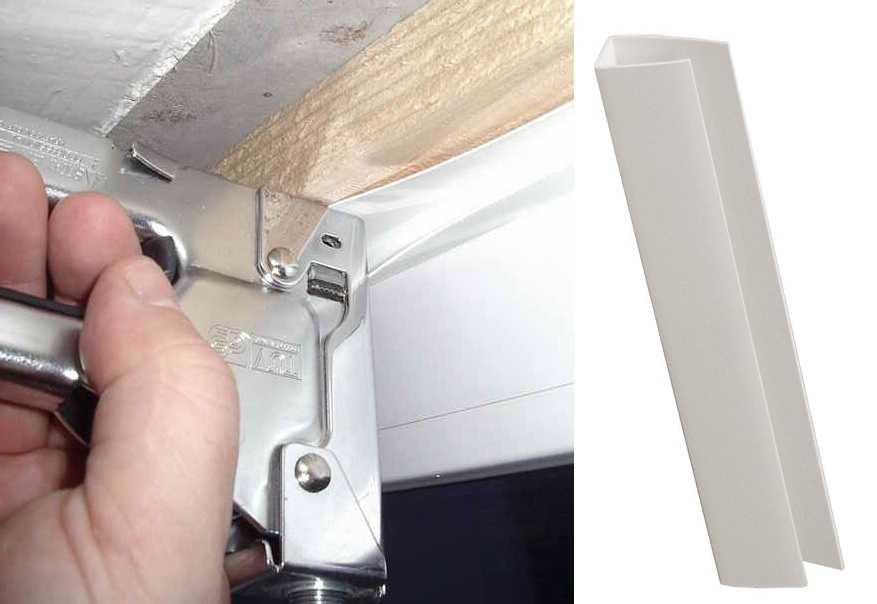
We fix the starting profile
When choosing a starting profile, take a dense one. It is more expensive, but you dearly only three meters per window, maybe a little more. A dense profile will hold the plastic well, soft - bends and the look is ugly. Another point - when installing the profile, press it as tightly as possible to the frame so that there are no gaps at all, or they are minimal.
At the top, when joining vertical and horizontal profiles, you need to be especially careful and cut them off exactly at an angle of 45 °. If there are small gaps, they can be repaired with acrylic.
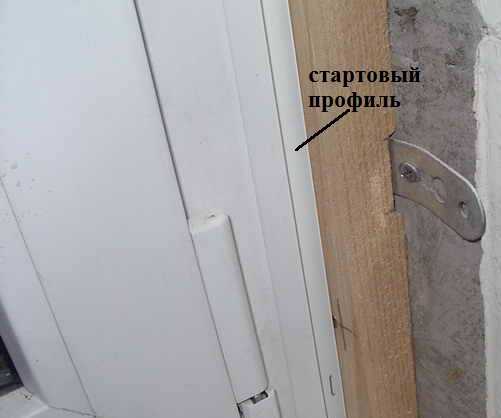
Installed start profile
Using this technology, it is more convenient to start the installation of seam slopes from the sides. Insert the panel into the fixed starting profile. It is also better to take them from expensive and dense ones, with a thick layer of plastic. If you put cheap (ceiling) ones, then the front wall is thin, and jumpers will be visible in bright light. In addition, such plastic can be pushed through even with a finger.
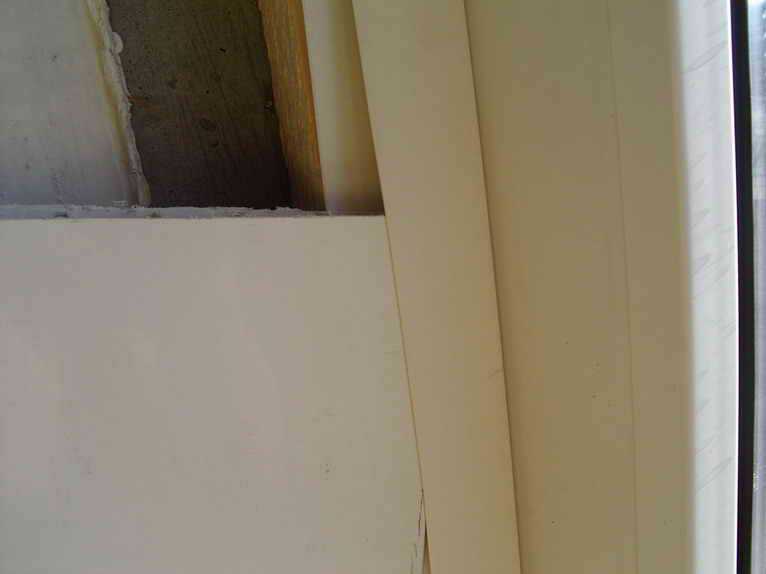
Insert the plastic panel into the profile
The width of the plastic panel should be larger than the slope. If the width of one is not enough, two are joined. But then, at the junction, an additional vertical bar will be needed, to which the first strip will be fixed.
The panel inserted into the profile is usually longer than the opening. Holding it with your hand, mark the line of the opening. Having removed, cut off along the marked line.
Cut to size
We install the panel again, move it a little from the wall and fill it with polyurethane foam, trying to fill it without gaps, but without excess. To do this, we start from the far lower corner - we draw from the bottom up near the nailed bar. Until we got to the top, the foam at the bottom expanded slightly. Draw a line again with foam, but closer to the edge. The closer to the outer edge, the less foam is required - after all, the panel is installed under a slope, so make the paths thinner and thinner. Having reached the middle, make a snake on the rest of the surface and press the panel as it should stand. Align and check. Secure to the wall with masking tape. The second part is also installed and then the upper one.It can also be cut out according to a paper template, and the edges can be adjusted to perfect (or almost) coincidence with sandpaper.

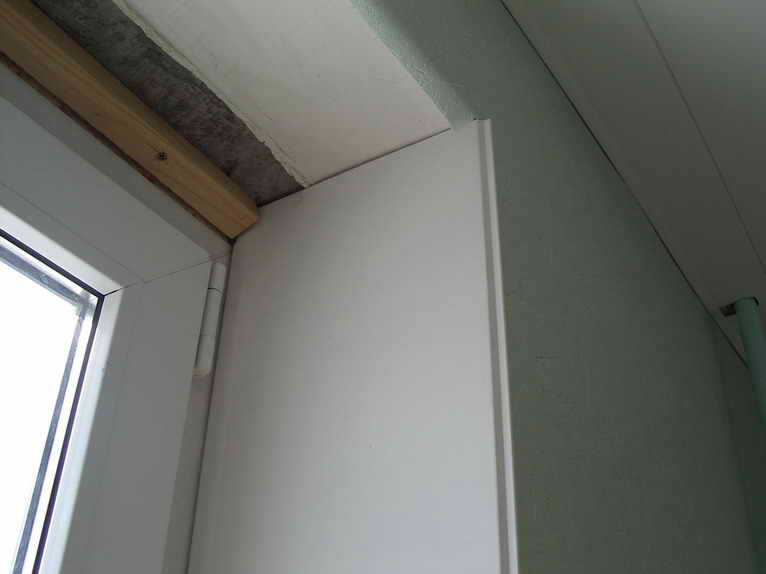
Installed plastic window slopes
After installing all parts of the slope and securing with masking tape, leave until complete polymerization. Then, in order not to putty the gaps between the slope and the wall, a white plastic corner is glued onto liquid nails. The main task is to cut exactly at the corners. It is easy to glue: apply a thin strip of glue on both shelves of the corner, press, passing with your hand along, hold for a couple of minutes. So they are installed around the entire perimeter, then, before the glue dries, they are also glued with masking tape and left.

Installed corners along the perimeter of the slope
In a day, we remove the tape, the plastic slopes are ready.

It looks like a window with installed plastic slopes.
If there are gaps somewhere, they are sealed with acrylic, as described above. Do not use silicone. In the light, it quickly turns yellow. In a year or two, your windows will look terrible. Look for a white acrylic sealant and mask with it.
Read how to adjust plastic windows here.
Video
An option for installing slopes with a starting profile bolted to the window frame, see this video.
Video option for installing plastic slopes without a starting profile.
And another way in this video. Here, pay attention to the finish of the panel joints. They were made using a special profile. Could be so.


As a sheet, I inserted it myself, if the frame from the corners was not detachable. The most interesting point is not shown.