Self-leveling (self-leveling) floors: how to do it yourself (including polymer and 3D)
Traditionally, the floor is leveled with a cement-sand screed, but it is difficult to work with it, and getting a perfectly flat surface is even more difficult. To facilitate the work, you can use additives, additives, which increase the plasticity of the solution, allowing you to achieve a flat surface. This technology is called liquid, flooded or self-leveling floors, since the solution is really liquid and it is poured. You can select additives yourself, but it is long and difficult. After all, not only fluidity is important, but also the ability to level, the speed of hardening and other characteristics. Therefore, the more common way is to use ready-made mixtures that are selected according to their characteristics for specific tasks. With such mixtures, you can make a self-leveling floor with your own hands. Not to say that it is easy to achieve an excellent result with self-production, but it is possible.
One of the varieties of flooded floors is polymer, and they can be monochromatic, or they can contain an image. These are the so-called 3D floors. All of them are applied using the same technology, with their own characteristics. One caveat - polymer floors (and three de) require a perfect base. On a concrete slab, it can be made using pouring technology. Therefore, it is imperative to study it.
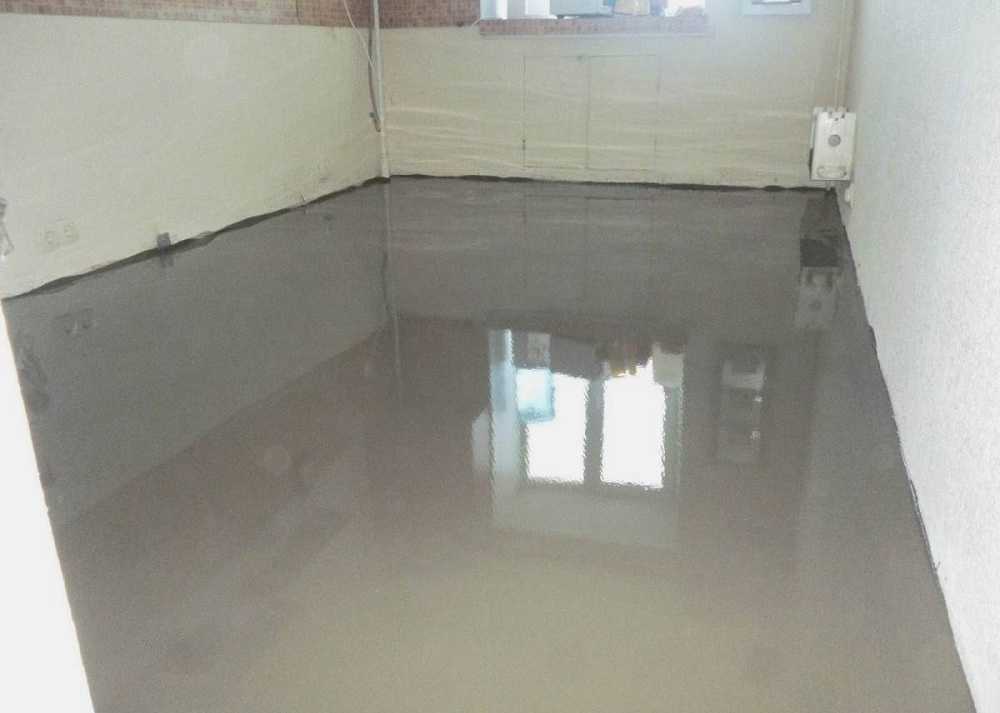
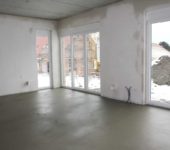
This is what the floor looks like after pouring
The content of the article
Technology and sequence of actions
If you start looking for what mixture to buy to make a self-leveling floor with your own hands, you will be confused: there are different compositions with different characteristics. They are all used in this technology, but for different needs and situations. There are two large groups:
- Equalizers. The characteristics usually indicate a layer thickness from 10 to 100 or 150 mm. These compounds are for rough preliminary leveling of significant screed differences. They are applied on a prepared and primed base. Even if there is the word "self-leveling", they must be "dispersed" with a spatula, preferably a notched one. This must be done carefully and quickly, but make sure that the composition does not fall on the walls (they are often already finished, or at least aligned). To make it more convenient to disperse, a long handle is attached to the spatula - it turns out something like a rake. Then the layer is finally leveled with a two-meter rule along the beacons. If you wait for the roving to spread by itself, you will be left with bumps and holes.

Coarse - Primary Rivers
- Finish or thin. In the characteristics of these compositions, there is usually a layer from 2 to 10 mm. It is applied either on the hardened layer of the leveling agent (primed) or on a fairly flat base (old concrete floor, for example). There are self-leveling compounds in this group. Note! There are self-leveling, but not all have such characteristics. These are the ones that are simply poured, and then rolled with a special toothed roller and that's it. Due to special additives, the mixture is leveled by itself, and the roller is necessary to remove air bubbles. The rest of the finishing compounds also need to be dispersed with a spatula, although they are leveled themselves.
Finishing leveling compounds

Not so much? But that's not all. Each of these groups contains fast-setting compounds. On the one hand, this is good: repairs will take less time. On the other hand, with a lack of experience (and where can he get it if you are doing a flooded floor with your own hands for the first time), the speed of hardening may result in the fact that while you stir all the lumps when the composition is blocked,he will begin to grasp and level up already there is no time. There have been cases. For example, we were going to fill a room with 16 squares, kneaded two bags of quick-hardening composition in a large tub. The time from getting into water until setting is 25 minutes. All lumps were stirred for 15 minutes. The solution was poured onto the floor, and it hardly flows anymore. We tried to level it, it almost does not work. Then they quickly unloaded everything into sacks and took them to the trash heap. The conclusion is simple: in order to avoid a similar situation, do not take quick-hardening compositions for the first experiment.
One more nuance. The compositions should be selected in accordance with the operating conditions: for indoor or outdoor work, if the room periodically remains without heating, frost resistance is needed. There are also special compounds for laying underfloor heating - in the list of characteristics there should be a mark about compatibility with heating.
Now about what self-leveling floors are made of. The composition can be based on cement or gypsum, in rare cases, both components are used, but there are special additives that neutralize the discrepancy (Prospector brand). When buying a leveler and a finishing compound from different companies, pay attention to what they are based on. The fact is that gypsum and cement conflict with each other. They cannot be stacked one on top of the other. If the leveling agent is based on cement, then the finishing compound should be made of cement. The same rule applies to plaster.
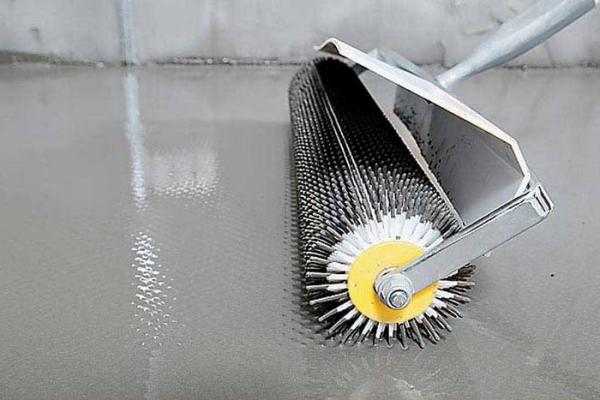
The roller for rolling liquid floors is made of plastic, at the ends of its needles
What you need to know
So, the main points and features of the "self-leveling floors" technology:
- They are only compatible with stable bases. When cracks appear at the base, they also crack. For this reason, wood floors are a very poor substrate.
- Requires good adhesion to the substrate. There can be no "floating" self-leveling floors. Therefore, the surface is thoroughly pre-cleaned, dedusted and then primed.
- The base should not absorb water well, which is again achieved with a primer. Loose porous materials are primed in several layers, carefully processing the corners. In places of insufficient processing, water quickly leaves the composition, due to which irregularities are formed, and more often humps. Then knocking them down is very long and problematic (with a grinder with a diamond disc and / or chisel and chisel).
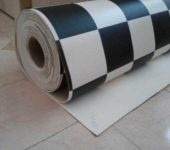
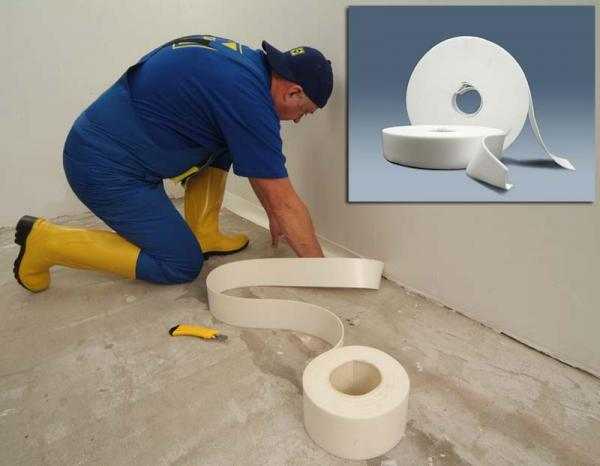
- A damper tape is laid along the perimeter of the walls. It will allow you to leave a small gap, which will compensate for the thermal expansion of the composition.
- If the floor is relatively flat - the height difference does not exceed 10 mm - you can immediately pour the finishing compound onto the prepared surface.
- When the height difference is more than 10 mm, dowels are used first. After they have solidified (indicated in the characteristics), they are again covered with soil and, if necessary, another layer of the finishing self-leveling floor is applied.
- Since the liquid floor has to be leveled or "dispersed", you need to walk on the flooded surface. So that there are no traces left, a special sole on thin rods, which are called paint shoes, is put on the shoes. To save on footwear, you can buy footwear for aerating your lawns. They are very similar but cost less.
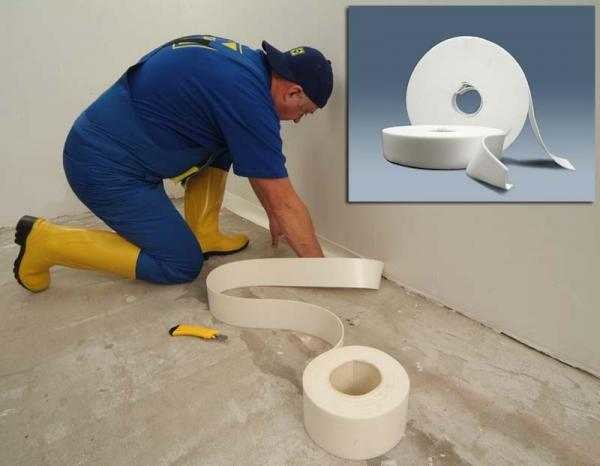
The damper tape can be glued to double-sided tape, after drying, trim the protruding edge or remove it, and fill the gap with an elastic sealant
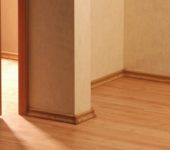
If the floor is leveled for tiling, a screed is often sufficient. Small differences up to 4-5 mm are leveled with a layer of tile adhesive. In general, look at the price: what is cheaper: pour a layer of liquid floor or increased consumption of tile glue. Both options are equivalent in terms of performance, so choose the less expensive one. For all other coatings - laminate, parquet board, bag, linoleum, cork, carpet, etc. - a difference of no more than 2 mm per 1 meter is required. If there is no such result after the equalizer, you will have to fill in another finishing layer.
What do you need
In addition to bags of mixture, you will need some tools and accessories:
- Mixing capacity - at least 20 liters.
- Water - according to the instructions, but usually tap water.
- A drill with a power of at least 800 W, a kneading nozzle.
- The rule is 2 m long.
- Wide notched trowel.
- Plastic roller with needles.
- Primer.
- Paint shoes.
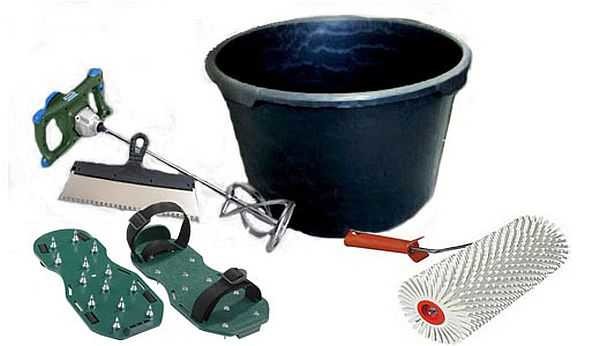
Tool for the manufacture of self-leveling floors

Working procedure: do-it-yourself self-leveling floor
The first stage is preparation of the base... Anything that can be torn off, beaten off, cleaned off is removed. The gaps are embroidered, if they are too large, they are sealed with tile glue or a dry mixture for pouring the floor, diluted with PVA glue. Small ones - up to 3 mm deep - are left without embedding, they just clean well. After finishing the cleaning, they clean everything well, collect the dust with a vacuum cleaner.
The second stage is the primer. It is better to take a primer from the same company as the liquid floor - a guarantee of compatibility. If you bought another - check them for compatibility: look in the instructions with which compounds can be used - based on gypsum or cement. You need to prime thoroughly, soaking completely the entire base. It is faster to work with a roller on a long stick, but you can also use a brush or even a wide spatula. For loose materials, a single priming is not enough, and after the first has dried, the second is applied, and maybe the third.
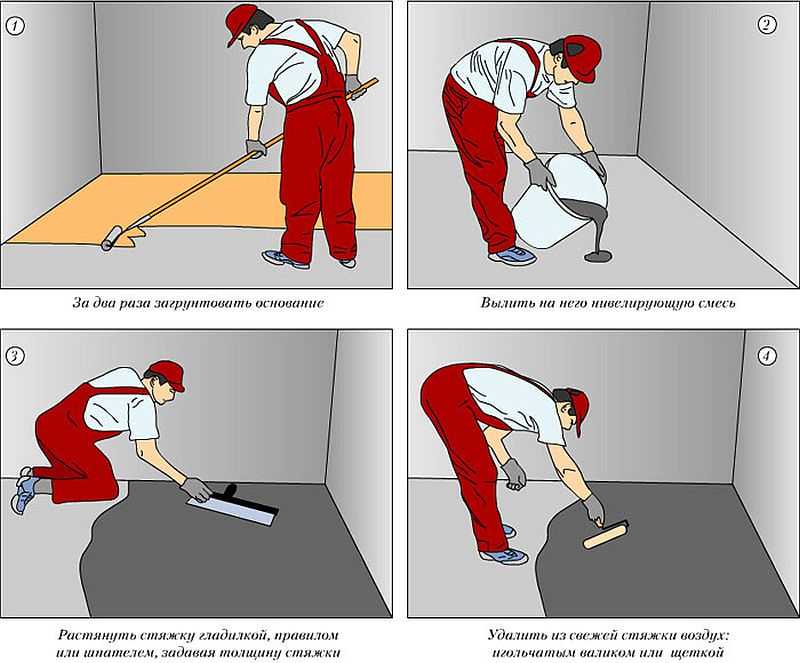
The general sequence of work when pouring the floor. Using this technology, do self-leveling floors
Stage three - installation of beacons... Lighthouses are displayed in different ways. The first way: as with a conventional screed, use metal profiles. They can be left in the floor, or after the solution has set (primary hardening), remove and fill the holes with the same mixture. Second way: with a certain step, screw the screws into the floor, setting the caps in level. This method is acceptable if you level the solution with a rule. Then, when filling, focus on the hats. Third way: make "rails" from a thick, quick-setting mortar for pouring the floor. Basically, for this they use a "P" -shaped profile for drywall, which is lubricated from the inside with grease. It, back up, is laid on the self-tapping screws set at the level. A solution is placed inside with a spatula, filling to the very top. The trick here is that there are no voids left. There is a modification of this method: along the laid out self-tapping screws, lay out a roller from the solution into which to press the lubricated profile. The squeezed out and excess solution is collected, if it did not have time to grab, you can try to use it again. Method four: use a laser plane builder.
Stage four - filling. We'll have to work quickly: after 40 minutes, most of the formulations lose elasticity. Therefore, it is more convenient to work with at least one assistant, two containers for filling. It is better to first measure the required amount of water (pour it into some containers, the number of which is equal to the number of mixes), open the bags with the mixture, and put everything in rows. Install a sill near the door - so that the liquid floor does not pour out and you can make it even.
One person closes the composition - pours water, pours out the composition and mixes it with an electric drill with a stirrer, the second - pours and levels. The one who smoothes should put on a special sole with thin metal rods on the shoes. If you do not want to buy it, you can make it yourself (for example, see the photo).

Our people are inexhaustible for inventions)))
Pour the composition on the floor with a "snake". Although it spreads, it is not so good that nothing needs to be done at all. You will have to level, especially if you are laying the starting, coarse leveling, with a decent layer. Depending on the chosen method of installing the beacons, you "drive" the solution either with a long mounting rail - as a rule, or with a wide spatula with teeth (if you use a plane builder, it is more convenient for them to work). In order not to crawl on your lap with it, it can be attached to a long handle. Some people prefer to use a toothed roller to disperse the solution.With a sufficient layer thickness (from 5 mm), it does a good job, on thinner ones you need either a spatula or a rule. You have to work quickly - you need to have time to fill the entire room even before the moment of final hardening, in addition, the next portion of the solution is being prepared.
As soon as the next portion of the solution is ready, it is poured out, continuing to level out already on a new area, mixing two zones along the edges. So the entire surface is poured.
Stage five - waiting and checking the result... After pouring, close the doors - so that there are no drafts - and wait for the required time. It is very different. Mixtures on cement set longer, on plaster - faster, but usually you can walk on the surface after 12-24 hours.
When the specified period has passed, take the two-meter rule and check the result. When using a coarse leveling agent, the difference can be 2-5 mm, or it can be measured in centimeters. It depends very much on skill. If you made a self-leveling floor with your own hands for the first time, and you got less than 10 mm drops, we can congratulate you on your success. This is a good result, and the existing unevenness will be leveled by the finishing leveler. It has a finer grain, better distribution.
If you want good results, find a good self-leveling mixture. Of course, it will need to be distributed over the surface, but it will level itself. The only drawback of this type of compositions is their price. In general, it has been noticed that the less experience, the more expensive the compound should be used for a guaranteed even floor.
All the nuances and features of the flooded floors are well described in the video. There is also a demonstration of how to level the mixture and several brands are voiced that are recommended to use.
Self-leveling flooring compound manufacturers
There are many companies, both foreign and domestic, on the market. Some compositions are praised by everyone, some have conflicting reviews. Here you need to understand that those who often come across this work, using a composition that is not very good in terms of characteristics, can get an excellent result. It is more difficult for beginners: they do not know how it should be, therefore they cannot fix it in time if something goes wrong. Therefore, it is unlikely that it will be possible to save money: in order to get a good result, you will have to buy a composition for a self-leveling floor with very good characteristics and reviews. And these are expensive brands.
Here is a list of manufacturers and formulations, with a brief description:
- Bolars is inexpensive, but difficult to work with.
- ‘Prospectors - the reviews are different.
- Pyramid - Little Experience.
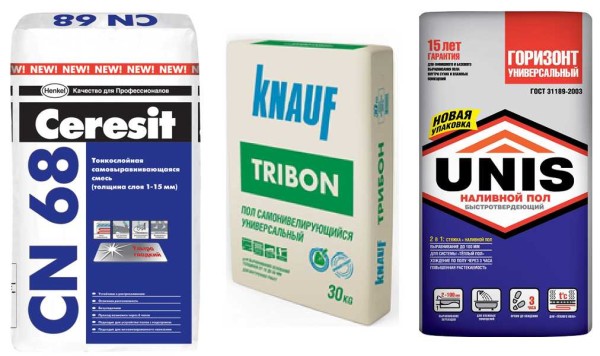
- CERESIT CN78 - it's easy to work, the surface is smooth, but expensive.
- IVSIL TIE-ROD-II is a gypsum-based self-leveling mixture, other compounds level slightly worse.
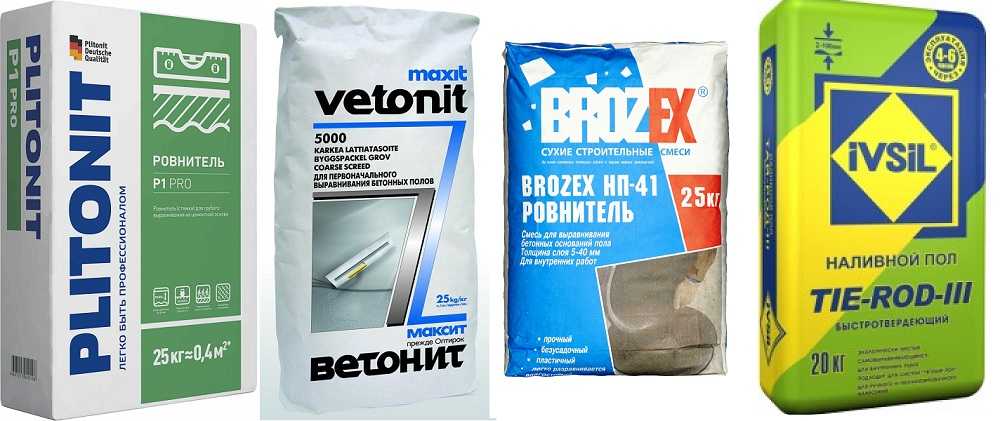
- BROZEX NP-42 - good result, normal spreading.
- Horizon Universal - it's hard to work.
- Vaateri Plus Vetonit is a self-spreading machine with good characteristics, it is easy to work, the surface is flat, and it is expensive.
- Forbo 976 is a self-leveling mixture with good performance.
- Basite T-45 - spreads well and smoothes, it is not suitable for a thick layer (more than 10 mm).
- Plitonite (PLITONIT) - the composition for a thin layer has very good reviews.
- Kreps-RV and SL - according to reviews - are normal characteristics at an affordable price.
Naturally, these are not all manufacturers, but those with whom you can make the floor, and do not suffer (according to the reviews of those who worked with them) ...
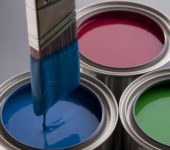
Polymer and 3D self-leveling floors
Polymer flooring technology is similar to the installation of self-leveling. There is also a liquid, relatively fluid composition that must be spread over the surface. The difference is in materials. These are mainly polymers. They differ in the type of binder:
- polyurethane;
- epoxy;
- methyl methaacrylate.
In terms of the thickness of the coating, they can be very thin - this is a dust-free coating and painting, and they can have a thickness of 1.5-4.5 mm, sometimes more. The compositions are mainly two-component - before application they are mixed in a strictly measured proportion.Then, like self-leveling floors based on cement or gypsum, they are poured onto a flat primed surface (primer is its own) and leveled.
Polymer floors can have a glossy or matte surface, or rough. In apartments and private houses (for bathrooms, kitchens, corridors), a gloss or matte surface is mainly used, in pools or on open terraces - a rough one, so that even in a wet state it is non-slip.
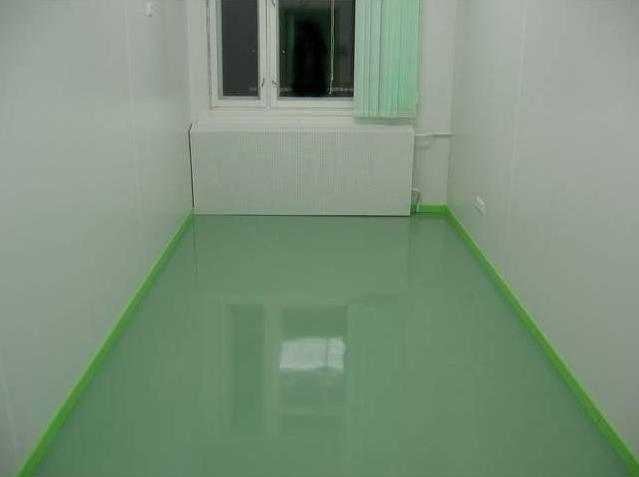
It looks like a glossy polymer bulk floor
Volumetric floors with a pattern, which are also called 3d floors (three de), are a special case of a polymer floor. The drawing is applied to a banner or special fabric. The main thing is a thorough study of the drawing and high quality of printing. This drawing is glued to the prepared base, then poured on top with a layer of transparent polymer. After drying, another layer of abrasion-resistant varnish is applied. The result is the most beautiful pictures on the floor that many like so much.

The basis of the quality of a 3D floor is a perfect base and quality drawing
Self-leveling floor technology with a pattern
Step by step, everything looks like this:
- Align the base. At this stage, a perfectly flat floor surface is achieved. Concrete floors can be leveled using the self-leveling floor technology described above. Polymer floors can also be made on a wooden base. The main task is to make them stable and perfectly smooth. This can be done with a grinding disc. The quality and effect of the floor is 90% dependent on the preparation of the substrate. Therefore, the best results should be achieved here.
- We are waiting for the floor to be dry. It is very important. Maximum moisture content of cement base 4%, wood - 8%.
- Apply a polymer primer to the dry, leveled and cleaned floor. For this technology, it is better to distribute it with a wide spatula: this way the existing irregularities are even more level.
- We pour a polymer layer. Color - usually light gray or other - depending on the main background of the picture: the base will show through the fabric. Any of the polymers can be used. They say the best are polyurethane, but they are very expensive. Epoxy - cheaper, but the transparent layer becomes yellowish after a while.
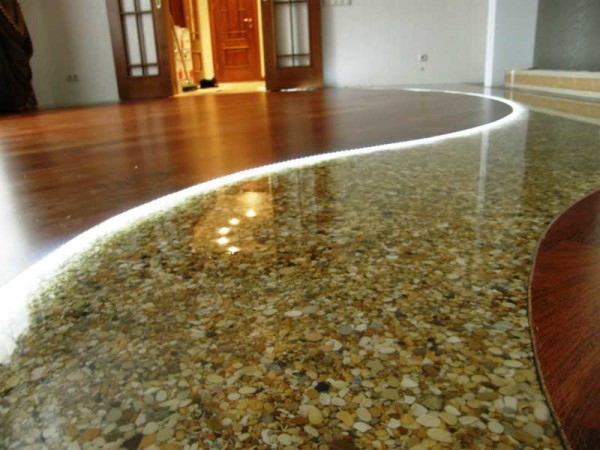
Another option for a floor with a volumetric pattern
- We find and order printing on two-layer banner fabric. The first layer is paper, the top is mesh fabric. There is such a net with a width of 1.37-1.67 m, a roll length of 35 meters, a price of 8-10 euros per square meter. Therefore, wider drawings are made up of several pieces. The pattern is applied to the fabric. When gluing, the paper is peeled off, the mesh fabric is glued to the prepared base. It is glued to a thin layer of the same composition that will then be applied from above. The first important task of this stage is to find a drawing of the desired size with the required resolution (high quality), the second is to stick the fabric without bubbles.
- When stacking, the layer of paper is removed. A thin layer of transparent is applied to the dried base polymer layer - 1 mm or so, quickly rolled with a needle roller so that there are no bubbles. A film is spread on it. The main task is to make sure that there are no air bubbles under it. To do this, it must be laid out starting from the edge, gradually gluing it onto the applied layer. Since the fabric is mesh, if laid out neatly, there are no problems - the bubbles come out through the mesh openings.
- Fill it with a transparent finishing layer.

The entire technology of the 3D floor device is demonstrated in the video clip. After viewing, all ambiguities should disappear completely.
Those who want to make a voluminous self-leveling floor with their own hands (with a 3D effect) often have questions about where to buy materials. if we are talking about photo printing, then in an advertising agency dealing with banner advertising or in a printing house that has equipment for large-format printing on fabric.
If we are talking about polymer compositions, then the number of manufacturing firms is in the tens.There are both domestic and imported ones. They, as a rule, produce the whole line - from primers to coatings with different characteristics. There are a lot of possibilities for tinting. Choose any of the catalog. This is if you plan to fill a plain floor. If you decide to make a floor with a pattern, in addition to the primer, you will need one composition for the base (to match the background of the photo), as well as transparent. They can also trade all sorts of "chips" to create a shimmery floor, for example, etc.
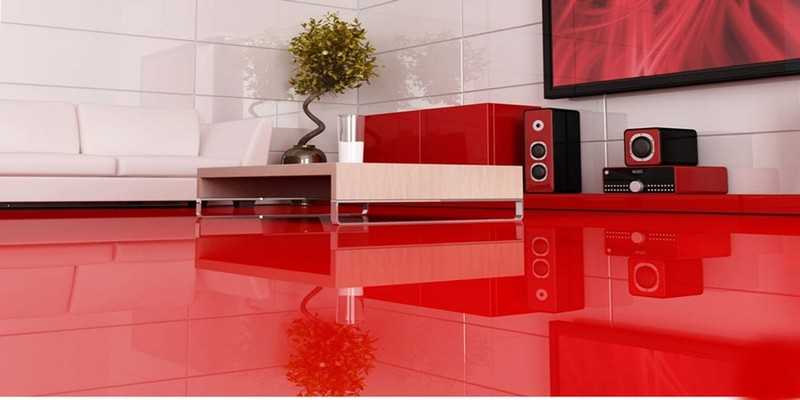
Bright floor shades are typical for modern or high-tech interiors
As mentioned, there are many manufacturers. Here are some, describing the materials they produce (which they trade):
- TeoKhim enterprise - produces polymer floors under the Elakor brand (all three types of polymers)
- Etal and Etal UV - epoxies
- Remmers Epoxy (epoxies), Remmers PUR Aqua (polyurethane)
- Self-leveling polyurethane coating KT floor Enamel PU 01 - one-component (toxic, work in a respirator)
- Polyepoflex - epoxy self-leveling floors
- Ultraflor - polyurethanes
- Poly-Flor - all three polymers (epoxy, polyurethane, methyl methaacrylate)
- Epolast - two-component epoxy compounds
- Sikafloor-2530W - epoxy self-leveling floor
Actually, this is all technology. You see that it is not easy to make a self-leveling floor with your own hands, but it is possible. The main task is to qualitatively prepare the bases, as well as keep within the specified time before the compounds harden.
Another video on how to make plain polymer floors.