How to make a wooden fence: step by step instructions (3 photo reports)
In recent years, more and more often you can see not only new wooden houses, but also fences. The people take such a step deliberately: the products are very beautiful. They even agree to tint them regularly, and as long as it stays, it stays that long. If you are one of such wood lovers, photo reports about how people built a wooden fence with their own hands may be useful to you. As a rule, interesting solutions are used. Perhaps not always 100% correct, but working.
The content of the article
Photo report 1: an ordinary fence made of boards (picket fence)
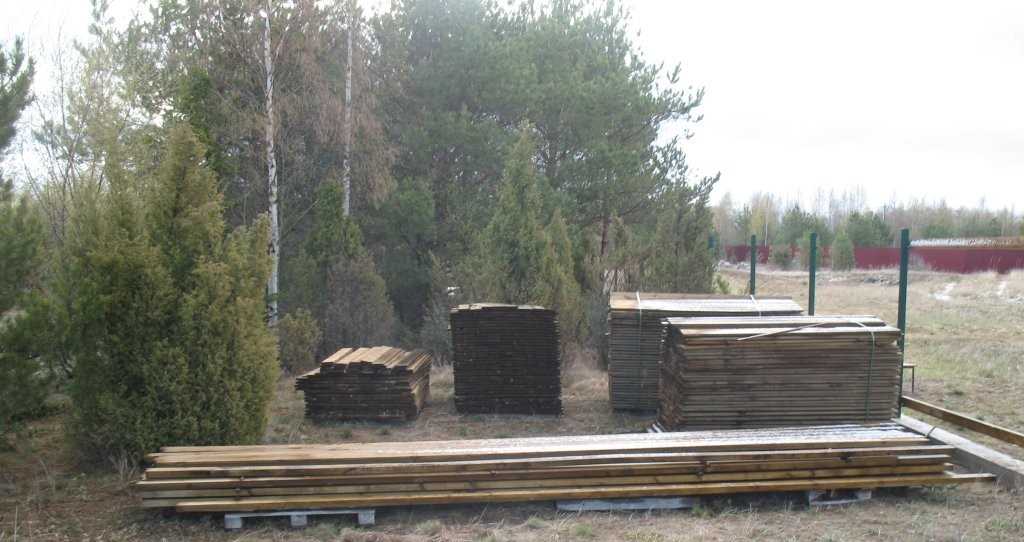
This fence was erected with periodic help - either hired or voluntary helpers, but most of the fence was assembled by the owner himself. The boards were first processed, then delivered to the site, ready for use.
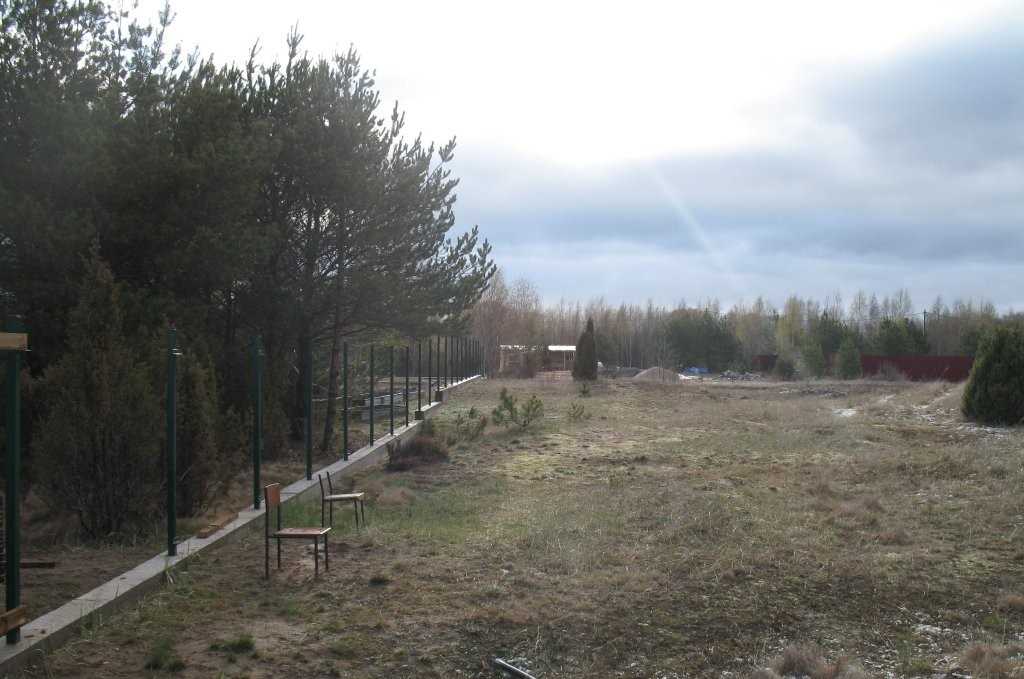
This is a view of an area with poles installed
The main work was done before winter - holes were dug with a motor-drill rented. The main thing is that the drill is not sharp. Then the process is difficult even on normal soil. We did it: the first day we drilled only 6 holes and got depressed: how much is the rest to do? Good neighbor suggested to replace the blade. With the new cutting part, everything else was done in daylight. They drilled a little below the depth of soil freezing. It freezes by 1.2 meters, the depth of the holes is 1.3 meters (reinsurance "just in case"), the distance between the holes is 3 m. We pulled the cord between the corner marks, marked 3 m sections (the board was thrown). The result was smooth.
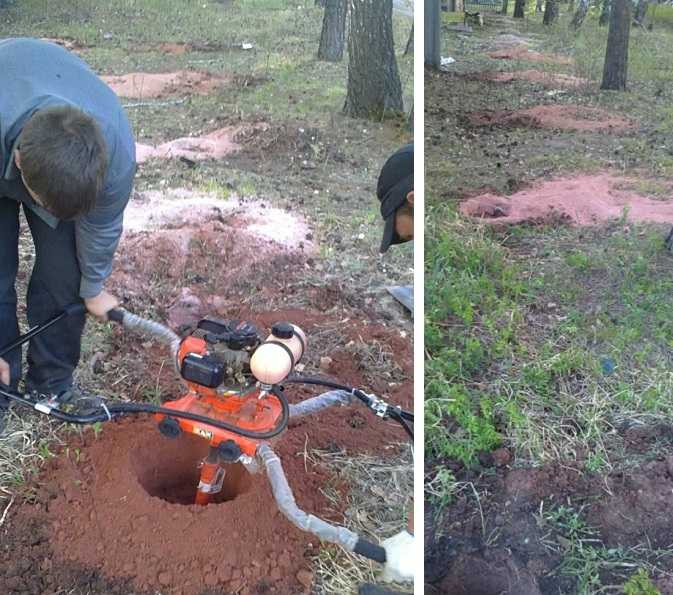
Drilling holes
After that, a bucket of rubble was poured into the holes, a sleeve was inserted from a roofing material rolled into two layers. Pillars 60 * 60 mm with a wall of 3 mm were inserted into this sleeve. To them previously at the bottom were welded on pieces of reinforcement - to better hold, and also a corner "forty" for fastening future logs. The pillars before installation, or rather long before it, are sanded and covered with anti-rust first, then with two layers of paint.

The poles were installed in the holes
The most important thing is to position the pillars correctly. This was also done with a cord. We set up the corner posts strictly in level. First, one was set to stick out 1.8 meters, then it was transferred with the help of a laser level to the second, which stands at the same level. This operation was repeated with all the "steps". Braces and stops helped to hold the key pillars while pouring concrete grade M 200. After the mortar had seized, threads were pulled between the pillars - one at the top, marked the tops of the pillars, the second in the middle of the height - they were guided along it when placing the remaining pillars.
After all the pillars were poured with concrete (in a few days), the basement was poured. We made a portable formwork from pine boards. Rearranging it, the basement was gradually filled in. We did not dig deep - only the sod was removed. As a result, pillars were obtained, between which a concrete tape was poured.
Before mounting the pickets
About, what is the best foundation for the fence, read here.
The wood was dry, painted with an antiseptic compound, which lightened the color a little. The result is light boards. Support bars - logs - with a section of 50 * 100 mm were attached to the installed posts. The bar was deliberately set on the top Firstly, outwardly, it is more like it, and secondly, the ends of the boards with open pores are protected. This bar was attached to the first board set at the level and the auxiliary board, which was installed three meters later. Therefore, boards were attached to it one by one.
Start of picket installation
When installing a picket fence, it is important to install the first board strictly vertically.We checked it with a plumb line (we cheated the level a couple of times, so now wherever the vertical is important, we check it with a plumb line). Further a matter of technology. The boards were not mounted close to each other, but with a gap of 1.2 cm.To maintain a stable gap, a board (lining) of such thickness was found and a piece of the same length as the fence was cut off - 1.8 m. The work goes like this: we take the finished picket fence and lining strip. We apply a lining to the already nailed one, prop it up with a picket fence, level the top, then fasten it with two self-tapping screws to each lag. As a result, the gap is the same. But this trick is possible if the board has perfect geometry.
Gaps are the same everywhere
With respect to the clearance. The size (1.2mm) was perfect. If you look from the outside, you can't see anything, but from the inside, the street is well visible.
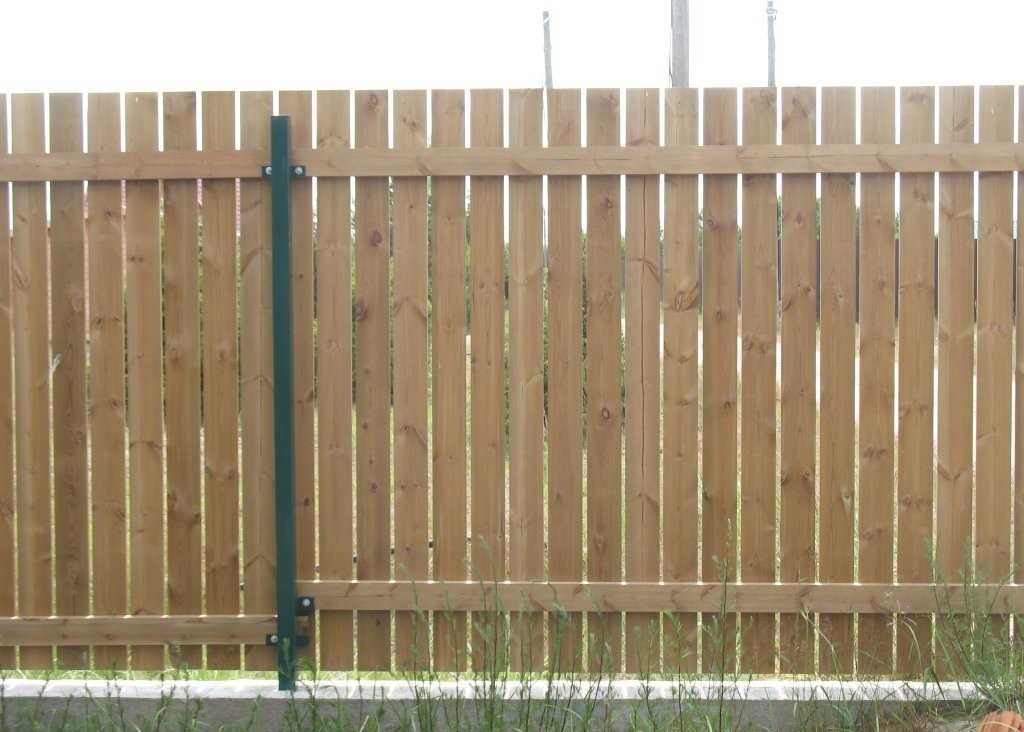
View from the side of the site
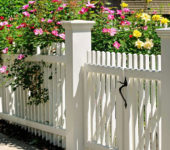
About the advantages of a wooden fence: neighbors who have fence made of corrugated board they were jealous: in the summer it was cool in my yard, they had all the flowers burnt under the fence - like in an oven. We have a riot of colors until late autumn.

This is a side view
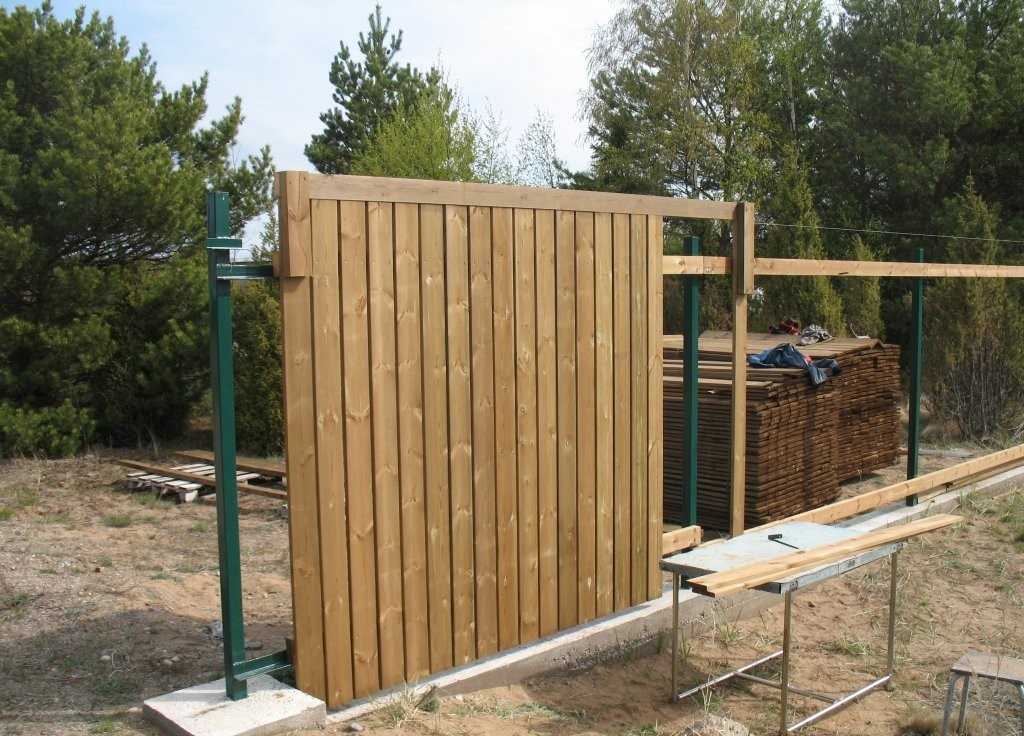
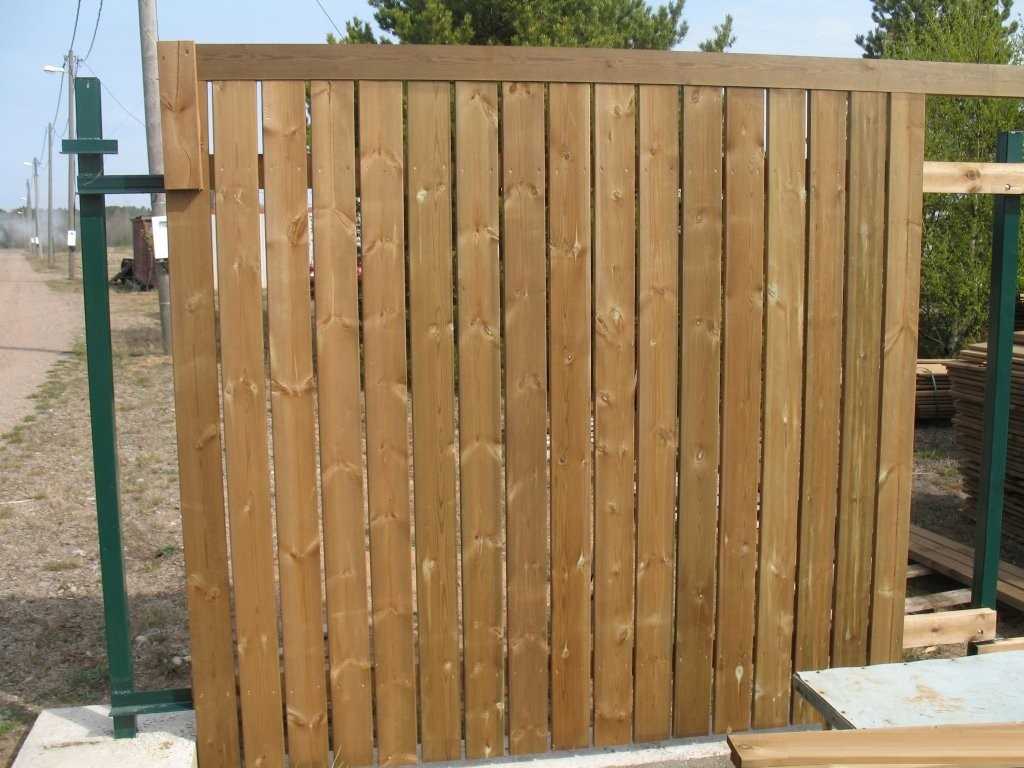
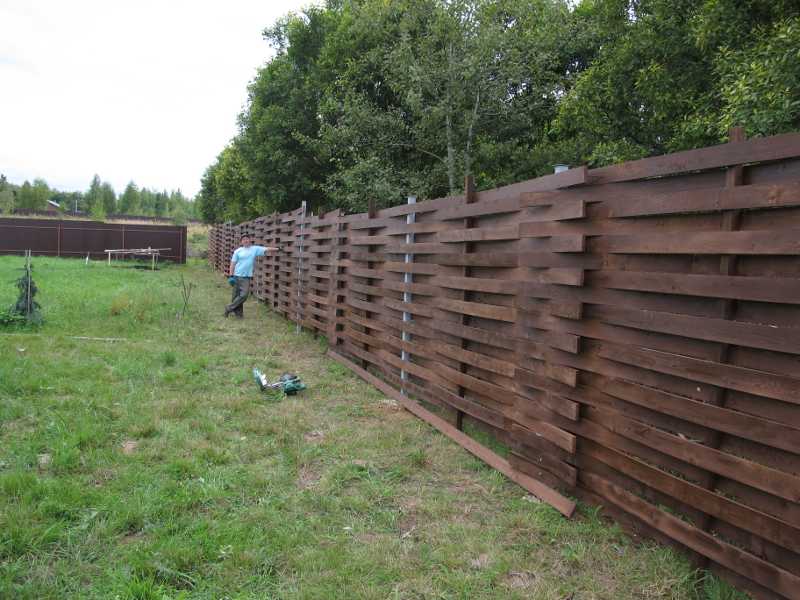
Photo report 2: horizontal fence made of unedged board "chess"
This fence is like a fairy tale. It was partially assembled by the owner of the site. Hired workers dug holes, set up poles. Metal work - cutting posts and welding tops - a friend's merit. Everything else, including the processing of the board and the assembly of the fence sections, was done by the hands of the owner and his wife (painting).
Unedged board was used with a thickness of 20 mm, smooth edges were sanded on a chamfer (by agreement), the wane was removed independently and then sanded with a machine, after which it was covered with a water-based Dufa antiseptic, teak color. It was applied with a wide brush in two layers. Here is the result of the labors.

Unedged fence
For the posts, profiled metal pipes of square cross-section were used: 60 * 60 mm, wall thickness 3 mm. Edged boards 150 * 30 mm are attached to it on both sides. They were fastened at a distance of 10 cm from the top, then at 100 cm and 190 cm. A sandwich was formed from two boards, drilled through, everything was fastened with a bolt with a self-centering washer.

How the pillars were made
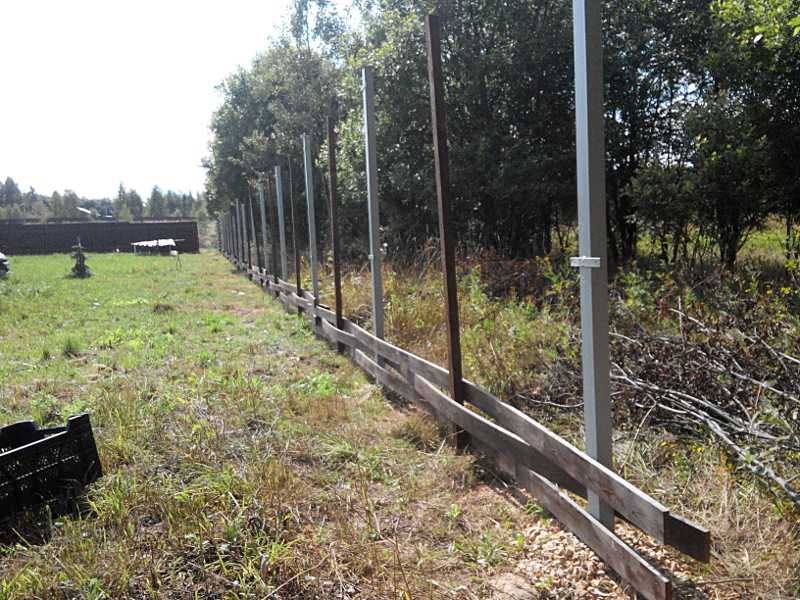
Pillars with a total height of 3 m by 1 m are concreted into the ground. Exposed by a cord pulled between pre-installed control posts. The procedure is standard, the only unusual thing is that the top (2 meters, which remains above the ground) is wrapped in film. The decision turned out to be correct: after transportation and concreting, the film was dirty, and the wood under it was clean. The film was removed after the concrete had dried.
Pillars in line and first run assembled
The assembly order is as follows:
- Select the first board with a flat bottom edge.
- We measure the distance between the posts, saw off a piece from the board 1 cm shorter than the measured distance (so that they become normal).
- We coat the sawn-off end with an antiseptic.
- We install the first board 5 cm above the ground, fix it with clamps. We twist two self-tapping screws (45 mm) into each edge from the inside.
- Installation of the vertical. We find the middle, insert the plank, do not rest against the ground, the edge hangs. We fix it with two screws at the top of the installed board.
- Installing a new plank. It should overlap even the largest protrusion of the bottom. It also covers the screws that hold the middle bar.
This sequence is maintained to the very top. So the run is gradually being typed. Please note that the former wane has beveled edges, they all look “into the street”: so that the raindrops roll out.
Gradually, one by one, the fence is folded
To get an even top edge, they were selected, cut off, painted over with an antiseptic, and then fastened to the final, aligning all the tops in one line.
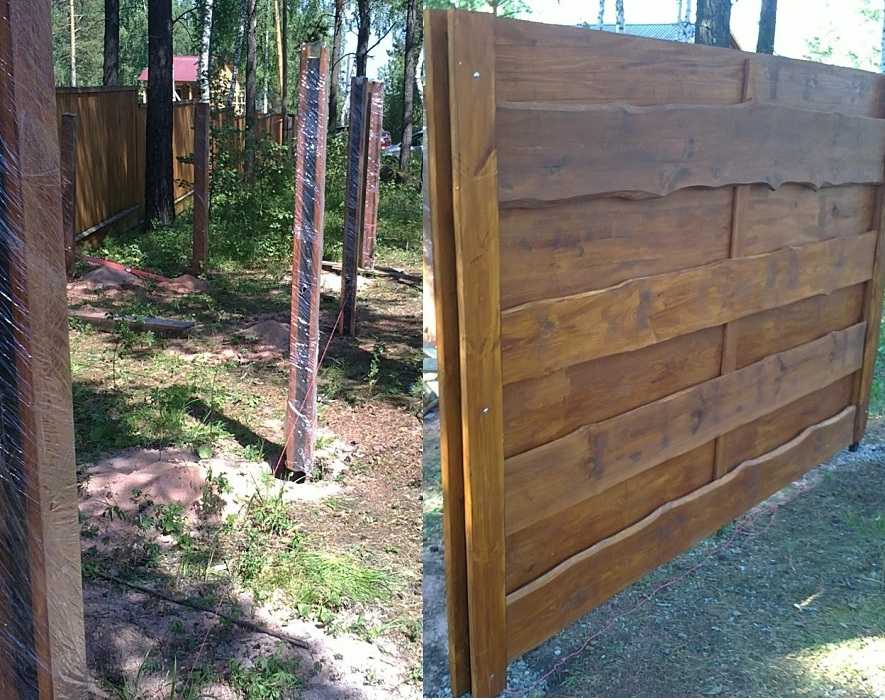
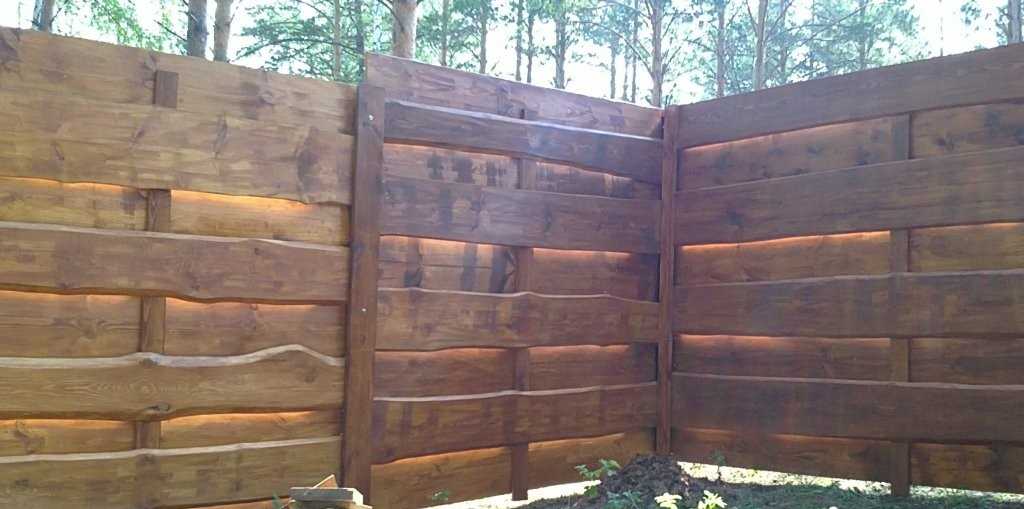
Photo report 3: wooden wicker fence
Another option is made almost "solo". Do-it-yourself wicker wooden fence assembled almost without outside participation.Sometimes the wife worked as assistants - painting the poles, the second assistant - a dog.
It turned out such a board fence))
For a horizontal fence made of curved boards, which is also called wicker, sometimes - Austrian wicker, the following materials were used:
- for pillars, profile pipe 60 * 60 mm, installation step 2.7 m;
- edged board, planed 100 * 20 mm, 6 m long;
- intermediate bar 50 * 50 mm, but it is better to take less - it is more convenient to bend;
It was decided to paint the boards with an antiseptic with a dark pigment, the posts - light gray. From a distance on a dark background like stitches. Who doesn't like it - paint to match the boards.

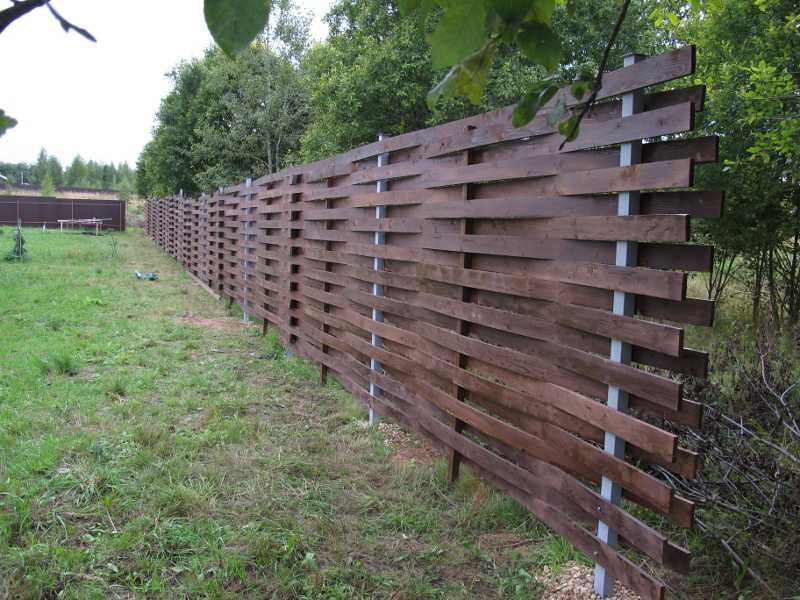
Painted posts and the first three boards, braided between the two outermost
Most of the time is spent painting and drying the boards. If they are ready, everything is assembled pretty quickly: the fasteners are minimal, only the first board is attached to the level, the rest are put on it. The boards are six meters long, braided around three pillars. The distance between the posts is about 5.4 -5.5 m, the rest sticks out, but the result looks original.
It is more convenient to assemble a wicker fence made of boards not in runs, but horizontally - weaving several boards along the entire length
The main focus is to weave the first three boards. Without intermediate bars, they simply fit: two from one side to the edge, one on the other. Then they need to be arranged so that they are one above the other. If there are two assistants, they hold the boards at the two nearest posts, and the third person bends the boards and inserts an intermediate beam. After the first three boards have been installed, the lower one is leveled and screwed to the posts (fill the hole, then screw in the screw).
What it looks like up close and at an angle
If you make a wicker wooden fence from boards with your own hands, it is more convenient to assemble it not to fold it over spans, but to go horizontally. First, we braided the bottom three boards in full length, set the level and secured. Then they collected the rest - as the paint dries.
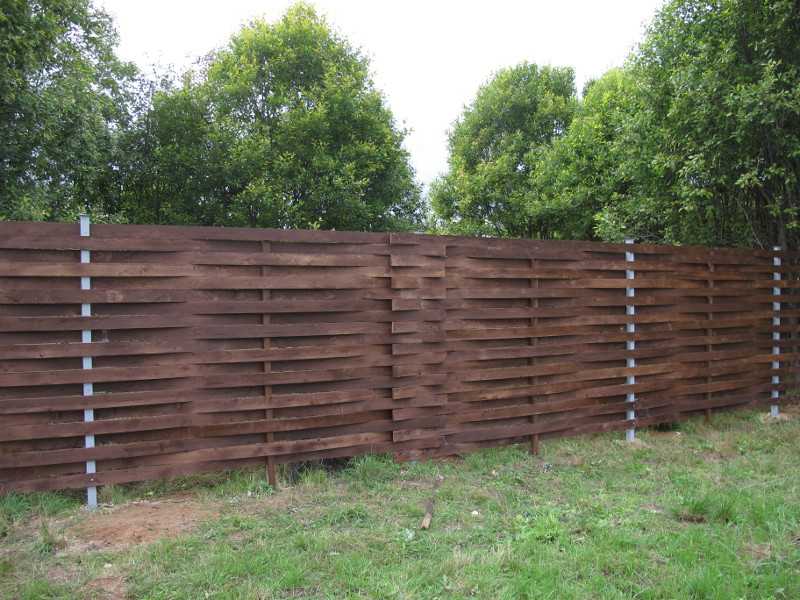
This is a front view. You can see the "tails" where the boards end and begin, but they do not spoil the picture, but add zest
A simpler option - only three posts and shorter boards - is shown in the video. Here the pillars are made of wood, the technology of their installation is shown. Nice video - the whole editing process is clear.
conclusions
In all three examples, two stages are clearly traced, which, if you make a wooden fence with your own hands, take a lot of time. The first is the installation of pillars and pouring the foundation or basement. The second is wood preparation work. If the site is new, not inhabited, problems arise with the preservation, and the process of painting, and, moreover, polishing, is long. It makes sense to buy wood in advance and prepare-process it in a workshop or garage. When the time comes to put up a wooden fence, take the finished material to the site immediately before installation.
If all the materials are ready, you can make a wooden fence with your own hands pretty quickly. The installation of wood itself does not take very long. Of the entire duration of construction, 40% of the time is spent on preparing the boards, another 20% on preparing the pillars if they are metal and 10% if they are wooden, another 20% on their installation (pillars). Accordingly, the assembly does not take much time.