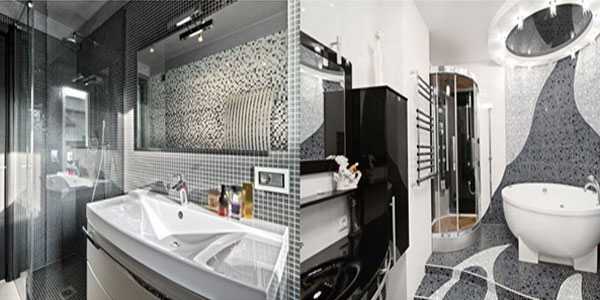
Repair procedure in the bathroom
If you decide to do your own bathroom repairs, it is important to know the sequence of repairs in the bathroom. One stage should follow another, as a violation of the order of actions leads to errors that appear during operation.
To get this result, a good renovation plan is tedious.
Preparation
Before proceeding with the repair in the bathroom, you need to determine the amount of work and roughly calculate the costs that await you. The easiest way is to make a list of questions. By answering them, you will have an idea of the work that is needed. Here is a rough list of questions:
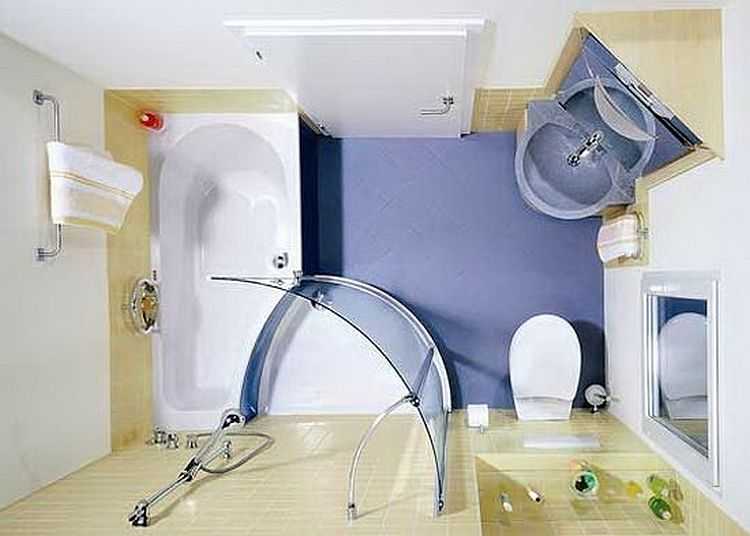
- Do you need a redevelopment of the bathroom. In many small apartments, the bathroom is separate, but the premises are so small that it is very inconvenient to use them. During the renovation, many decide to demolish the partitions and make a combined bathroom. Installation / demolition of partitions, door relocation - all this applies to redevelopment and requires documentation. It is necessary to draw / order a redevelopment project, get its approval and only after that proceed with the repair work.
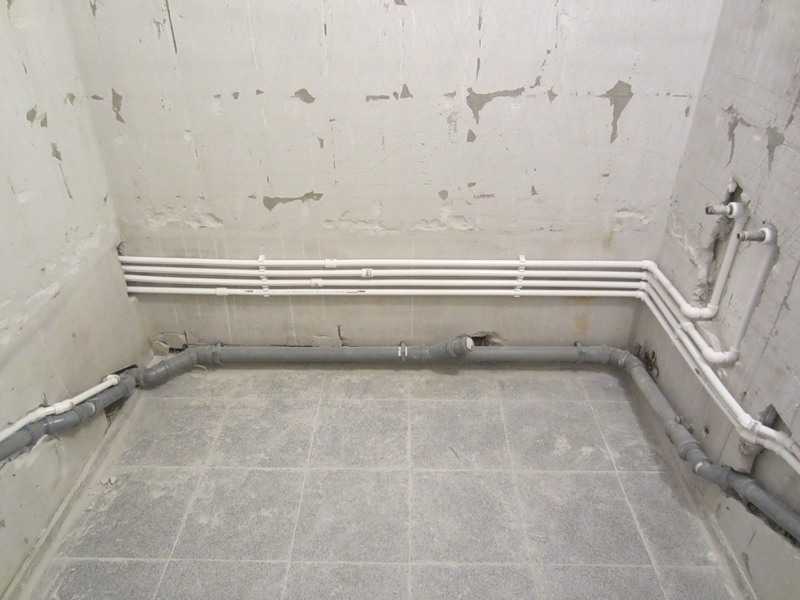
- What communications are to be replaced. The bathroom usually contains water (only cold or cold and hot), sewerage, light and ventilation. During the repair, replacement of the water supply and sewerage system is required. Even if at the moment they are still operational, in a couple of years the pipes may leak, and when they are replaced, the walls, sometimes the ceiling and floor, are damaged. Therefore, plan to replace the pipes and riser of the water supply and sewage system. You also need to think about the wiring. Wires are laid in the walls and repairs are problematic. For this reason, they should also be replaced, as well as laid in rigid pipes so that it is possible to pull the wires without destroying the walls. Ventilation is easier. Usually cleaning of ventilation ducts is enough, and a special service is engaged in this. You may also need to fan installation - for more efficient removal of humid air.
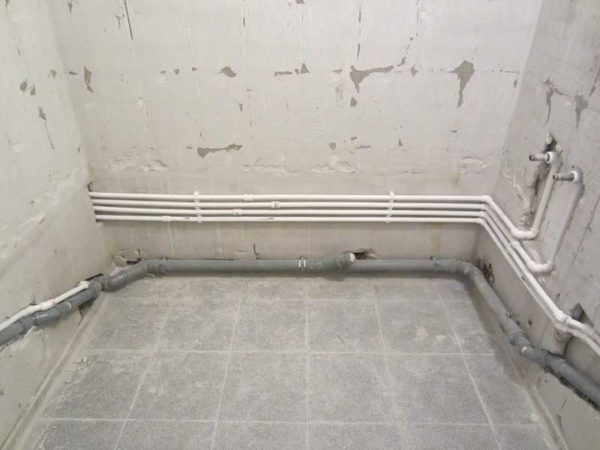
Replacing the water supply and sewerage system is a mandatory item in a step-by-step bathroom renovation plan
- Selection of plumbing fixtures. Even before the start of the repair, you need to decide whether you will put a bath, shower or shower enclosure and decide on the size. You also need to choose a washbasin, toilet, bidet, etc. It is necessary to decide in advance on the place of installation of this equipment - communications must be connected to these devices, and it is advisable to know in advance what and where will stand.
- It is necessary to decide whether or not you will change the doors. If yes, what will they be - with or without threshold.
Only after you answer these questions, you can roughly estimate how much the repair will cost you. But this is still without finishing materials.
Choice of finishes
The next stage of bathroom renovation is the choice of finishing materials. The most common options are wall and floor tiles. This finishing method is popular as it is durable and easy to maintain. But the cost of such finishing is high. There are cheaper options, but no less interesting. For example, on the floor you can lay cork or PVC tiles... Walls can be painted, pasted over with special wallpaper, apply decorative plaster on them.
There are no less options for decorating the ceiling. The standard finishing method is a bleached or painted ceiling. But recently, suspension or tensioning systems have become more popular. They allow you to hide communications, although they take a few centimeters of height. Bathroom ceilings can be:
- tensioned;
- from drywall;
- rack and pinion (made of aluminum rails);
- from PVC panels.
The first stage of bathroom renovation - plumbing dismantling

Depending on the type of ceiling, the sequence of repairs in the bathroom changes. When choosing a stretch ceiling, do it last. After all other finishing works are finished, the doors are installed. The plasterboard ceiling, as well as the plastered bleached or painted, is finished simultaneously with the walls or a little earlier - so that whitewash or paint does not fall on the walls. Suspended systems (except drywall) are assembled after finishing the walls.
Planning and procedure
After you have decided on all these issues, have chosen plumbing and finishing materials, they begin to draw up a plan. After all the old finish has been removed, the dimensions of the room are measured to the nearest centimeter, and the dimensions are transferred to the plan. On this plan, all communications are drawn, distances to all points of their exit are plotted, plumbing fixtures and pieces of furniture are drawn on a scale. After all, the location of the outlets of the water supply system, sewage system depends on the position of the plumbing and its size. Further, the work plan is as follows:
- Dismantling of equipment: bathtubs, washbasins, electrical appliances.
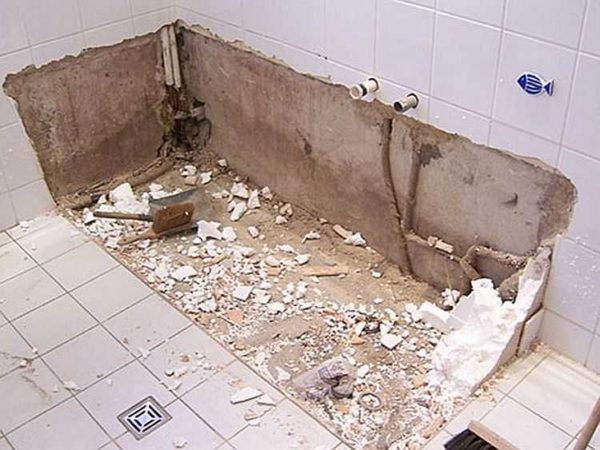
- Removing old finishes from walls, floors, ceilings.
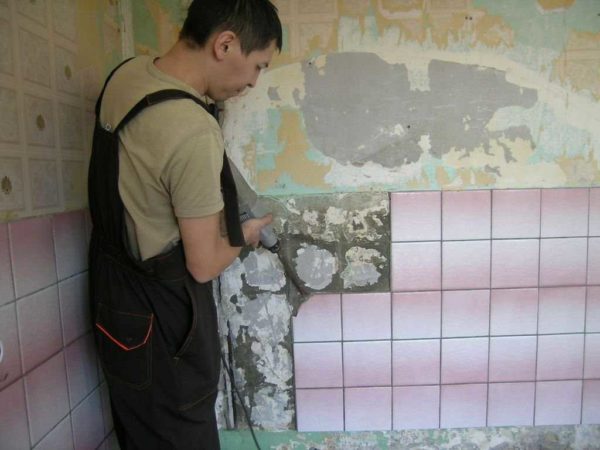
Removing old finishes from all surfaces
- Replacement of water supply and sewerage systems, installation of new shut-off valves. When replacing the water supply, if necessary, you can install filters, on the sewer in apartments to prevent the appearance of an unpleasant smell, they often put sewer check valves.
- Laying of electrical wiring. Wires are mounted into walls, they are made grooves, in which a corrugated hose or plastic cable channels are laid.
- Wall decoration. Here, the sequence of repairs in the bathroom depends on the chosen type of finish and the initial state of the walls. Alignment of the walls with plaster is required under the tiles; for painting and wallpaper, final alignment with the use of putty is still necessary. When laying tiles, they are laid starting from the bottom, but not from the first, but from the second row. The first row from the floor is laid later, after the floor is made.
- Installation of ceiling and lighting. In most cases, are used built-in lights, bathroom they must be in a special sealed enclosure.
- Floor finishing. If there are large differences in height, a leveling screed is poured before finishing work (after laying the electrical wiring). While all other work is underway, concrete is gaining strength. At this stage, the selected finishing material is placed on the pre-leveled base. After that, the first row of tiles is laid (with trimming as needed).

On the plan, you need to draw all the plumbing fixtures. Then it is easy to develop the correct sequence of renovation in the bathroom
- Installation of a washbasin, bathtub and other plumbing fixtures.
- Furniture installation.

This is a step by step bathroom renovation plan. There is only one caveat: when to install the doors. Usually, the door frame is placed after the walls are prepared for decoration. In this case, the wall decoration will fit close to the box. This is important if no platbands are provided from the inside. The door leaf can be hung later - after the end of all the "dirty" work, or immediately, but protect it with a thick plastic wrap. Otherwise, it is advisable to follow the sequence of repairs in the bathroom without changes.