How to make a pond in the country, in the garden, near the house
At the summer cottage or near the house, there are usually three favorite places to stay: veranda, alcove, swing and a pond. Even a small body of water attracts others like a magnet. Water is mesmerizing even in small quantities ... Moreover, a pond with your own hands can be built in a few hours. But this is a small artificial reservoir. It will take both money and time to build a large one.
The content of the article
Where to dig
Small artificial ponds are best viewed from above. Therefore, if there is a corresponding depression on the site, it is best to do it here. There is, however, a negative side to this: you will have to raise the edges of the bowl higher so that rainwater does not get inside. The second option is to come up with a water drainage system (make a drainage system above the reservoir).
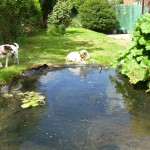
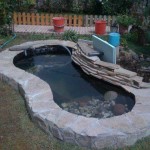
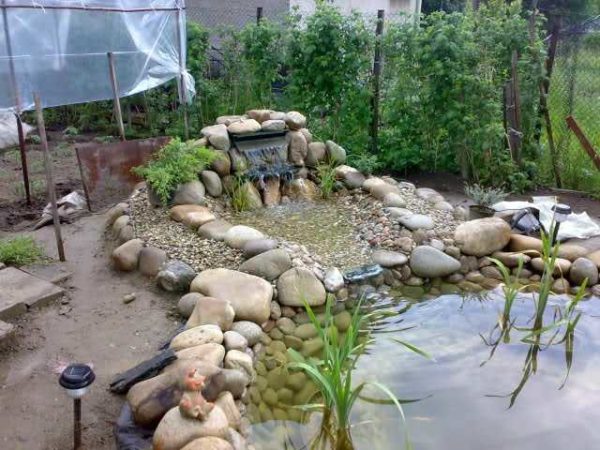
If there is a key somewhere on the site, it is logical to make a natural pond by digging or deepening the existing bowl, laying out its borders with cobblestones or stones, and planting plants. The trickle, which is mandatory in this case, can also be refined by laying out its edges with cobblestones, drowning them in the sodden soil, you will give greater strength to the shore, between them you can plant moisture-loving plants.
-
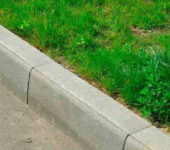
- By covering the shore with stones, avoid washing out the soil
-
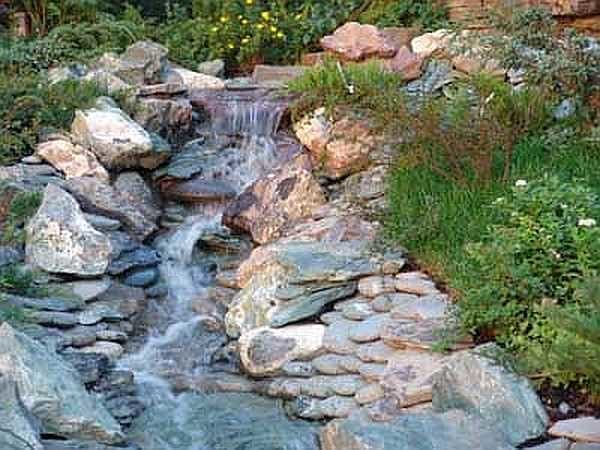
- Even a small waterfall is a magical sight

-
- How to dam a pond if there is a natural stream on your site - dig a pit, line it with a stone and direct the stream into it

-
- How to make a trickle if it is not on your site
Not everyone on the site has such a luxury as a stream or a key. We have to make artificial reservoirs. With proper design, they look no worse than natural ones.
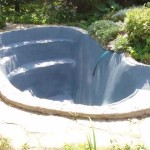
How to make an artificial pond with a bowl (no film)
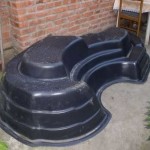
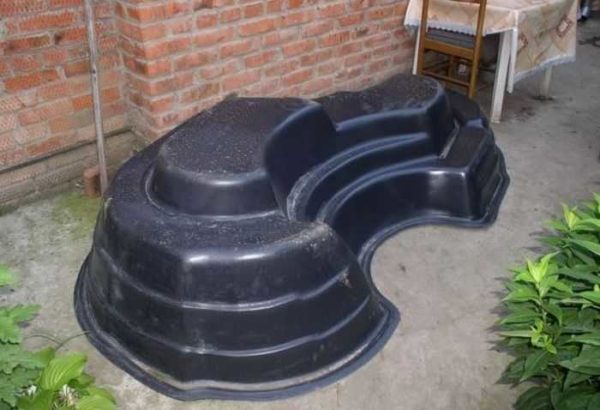
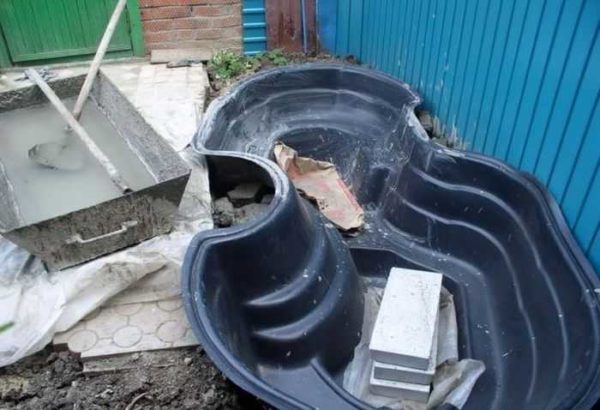
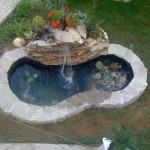
The easiest and fastest way to make an artificial reservoir in the country is to bury the finished bowl in the ground, decorating and decorating its edges. There are plastic bowls - ready-made in various shapes, sizes and colors (mostly blue, green and black).
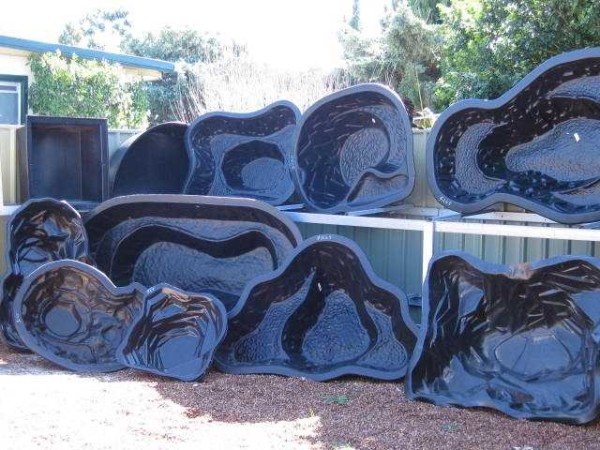
The shape of the bowls for small ponds on the site may be different
The device of a plastic garden or country pond is a simple matter. Here's a step-by-step guide:
- It is necessary to dig a pit in the shape of a bowl. If the shape is very non-standard, you can turn it upside down in the place of installation, outline something with a contour (at least dig it with a shovel). They take the bowl to the side, dig a foundation pit. It should be slightly larger in size - a little wider, but not deeper. The edges should either be flush with the ground, or protrude slightly. If you can lift the edge a little, it will be even better: when it rains, dirty water will not flow.
- After the desired depth is reached, the bottom is leveled into the horizon: it is leveled first with a shovel, then compacted and the excess is removed with a flat bar. The surface must be flat and hard: the plastic must have good support. If the ground is poorly leveled (clay), you can pour 5-10 cm of sand, wet it and tamp it.
- The next step is to install the bowl in the pit. If the bottom has been flattened, the edges of the bowl will be level with the horizon. Now the space that remains between the wall of the bowl and the pit needs to be covered with soil or sand and tamped well.
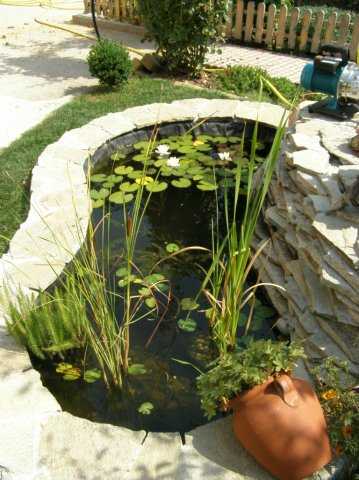
- Now it's up to the design: the installation is complete, you can pour water.
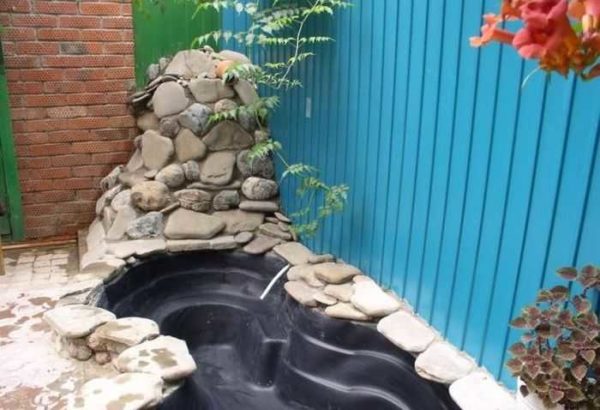
How to build a pond in the courtyard with lighting using this technology, see this photo report (you can flip through the photo gallery yourself by clicking on the thumbnails below).
-
- Such a seemingly large bowl fits very well into the place between the path and the fence.
-
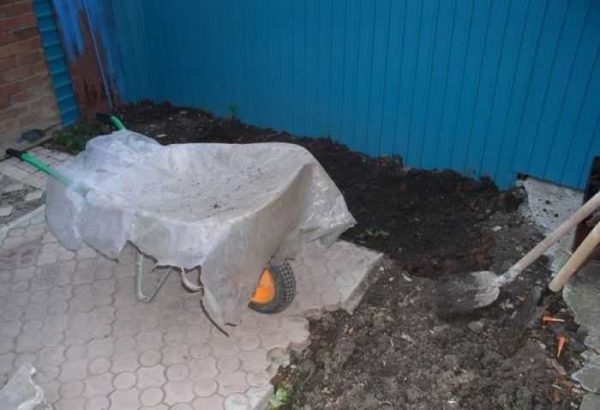
- Digging a pit. We decided that the sides will be 1-2 cm above the level of the track - there will be less debris inside, and we will decorate the edges with stones
-
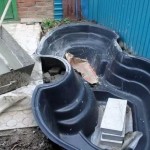
- This is how it will be
-
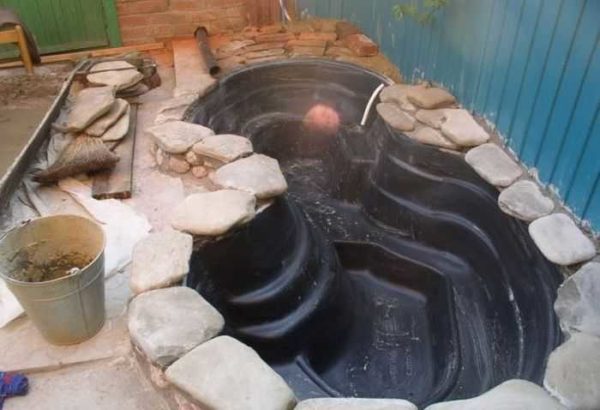
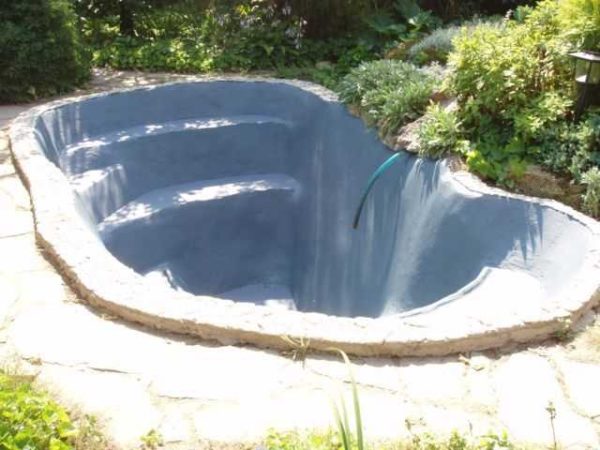
- It's good that there is water supply and sewerage nearby. They brought both that and that. The pond was made flowing
-
- This slide disguises the water pipe (a jug is put on it. The bottom of it was carefully cut
-

- From this side, just below the maximum level, a pipe was cut into the bowl so that excess water would drain. She was taken down the drain
-
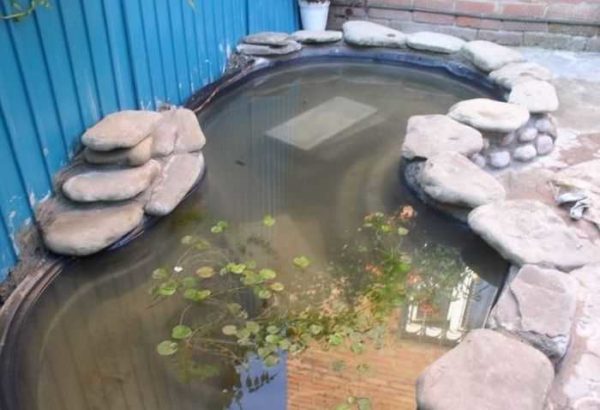
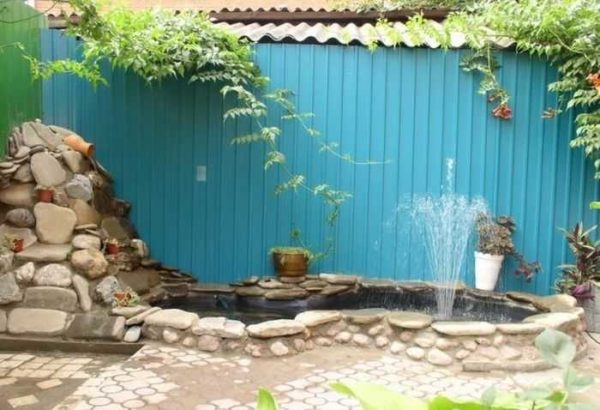
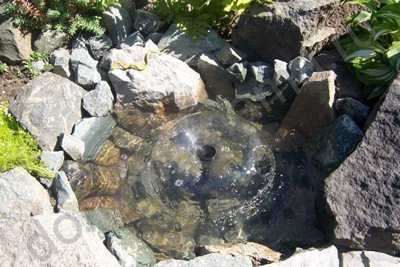
- They also put a small fountain
-
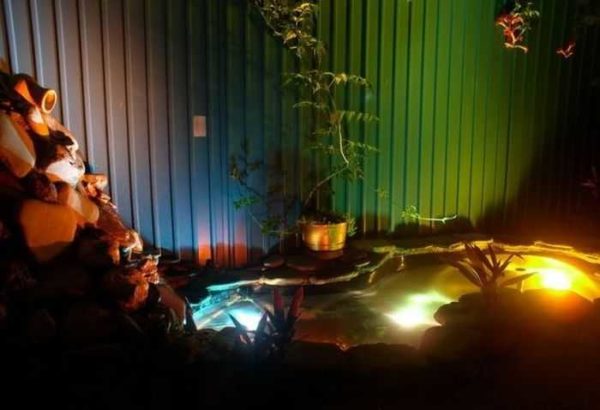
- At night our little pond is very beautiful with lights
But it is not always and not everywhere it is possible to constantly add and drain water into the pond. Then you will have to either plant such plants that will clean it, or periodically change it.
Pond from an old bathroom
You don't have to buy a bowl. Any container can be used. Even an old bath. It turns out very well. All actions are the same, the foundation pit is dug first, a bathtub is placed in it, what goes on, look at the series of the following photos. On them, the pond from an old bathtub is transformed into a really lovely corner.
-
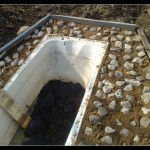
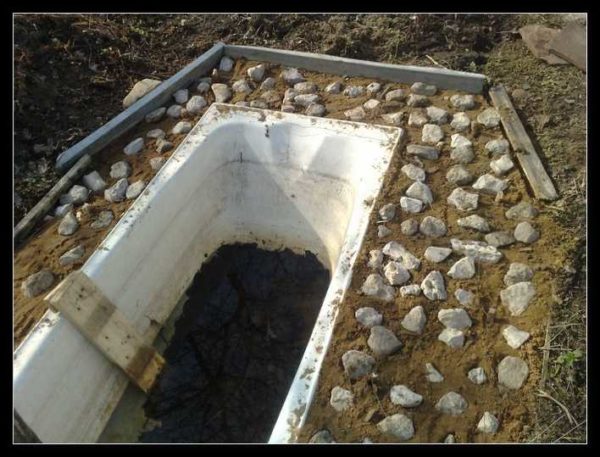
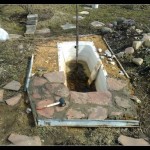
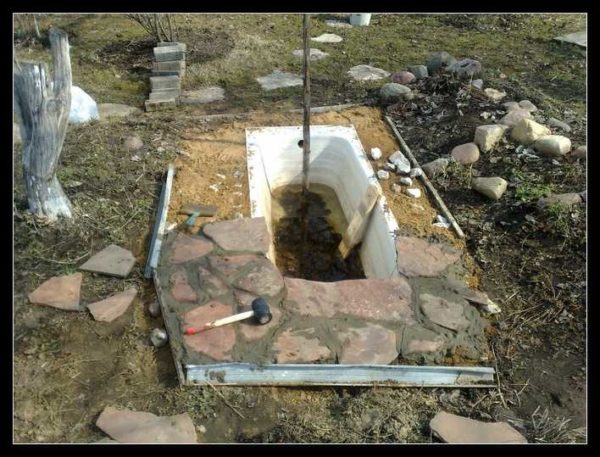
- It all started the same way: foundation pit, bath installation, ramming around the ground. I just wanted to make a paved area around the pond, and the soil is clay: you can't put anything on it. Therefore, such a trick was invented: they laid out a large fraction of crushed stone, they were driven into the depths with a rubber mallet
-
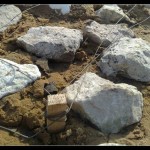
- The site was still entangled with wire - so that the clay would not float and the site did not sink

-
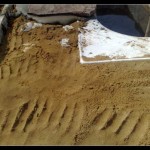
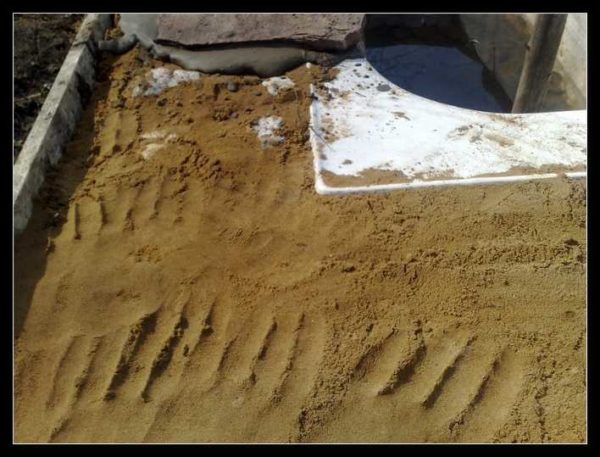
- A little sand was poured on top, and stone laying began
-
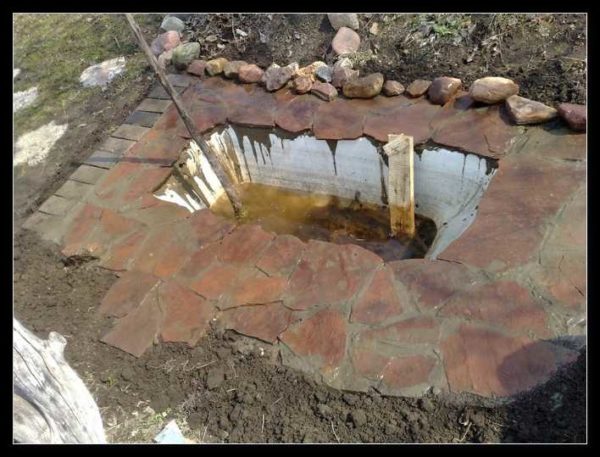
- The limestone laying process
-
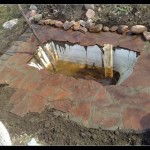
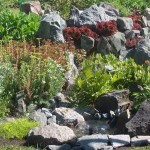
- Not very pretty yet, but the contours are already visible
-
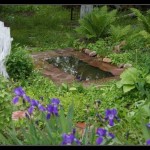
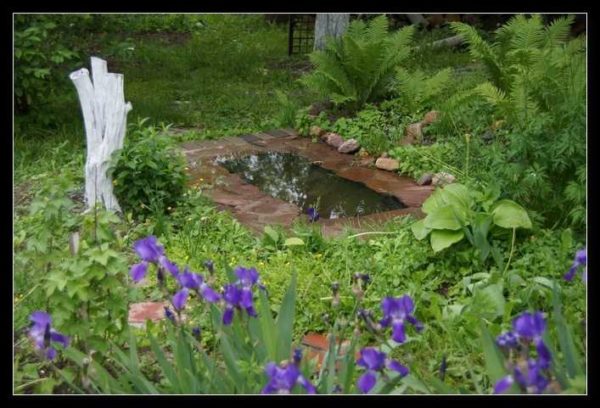
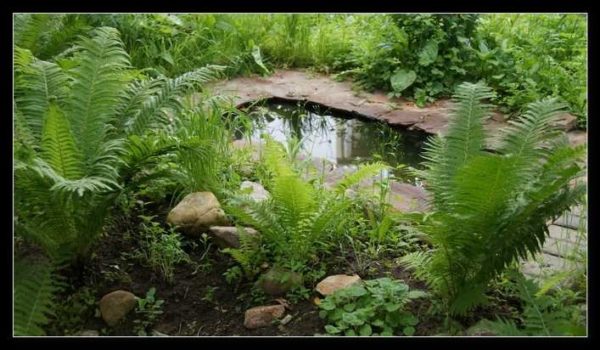
- It's such beauty in a month - a garden prue, built with my own hands, makes me happy
-
- Another month, a different angle
A pond of car tires (with film)
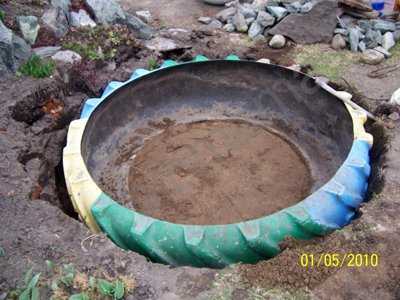
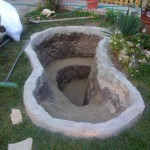
A mini pond can be made from an old car tire, or rather from a tire. The larger it is, the larger the reservoir. The hardest part in this business is to cut off one side part. If the resulting edges are sharp, sandpaper them. The second most difficult task is to dig a hole of a suitable size. The difficulties ended there. The rest is easy.
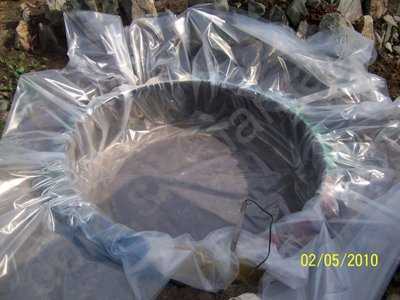
A trimmed tire is installed in the pit, covered with earth on the sides, compacted well. Also, earth or sand is poured inside, the bottom is leveled. Take a piece of thick plastic wrap, which can be folded in half, and cover the resulting tank. Don't try too hard: pour water, it will straighten the film itself.
Instead of polyethylene, you can take a banner film (available in advertising companies that produce outdoor advertising) or a piece of special for pools and ponds. They are much stronger (but more expensive).
The protruding ends of the film are folded around the walls of your pond and decorated with stones. The construction of the pond is over, then - decorating and planting plants. See how to make a pond from a tire in the photo report.
-
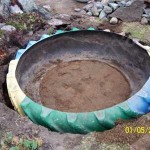
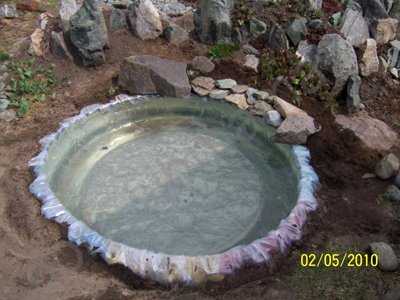
- The trimmed tire is installed in a dug hole, a little earth is poured inside, leveling the bottom
-
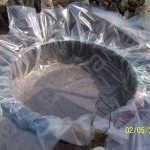
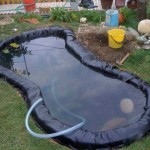
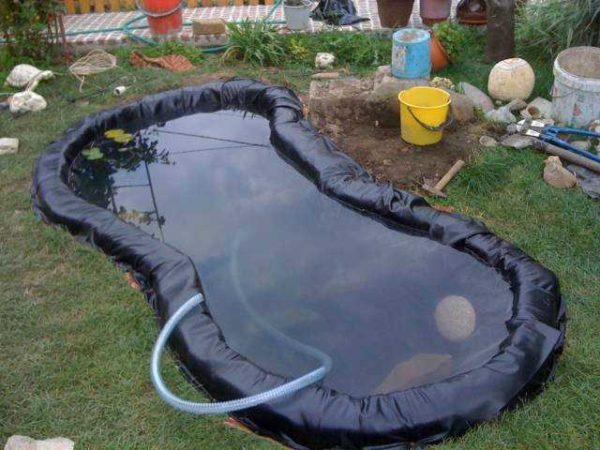
- The film is covered. She will hold water
-
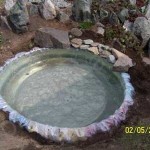
- Water is poured, the film is finally smoothed, you can wrap the edges and press them with stones
-
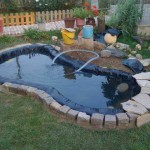
- The next stage in making a mini-pond for a summer residence is decorating the edges with stones
-
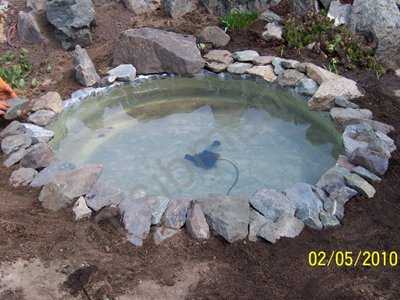
- To bring the picture to life, the bottom was also lined with stones, a pump for the aquarium was installed
-
- Water, overflowing when the pump is turned on, is diluted throughout the area: mini-streams were made, along the edges of which flowers were planted. And the mini-pond gives life to the now vast area planted with plants
There is certainly nothing complicated in such a device. Anyone can build such a reservoir in the country with their own hands, and the investment is minimal.
In general, mini-ponds are made from tanks, barrels, pots, even flower pots. The main thing is that there is a corps, and it is not very difficult to arrange it: experience gradually comes. They put them in the garden, in the country, near the house. There is an opportunity to bring water, make a trickle, it can be planted under trees, for example, or bushes. And beauty and benefit at the same time.
About read the basics of landscape design here.
Making a pond with a film
By creating this artificial pond from a film, you almost exactly repeat the work described above, only without installing a bowl:
- mark the shape of the future pond;
- digging a pit, forming, if necessary, ledges;
- clean the bottom of any sharp objects: roots, stones, etc .;
- level the banks of your pond;
- spreading a waterproofing film;
- fill the pond with water;
- fix the edges of the film;
- decorate.
The dacha pond created using this technology may already be of a more solid size. An important point: on loose soil, just make a pit and put the film will not work. We'll have to come up with some measures to strengthen the banks. In this case, you will have to either put a bowl, or make a more serious structure - of brick or concrete. Next, let's look at examples of how to inexpensively make a film pond.
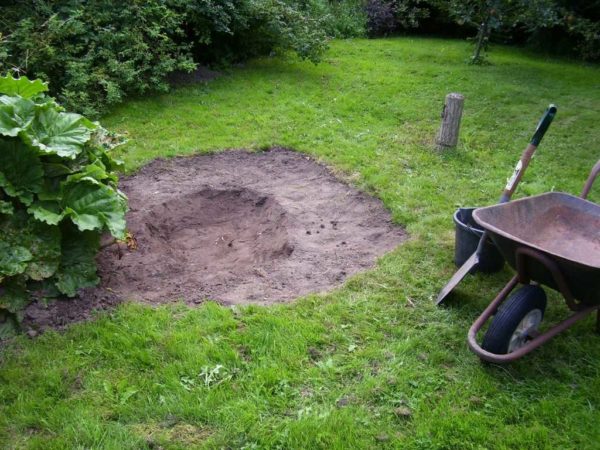
First project: sides flush with the ground
Eight simple steps and your pond in the country is built. How to dig and equip a pond in the country, to make it look like a natural one, see the photo report.
-

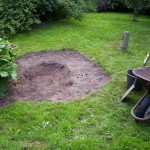
- Mark out the form, remove the sod

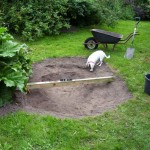
-
- Dig a pit, forming ledges
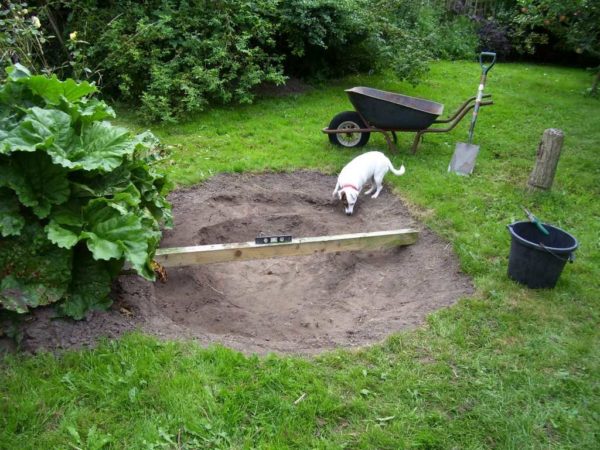
-
- Align the edges to prevent water flowing out from the side where the level is lower
-
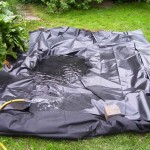
- Lay out the film, slightly straightening the folds
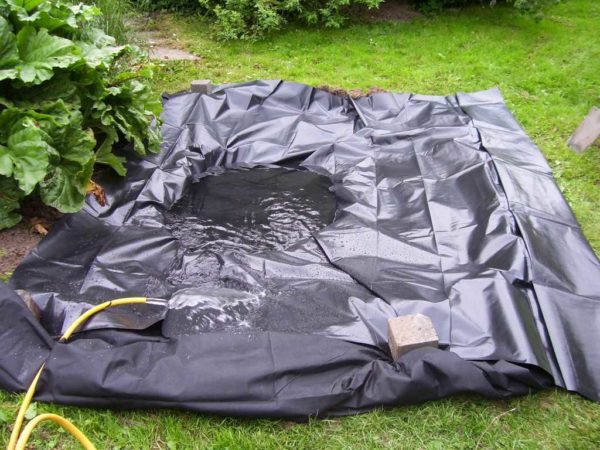
-
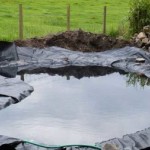
- Pour in water, it finally straightens the film

-
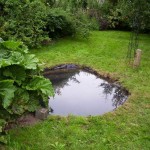
- Tuck in the edges of the film and decorate them
-
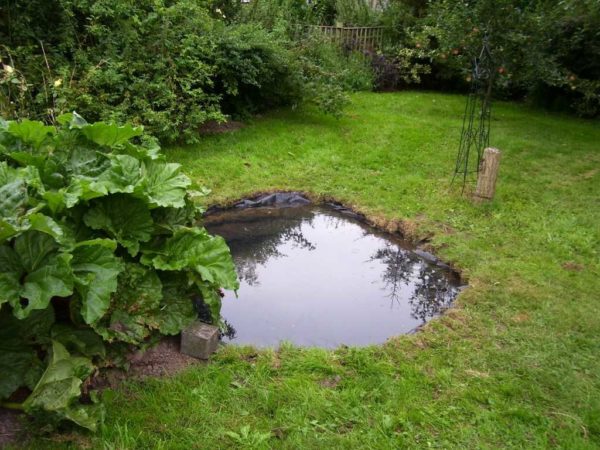
- You plant plants and wait for state acceptance)))

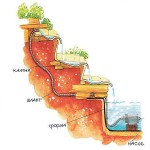
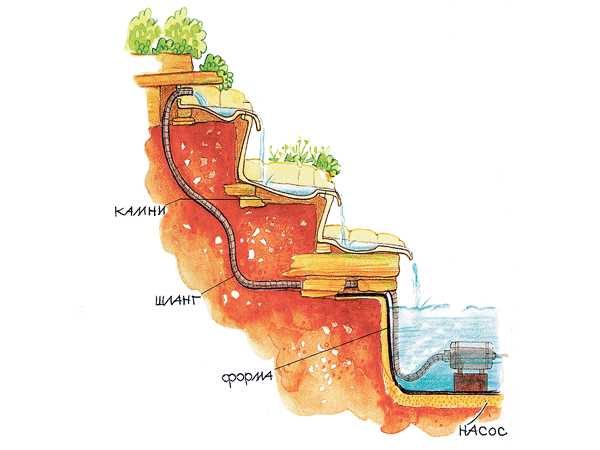
Second project: the sides are raised
The second version of a homemade pond in the first stages is built in almost the same way as the first. Only after the pit reached the design depth, the sides were raised, laid out along the edge with bricks and concreted. It turned out to be a reservoir with raised sides. A water circulation system has also been made. It is shown in the figure below.
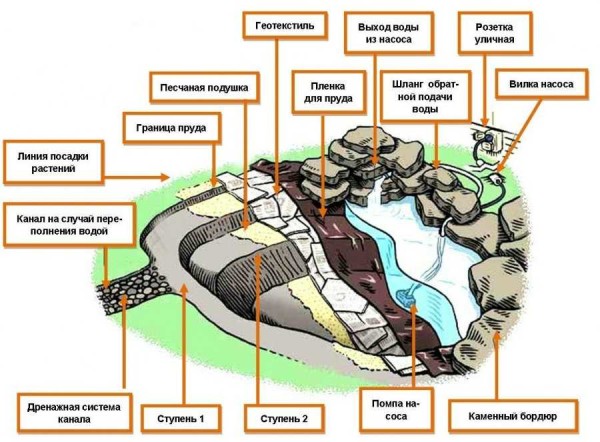
How to make a pond with a stream pump. Its arrangement is already a little more complicated, but the result is more decorative.
As you can see, this pond is more multilayered and its capacity is more serious. If you want to have a reservoir of at least medium size and not build a serious bowl at the same time, you can do as shown in the figure: fill the pit with sand, cover geotextile, and only lay the film on top. Geotextiles evenly distribute the load and prevent the germination of plants. This is especially true if you are building a pond in your garden and there are shrubs or trees nearby.
-
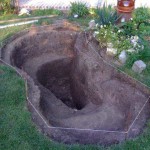
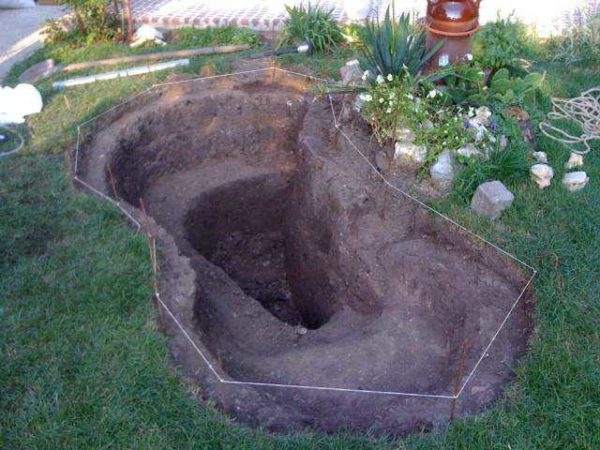
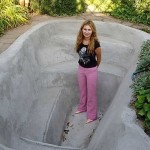
- Having marked out the site, we dig out the foundation pit
-
- The sides are raised: bricks set upside down and buried at half the height are laid out, concreted on top

-
- The film is laid, water is poured, the edges are wrapped around the sides
-
- A decorative stone is laid out along the outer edge, expanding the side. From above, covering the edge covered with foil, a sawn finishing stone is laid on the cement

-
- Completed the design of the side, we begin to form a stream, closing the pump housing

-
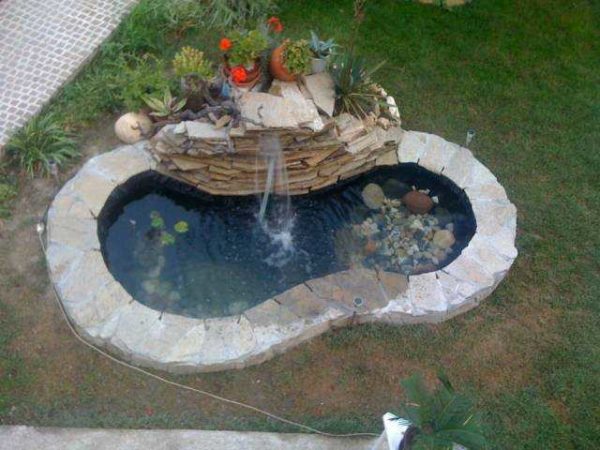
- This is how everything looks ready-made before the plants grow.
-
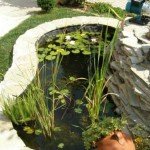
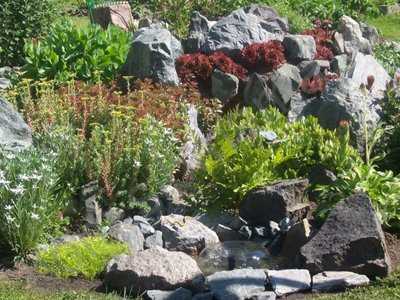
- The plants have already grown, the decorative pond is ready
-
- Another angle
Read about how to make a fountain with your own hands here.
Serious projects: brick and concrete
If you want to have a large pond in the country, and you want to build it yourself, you will have to study the topic of building pools. First, the construction of the bowls - one to one repeats all the stages. Even the forms are sometimes made stepwise.True, the banks are not decorated with plants, and they are not planted in the pool itself ... But the construction process itself, with reinforcement, plaster, waterproofing, is the same. Moreover, the water supply and water treatment system is also similar. Except that no chemical cleaning methods are used in ponds, but filters, scrimmers and ultraviolet light can be used.
In general, a large pond is an expensive pleasure. Moreover, costs are required only for construction, but also for maintaining a large reservoir in a normal state: filters need to be cleaned regularly and cartridges or backfill changed. But the pleasure, of course, is great ...
-
- Not the largest pond, but 10 bags of cement, 30 bags of sand (20 coarse and 10 fine) were used for it, a hydrophobic additive - 5 bags to make the concrete water-repellent. Plastered on a grid fixed in the ground

-
- After drying, the plaster was painted with acrylic paint for pools (5 liters was gone)
-
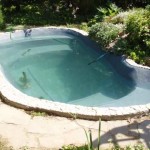
- For testing, it was filled with water, left for a week. There are no leaks anywhere. Merged, finished finishing and populated with fish

-
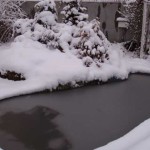
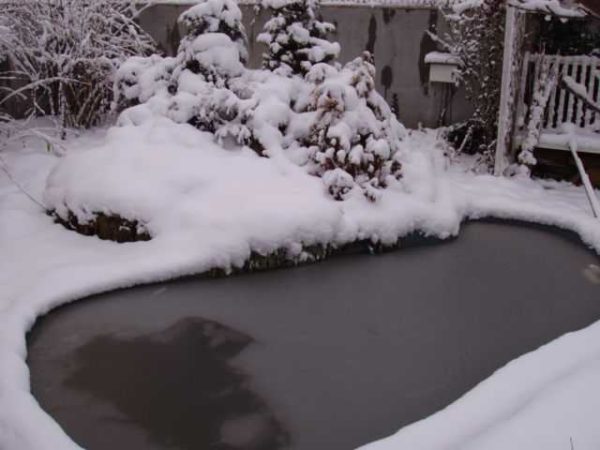
- And this is a winter pond. In our places it is covered with ice only in the very frosts, and does not freeze to the bottom. Fish hibernate there
-

- And these are our fish

Read about the organization and construction of a waterfall on the site here.
Plants for the pond
When shaping or choosing a bowl, consider not only its shape and depth. If you want plants to grow in your pond, you need a swampy coastal area. If you form a reservoir with a film, you can make about the same profile as in the picture.
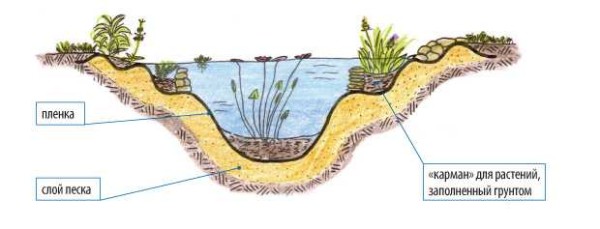
How to make the bottom for plants correctly. The arrangement of the pond will be easier if you make ledges at different levels, spread stones, pour a little soil into them
It is more convenient to do this if you fill the foundation pit with a layer of sand at least 15 cm thick. With its help, you can make the relief the way you like. To make it easier to work and the film does not break, lay geotextiles on the sand. This thin membrane is very tear resistant. You can do what you want without tearing it. Having formed the desired bottom relief with it, you can line the film and lay stones on it, fill it with water and plant plants for the pond at different levels.
To ensure that there is enough oxygen in the water, you can plant canadian elodea, hornwort and swamp. They are in the photo below. They are planted in water - these are aquatic plants.
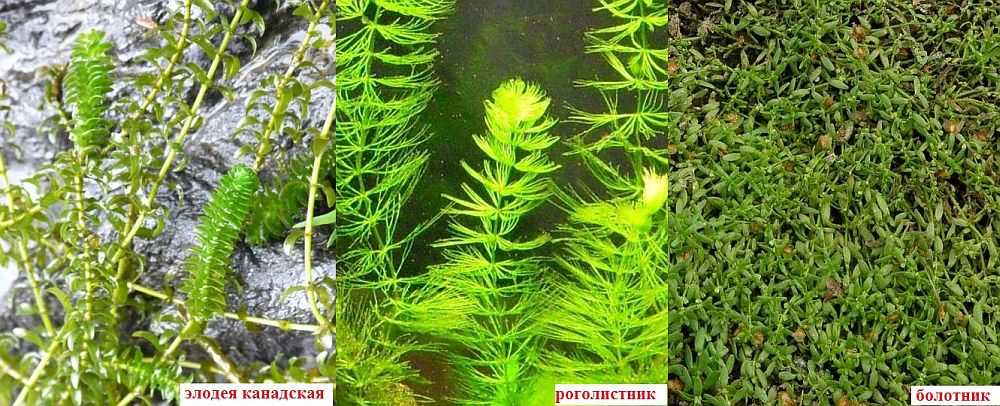
These plants oxygenate the water
Deep sea
They are planted in the deepest place, on the bottom, in special pots with a lot of holes. In a pot, the soil around the roots of the plant is well compressed and covered with medium-sized gravel. The stones prevent leaching and do not allow the fish (if the pond is with fish) to dig it out.
Best of all, in artificial reservoirs, egg capsules (dwarf, multi-petalled and alien), water lilies (white and hybrid), floating pondweed, ordinary telores feel themselves.
-
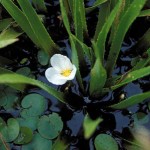
- Telorez ordinary

-
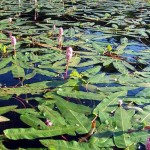
- Rdest floating
-
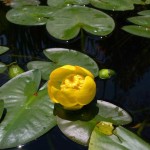
- Many-petalled egg capsule

-
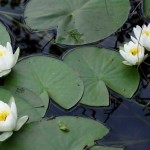
- White water lily

Shallow
This type of plant can be planted close to the coast or at medium depth, sometimes even close to the coast in an almost dry place. Planting method is the same: in containers with soil, sprinkled with fine gravel. Only this time in order to limit the growth of plants: in good conditions they grow very quickly.
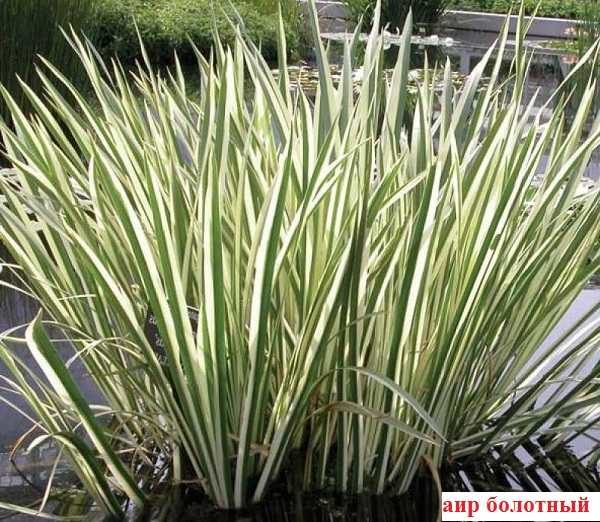
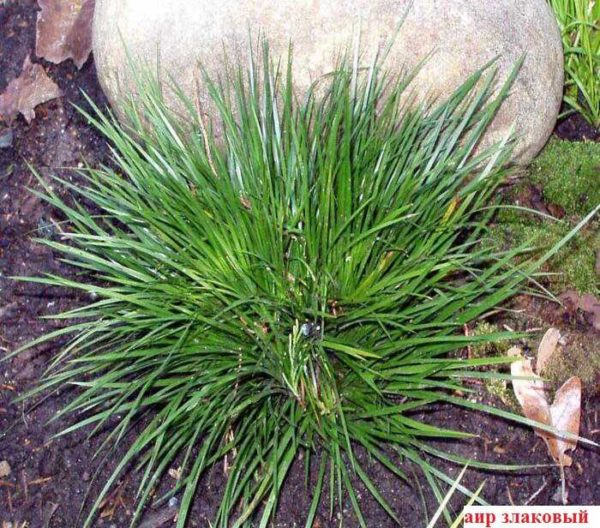
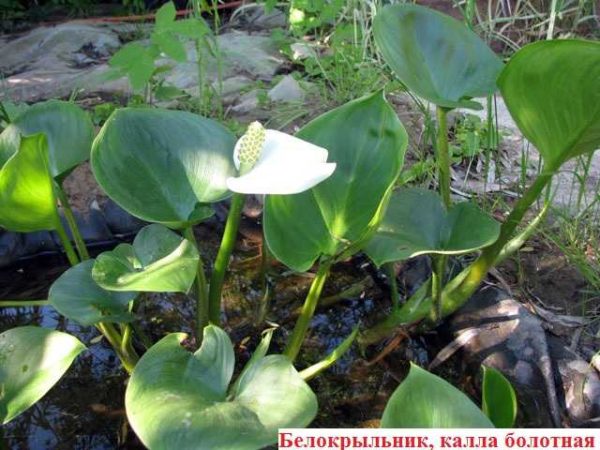
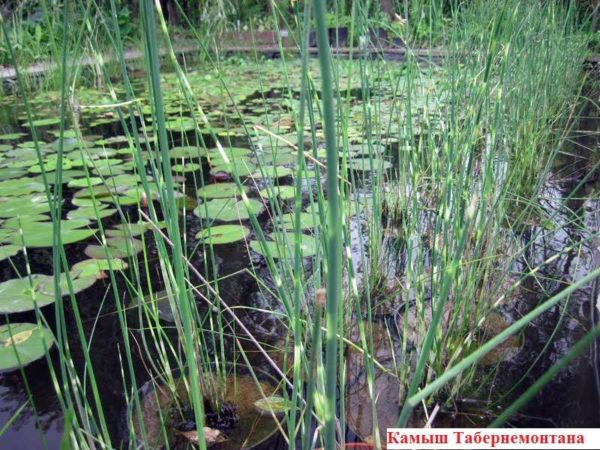
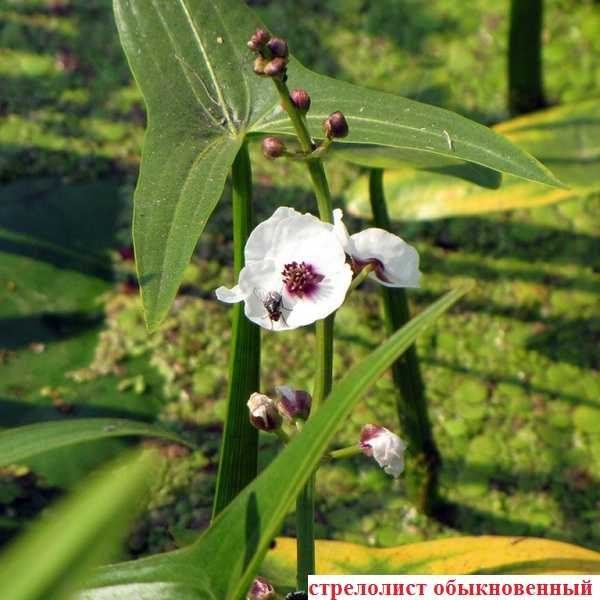
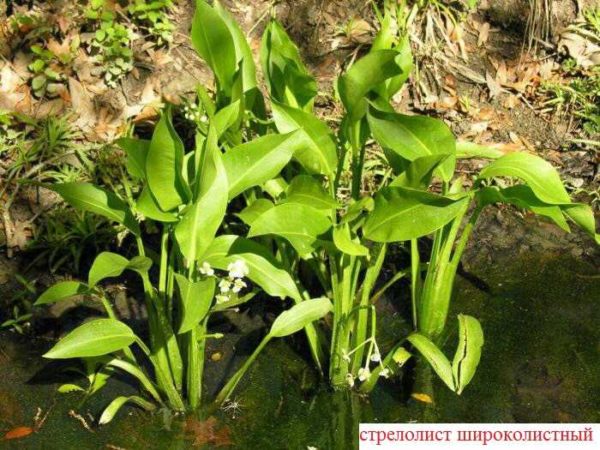
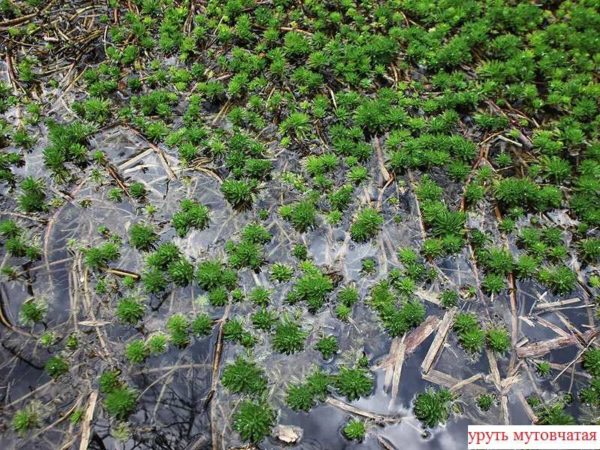
Deep-water and shallow-water plants should not be more than 30%, otherwise most of the water surface will be covered with leaves, and this is already a swamp. The following types of plants are suitable for artificial reservoirs: calamus cereal and marsh, marsh calla, three-leafed watch, tabernamontana reeds, common and broad-leaved arrowheads, whorled and alternate-leaved urut. Some of these plants for a summer cottage are in the photo below.

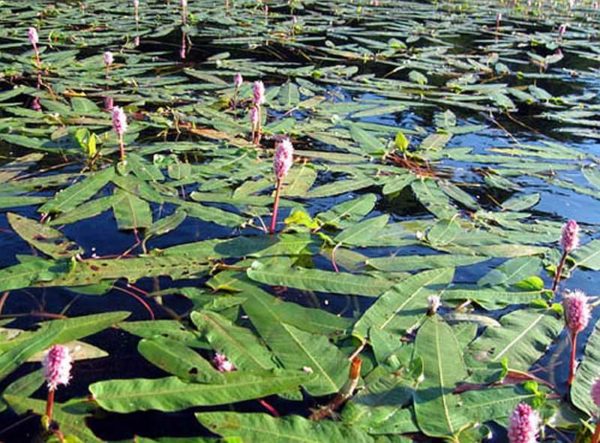
Coastal
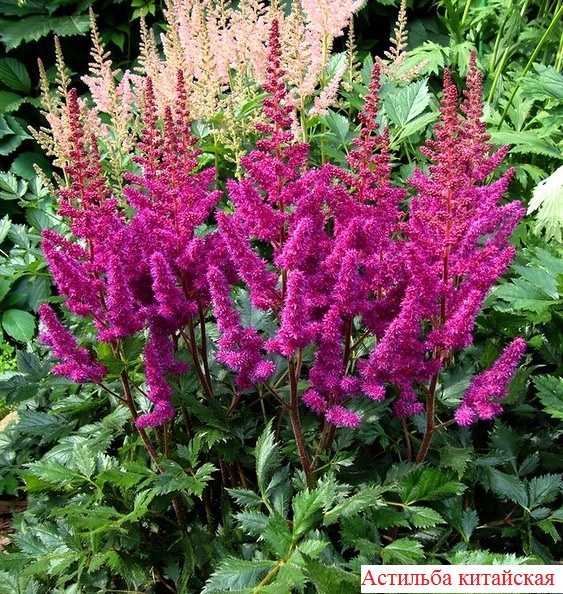
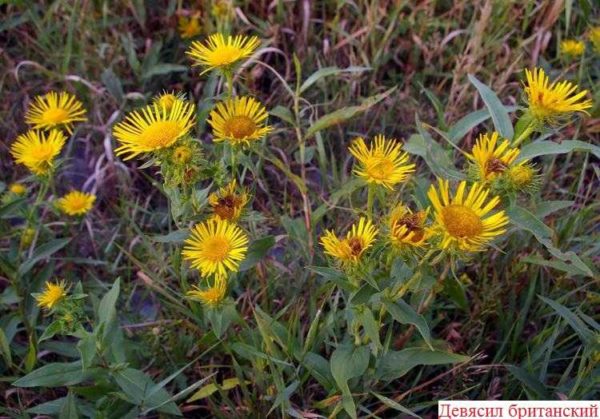
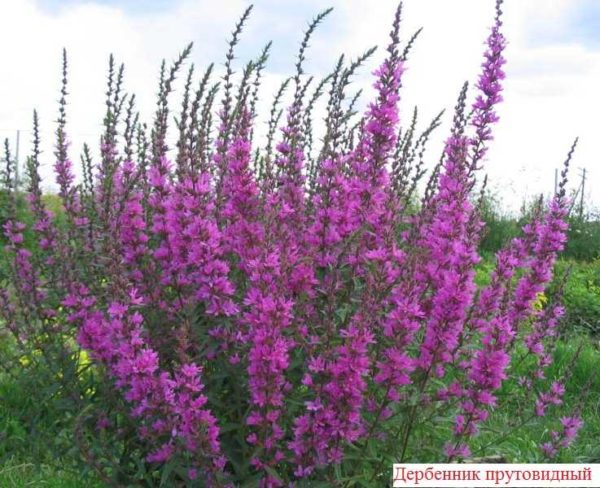
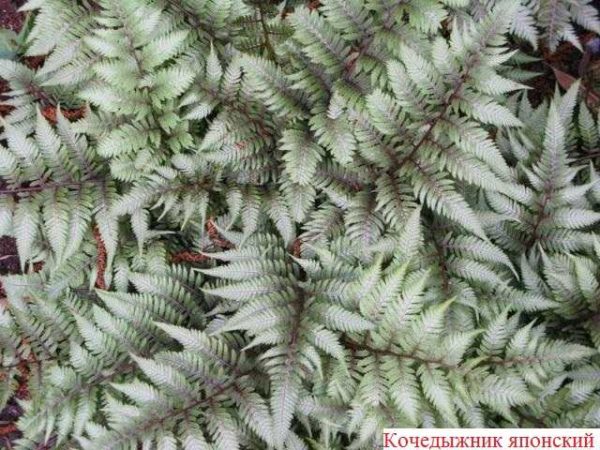
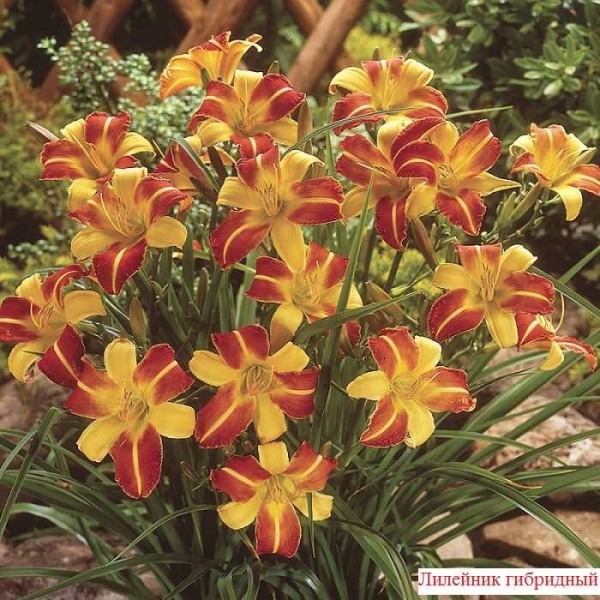
These plants grow well in waterlogged soil. They are planted in groups, shorter ones closer to the coast, then higher ones.When designing an artificial reservoir, you should not plant the banks abundantly in the first year. After a year, you will have to deal with their overgrowth. If you have chosen a tree or shrub for planting, do not place it close so that it does not cover the pond with the plant. There are a lot of plants, here are just a few: Chinese Astilba

So that the water in the pond does not bloom, it is important, of course, to have filters, but there are natural filters. These are also plants: Water hyacinth, which is also called Eichornia, is excellent and beautiful.
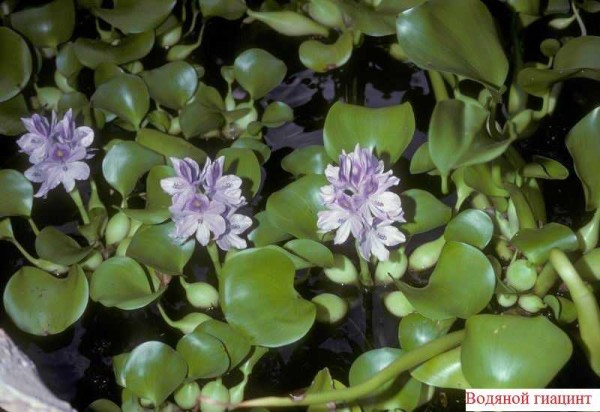
To prevent the water in the pond from blooming, plant this beautiful flower
Now you can not only make a pond with your own hands, but also plant it with beautiful plants.


The construction of a reservoir on the site is a serious task that only professionals with experience can handle. The result from work performed on their own can lead to sad consequences - the reservoir will be unsafe and not have an aesthetic appearance. Contact the professionals!
How will a “professional” prove his professionalism? A crust issued by an unknown "landscape design ooo horns and hooves"? The portfolio cannot be trusted either - there is no evidence that it was made by the person who presented the photos. And even if they are, how is it there then ?! Therefore, it makes no difference whether you do it yourself or call such a would-be professional. I do not argue, there are specialists. But this is only through acquaintances to whom this specialist has already done something and they are happy.
We have a bowl, dug in, designed, but when we mow the grass, particles of grass fall into the pond, the water is muddy, turns green, there is no sight. For the winter they bled out the water, dried the bowl, waiting for spring. But next season will be the same. How to keep the water in your iini pond in perfect condition?